
How To Make Diy Toys At Home For Kids
📖 Table of Contents
There’s something magical about watching a child’s eyes light up when they hold a toy they helped make. I remember the first time I crafted a simple wooden puzzle with my son — the way he traced the edges with his fingers, the way he beamed when he solved it. It wasn’t just a toy; it was a memory in the making. And that’s what DIY toys are all about: creating something tangible, meaningful, and deeply personal for your kids. Whether it’s a sensory bin, a wooden train track, or a fabric book, making toys at home for kids is an opportunity to spark creativity, teach skills. Bond over the joy of creation.[1]
I’ve spent years experimenting with different materials and techniques to figure out what works best for kids of all ages. From cardboard boxes that become forts to wooden blocks that evolve into story props, the possibilities are endless. The real magic? It doesn’t require a lot of time, money, or expertise. In fact, I’ve made most of my kids’ favorite toys in just a few hours, using materials I already had around the house. It’s not about perfection — it’s about the process, the laughter, and the pride that comes from seeing your child play with something they helped create.
This article is your guide to making DIY toys at home for kids, written from the perspective of someone who’s done it — and messed up — more times than I can count. You’ll find step-by-step instructions, practical tips for different age groups, and creative ideas that have been tested and loved by kids (and parents) alike. Whether you’re a first-time DIY-er or a seasoned maker, you’ll leave with the confidence to create something unique, safe, and full of love for your child.[2]
Why You'll Love This DIY Toy Approach
- You save money by repurposing materials you already have.
- You strengthen your bond with your child through shared creation.
- You can customize toys to fit your child’s interests and developmental stage.
- You create safe, non-toxic toys without harmful chemicals.
Getting Started With DIY Toy Projects
As of September 2026, before you explore a project, it’s essential to gather the right materials and tools. For most DIY toys, you’ll need a few basic items like scissors, glue, markers, and cardboard. If you're working with wood, a small set of hand tools like a hammer and screwdriver might come in handy. I always keep a dedicated box for crafting supplies — it makes the process quicker and more organized. It’s also a good idea to clear a small workspace so you and your child can focus on the project without distractions.
One of the most important things to consider is the safety of the materials. If you’re using wood, ensure it’s sanded smooth to avoid splinters. For fabric or paper toys, avoid using any glue that contains harsh chemicals. I personally prefer using white glue or wood glue, both of which are safe for kids. It’s also a good idea to work in a well-ventilated area to avoid inhaling fumes from any adhesives or paints.
Finally, choose a project that matches your child’s interests and developmental stage. For younger kids, simple sensory bins or puzzles are great, while older children might enjoy building model kits or creating art from recycled materials. I’ve found that involving your child in the decision-making process helps make them feel more invested in the project — and it’s a great way to bond.
Before starting any DIY toy project, make sure you have all your tools and materials ready. It will save time and reduce frustration later.
The Magic of Repurposing Materials
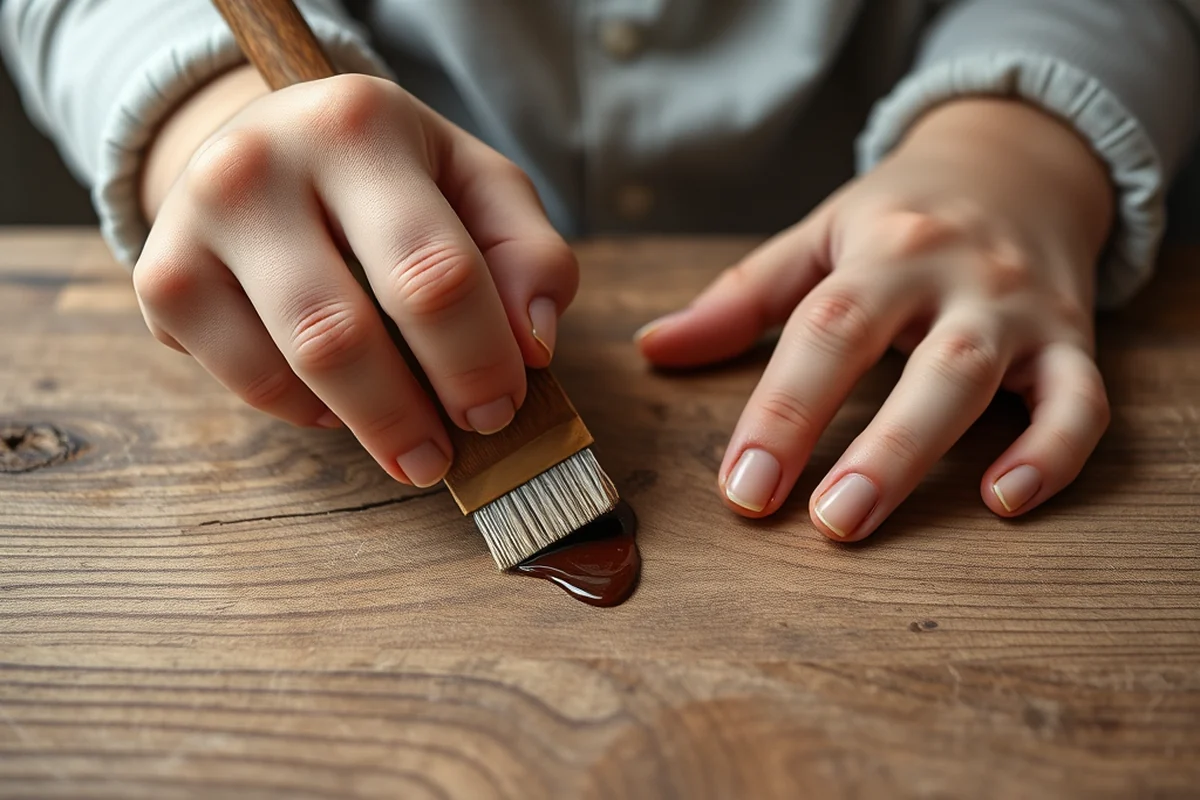
I’ve made some of my most cherished DIY toys from things I would have otherwise thrown away. A cardboard box can become a toy car, a puzzle, or a storage bin for small items. I once turned an old cereal box into a mini puppet theater — it was a hit with my son and his friends. Not only is this approach cost-effective, but it also teaches kids the value of reusing and repurposing materials.
When repurposing items, it’s important to clean and prepare them properly. For example, if you’re using a plastic bottle, make sure to remove any labels and thoroughly clean it with soap and water. If you’re working with fabric or paper, avoid using any materials that could tear easily. I also like to add a few drops of essential oil to fabric items — it adds a nice scent without being harmful.
One of the best parts of repurposing is that it encourages creativity. Kids love the challenge of turning something old into something new. I’ve seen my son transform an old T-shirt into a monster costume, and my daughter once made a birdhouse from a wooden crate. It’s amazing how much imagination can turn everyday objects into something special.
Repurposing is not just eco-friendly — it's a gateway to creativity for kids.
Related: How to diy at home
Related: Diy alkansya design easy with paper
Related: How to make diy keychains at home
Related: How to make dog house at home easy diy
Related: How to make diy squishies at home with balloons
Related: How to make diy squishies at home with paper
Making Educational Toys for Kids
Educational toys don’t have to be expensive — in fact, many can be made with simple materials and a bit of creativity. For example, I made a counting puzzle using cardboard and felt, which helped my son learn numbers and shapes. Another favorite was a letter-matching game made from fabric scraps and Velcro, which my daughter loved using to learn the alphabet.
When making educational toys, it's important to focus on the child's developmental stage. For younger children, sensory toys that encourage touch, sight, and sound are ideal. Older kids might benefit from puzzles, memory games, or building sets that promote problem-solving skills. I also like to incorporate learning elements into play, such as counting blocks or matching games that teach patterns and colors.
One of the best things about educational toys is that they can be customized to fit your child’s interests. If your child loves animals, you can create a matching game with animal cards. If they enjoy music, you can make a simple instrument from materials like rubber bands and cardboard. The key is to make the learning process fun — and that’s something I’ve always prioritized when making DIY toys.
Tailor your DIY educational toys to your child’s interests and learning goals. This makes the experience more engaging and effective.
“There’s something magical about watching a child’s eyes light up when they hold a toy they helped make.”— DIY Furniture with Mdf editors
Related: Diy ideas easy
Related: How to make diy at home
Related: How to make diy fidgets at home easy
Creating Safe and Durable Toys
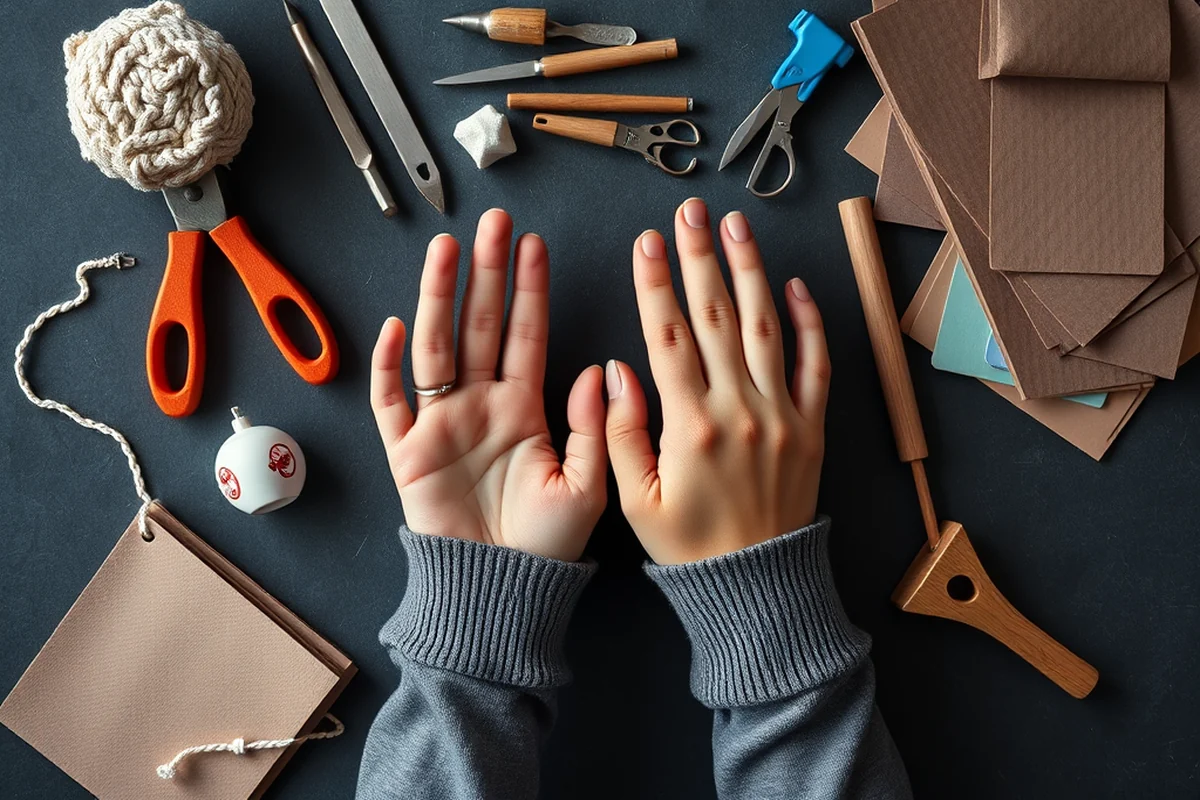
When making toys for kids, it's essential to use non-toxic materials and avoid anything that could be harmful if ingested. For example, I always use wood glue or white glue rather than any type of epoxy or chemical-based adhesives. I also avoid using small parts that could pose a choking hazard for younger children. It’s important to be mindful of the age appropriateness of the materials you use — and to always supervise your child during playtime.
Durability is also a key factor when making toys at home. I’ve found that using materials like wood and fabric tends to be more long-lasting than paper or cardboard. When working with wood, I always make sure to sand the edges thoroughly to avoid splinters. I also like to use a wood sealer or paint to protect the surface and extend the life of the toy.
Another thing to consider is the way the toy is assembled. If you're making a toy with moving parts, make sure the joints are secure and won’t come apart easily. I’ve learned the hard way that a toy can be beautiful but not safe if it’s not built properly. It’s better to take the time to make sure the toy is as safe and sturdy as possible.
Related: How to do diy at home
Involving Kids in the Toy-Making Process
One of the best parts of making DIY toys at home is watching your child take part in the process. Whether it's gluing pieces together, painting, or cutting out shapes, involving your child helps make the experience more engaging. I’ve found that even my youngest child can contribute to simple projects — like helping to glue pieces together or choosing the colors for a toy.
Involving your child also helps develop their fine motor skills and hand-eye coordination. For example, cutting out shapes with scissors or threading beads onto a string can be a great way to build these skills. I’ve also noticed that when my child is involved in the process, they take more pride in the finished product — and they’re more likely to want to play with the toy.
It’s important to adapt the level of involvement based on your child’s age and ability. For younger kids, you might take the lead while letting them help with simple tasks. For older children, you can let them take more of the lead — it’s a great way to encourage independence and creativity.
Related: Easy diy things to make and sell
Making DIY Toys That Spark Imagination
I’ve found that the most successful DIY toys are the ones that allow for open-ended play — where the child can use their imagination to create their own stories and scenarios. For example, I once made a set of wooden blocks and paint that my son used to build entire cities. Another time, I created a set of felt animals that my daughter used to act out stories. These types of toys are not only more engaging, but they also help develop creativity and problem-solving skills.
When making open-ended toys, it’s important to keep the design simple and versatile. I’ve found that toys with minimal decoration and a variety of shapes and sizes tend to be the most flexible. For example, I made a set of wooden shapes that can be used to build a house, a car, or even a spaceship. The possibilities are endless when you give kids the freedom to create.
One of the best things about these types of toys is that they can be used in a variety of ways. They can be used for storytelling, building, or even as props in dramatic play. I’ve seen my daughter use a simple set of fabric scraps to create a dress-up game, and my son has used wooden blocks to build his own version of a space station. These toys are not only fun, but they also encourage imaginative thinking and creativity.
Imagination is the most powerful toy a child can have.
Related: Easy diy at home
Storing and Maintaining DIY Toys
After making a toy, it’s important to store it properly to keep it in good condition and avoid any potential hazards. For example, if you’ve made a toy with small parts, it’s a good idea to store it in a container with a lid to prevent the pieces from getting lost or scattered. I also like to label my containers so I know where each toy is — it helps make cleanup quicker and more organized.
Maintaining your DIY toys is also important. If you’ve made a wooden toy, it’s a good idea to occasionally wipe it down with a damp cloth to remove any dirt or grime. For fabric toys, I like to spot-clean them with mild soap and water — that way, they stay fresh and safe for your child to play with. It’s also a good idea to check the toys regularly for any signs of wear or damage.
Lastly, it’s important to keep your DIY toys away from direct sunlight and moisture — both can cause fading or warping over time. I’ve found that keeping toys in a cool, dry place helps them last longer. With a little care, your DIY toys can remain a favorite for years to come.
💰 Budget Build
Make toys using materials you already have at home, like cardboard, paper, or fabric scraps.
⏰ Weekend Version
Complete a simple DIY toy in just a few hours — perfect for a quick project with your child.
🎨 Upgraded Finish
Add a decorative touch with paint, fabric, or glitter to give your DIY toy a more finished look.
🏠 Small-Space Adaptation
Create compact, space-saving toys that are perfect for small homes or apartments.
🔒 Rental-Safe Option
Make toys that are easy to clean and won’t leave any damage — ideal for rental properties.
| The mistake | Why it happens | The fix |
|---|---|---|
| Using small parts that could be a choking hazard. | Small parts can be a serious risk for younger children, who may accidentally swallow them. | Avoid using small parts in toys for children under 3 years old. If you’re making a toy with small parts, make sure it’s only used by older children and always supervise playtime. |
| Not properly sanding the edges of wooden toys. | Sharp or splintered edges can be dangerous for children and may cause injury. | Always sand the edges of wooden toys thoroughly to ensure they are smooth and safe for your child to handle. |
| Using toxic materials that could be harmful if ingested. | Some adhesives, paints, and materials can be harmful if ingested or inhaled, especially by young children. | Use non-toxic, child-safe materials for all DIY toys. Avoid using any chemicals or adhesives that could be harmful if ingested. |
| Not storing DIY toys properly. | Improper storage can lead to broken toys, lost pieces, or even choking hazards. | Store DIY toys in a safe, secure place — preferably in a container with a lid. This helps keep the toys organized and prevents small parts from getting lost or scattered. |
How To Make Diy Toys At Home For Kids
Common Questions
What are the best materials to use for DIY toys for kids?
How can I make sure my DIY toys are safe for my child?
What are some simple DIY toy ideas that are easy to make?
How can I involve my child in the DIY process?
References
Cite this guide
DIY Furniture with Mdf (2026). How To Make Diy Toys At Home For Kids. https://mdfcreate.com/how-to-make-diy-toys-at-home-for-kids/
Feel free to cite or share this guide.