
Diy Mdf Wall Panelling
📖 Table of Contents
I remember the first time I tackled DIY MDF wall panelling in my old apartment — it was a hot summer afternoon. I had a vision of transforming my dingy, bare walls into something warm and inviting. I had no experience with woodworking, but I was determined. After a few hours, I had smooth, clean panels that not only covered the cracks but also gave my space a touch of elegance that I never thought possible. DIY MDF wall panelling isn’t just about filling empty space; it’s about creating something that feels like it belongs in your home.[1]
There’s something satisfying about the way MDF panels click into place, forming a seamless surface that can be painted, stained, or even left natural. I’ve tried different techniques over the years — some with nails, some with adhesive, and even some with floating panels. Each method has its pros and cons, but the one I’ve settled on is the fastest and cleanest, requiring only a few tools and a weekend’s worth of time. Whether you're a beginner or a seasoned DIYer, there’s a version of this project that can work for you.
DIY MDF wall panelling is more than just a way to spruce up a room — it’s a way to inject creativity into your living space. It’s also a project that doesn’t break the bank, and I've found that the right approach can make all the difference. Over time, I’ve tested different panel sizes, edge treatments, and installation methods, and I’ve learned which ones deliver the best results. If you're thinking of taking on this project, I want to share everything I’ve learned, so you can do it right the first time.
Why You'll Love This DIY MDF Wall Panelling Project
- Transforms any space with minimal effort and cost
- Adds a custom, finished look without professional help
- Easily customizable with paint or stain
- A great way to upcycle your living space
Choosing the Right MDF Panels
As of August 2026, I’ve learned that not all MDF panels are created equal. Look for ones that are 1/2 inch thick or more — thinner panels tend to sag over time. I've found that 3/4 inch is ideal for most projects. The surface should be smooth and free of warping. I usually buy panels from local hardware stores, where I can inspect them in person. This helps avoid surprises later on, like uneven edges or warping.
The size of the panels also matters. I’ve used 24x48 inch panels for larger spaces, but for smaller ones, 12x24 inch panels are easier to handle. I once tried to use 48x96 inch panels in my living room, and it was a nightmare. They were heavy and awkward to move. The lesson? Choose panels that match your room’s dimensions and your comfort level with lifting and moving them.
Don’t forget to consider the edges. Some panels come with a pre-finished edge that’s ready to use, while others require a router or sander. I’ve found that panels with a pre-finished edge save time and reduce the need for extra tools. If you’re looking for a budget-friendly option, I recommend buying in bulk — the savings add up quickly.
Always check the thickness, dimensions, and edge finish of your MDF panels before buying. These factors will impact your project’s success and ease of installation.
Part of our Diy mdf headboard guide.
Preparing the Wall for Installation
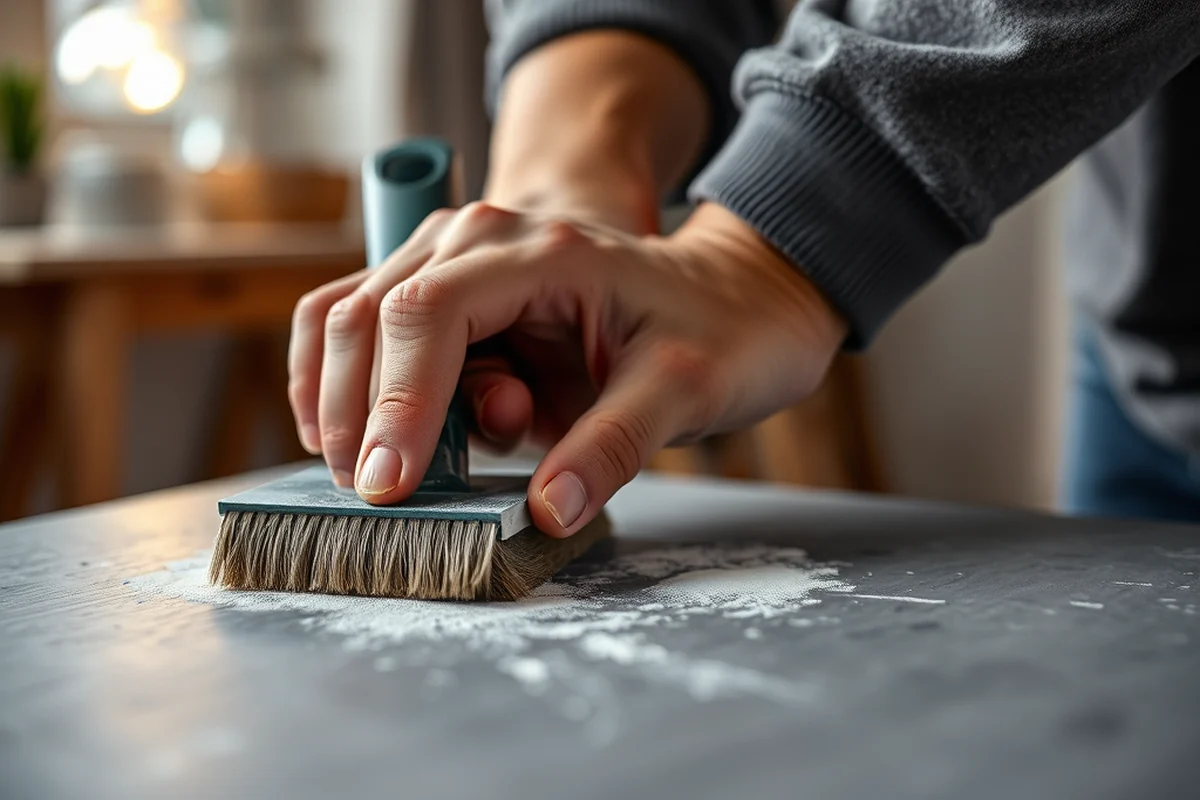
Before I start installing panels, I always take the time to clean the wall thoroughly. I use a damp cloth and a mild detergent to remove any dust, grease, or residue. This ensures the panels will stick properly if I’m using adhesive. I’ve also noticed that walls with uneven surfaces can cause problems, so I smooth them out with a sanding block if needed.
Next, I measure the wall precisely and mark the layout. I use a laser level to ensure the first panel is perfectly straight — this is crucial for the rest of the installation. I once skipped this step and ended up with crooked panels that I had to reposition. It was a frustrating experience, but it taught me the importance of precision.
I also use a chalk line to mark the layout of the panels on the wall. This helps me visualize how they’ll fit together and ensures even spacing. I’ve found that taking this extra step saves time and prevents mistakes later on.
Measure twice, install once — it’s the best advice I’ve ever heard.
Related: Diy furniture with mdf
Related: Why is mdf furniture so expensive
Related: Mdf furniture safety
Related: Diy mdf board
Related: Diy Mdf Cupboard Doors
Cutting and Shaping the Panels
I use a jigsaw or a circular saw to cut the panels to size. I’ve found that a jigsaw gives me more control, especially for curved or irregular shapes. I always wear safety goggles and a dust mask to protect myself from splinters and dust. I’ve learned that keeping the blades sharp is key — a dull blade can cause the MDF to tear or chip.
If I need to round the edges of the panels, I use a router with a round-over bit. This gives the panels a smooth, finished look and prevents sharp edges from causing injury. I’ve also used a belt sander to smooth out any rough spots or imperfections. I always test the router on a scrap panel first to ensure I’m getting the right finish.
I’ve also experimented with adding decorative elements, like routed grooves or notches, to add visual interest. These details take time but can make the panels look more custom. I’ve found that taking the time to shape the panels properly makes a noticeable difference in the final result.
Always wear protective gear when cutting MDF. The dust can be hazardous, and sharp tools need to be handled carefully. Take your time — cutting accurately saves you from having to repeat the step.
“I remember the first time I tackled DIY MDF wall panelling in my old apartment — it was a hot summer afternoon, and I had…”— DIY Furniture with Mdf editors
Installing the Panels
I’ve used both nails and adhesive to install my panels, but I’ve found that adhesive is faster and cleaner. I use a high-quality construction adhesive that is designed for MDF. I apply a small amount to the back of each panel and press it firmly against the wall. I’ve learned that pressing down for at least 10 minutes ensures a strong bond.
I start by installing the first panel in the corner and work my way across the wall. I make sure to keep the panels aligned and spaced evenly. I’ve found that using a level frequently helps me maintain straight lines. Once the first row is installed, I move on to the next, ensuring the panels are aligned with the ones above.
I’ve also used a combination of adhesive and nails for added security, especially in high-traffic areas. This method gives me the best of both worlds — the clean look of adhesive and the stability of nails. I always use a nail gun for speed and consistency, but I’ve also used a hammer and nails for smaller projects.
Finishing the Panels
Once the panels are installed, I sand them with a fine-grit sanding block to create a smooth surface. This step is crucial for ensuring the paint or stain will adhere properly. I’ve found that sanding in the direction of the grain gives the best results. I always wear a dust mask to avoid breathing in the fine particles.
After sanding, I clean the panels with a tack cloth to remove any dust. This ensures the paint or stain will go on evenly. I’ve used both paint and wood stain in my projects, and both have worked well. For a more natural look, I’ve used a wood stain that enhances the grain of the MDF. For a bold look, I’ve used a matte or glossy paint.
I always apply two coats of paint or stain, allowing each coat to dry completely before applying the next. I’ve found that using a spray gun gives the smoothest finish, but a brush works well too. I’ve also used a clear sealant to protect the panels and make them more durable. This step is especially important if the panels will be in a high-traffic area.
Customizing and Styling the Panelling
One of the best things about DIY MDF wall panelling is the ability to customize it. I’ve used different paint finishes, like metallic, chalk, or wood grain, to create unique looks. I’ve also experimented with textures, like adding a raised edge or a routed groove, to give the panels more depth.
I’ve also used the panelling to create a feature wall — I painted the panels a bold color and used trim to frame the wall. This technique makes the space feel more dynamic and adds visual interest. I’ve found that using a combination of colors and textures can make the room feel more lively and inviting.
Another way to customize the panelling is by adding decorative elements like moldings, trim, or even lighting. I’ve used LED strips inside the panels to create a subtle glow that enhances the room’s ambiance. These small details can make a big difference in the final look of the project.
Don’t be afraid to get creative — your panelling is a canvas for your style.
Maintaining and Caring for Your MDF Panels
Once the panels are installed and finished, it's important to maintain them properly. I clean them regularly with a soft cloth and mild detergent to remove dust and dirt. I’ve found that using a microfiber cloth is the most effective — it doesn’t scratch the surface and leaves the panels looking clean and fresh.
If the paint or stain starts to fade or chip, I use a small brush to touch up the affected areas. I’ve found that using the same paint or stain as before ensures a seamless look. I always make sure the surface is clean and dry before applying the new coat.
For added protection, I recommend using a clear sealant, especially in high-traffic or humid areas. I’ve used a water-based polyurethane sealant that’s easy to apply and dries quickly. This step helps prevent moisture from damaging the panels and keeps them looking new for longer.[2]
💰 Budget Build
Use affordable MDF panels and basic tools to create a functional and attractive wall panelling without spending a lot.
⏰ Weekend Version
Complete the entire project in one weekend by focusing on essential steps and skipping optional details.
✨ Upgraded Finish
Enhance your panelling with high-quality paint, stain, or decorative elements for a more polished look.
🛋️ Small-Space Adaptation
Tailor the project for smaller rooms by using narrower panels and simpler installation methods.
🚪 Rental-Safe Option
Create removable or temporary panelling that can be easily taken down without damaging the walls.
| The mistake | Why it happens | The fix |
|---|---|---|
| Not preparing the wall properly | Skipping the cleaning and smoothing steps can lead to uneven panels and poor adhesion, especially when using adhesive. | Always clean and smooth the wall before installing the panels to ensure a secure and even finish. |
| Using the wrong type of MDF | Thin or warped panels can cause issues with the final look and durability of the project. | Choose MDF panels that are at least 1/2 inch thick and free of warping or imperfections. |
| Skipping the sanding step | Not sanding the panels can result in a rough surface that doesn’t take paint or stain well. | Always sand the panels with a fine-grit sanding block before applying paint or stain. |
| Overlooking the alignment of panels | Misaligned panels can create an uneven and unprofessional look. | Use a level frequently during installation to ensure the panels are straight and evenly spaced. |
Diy Mdf Wall Panelling
Common Questions
Can I install MDF wall panelling over existing wallpaper?
What tools do I need for this project?
Can I paint over MDF panels after installation?
How long does it take for the adhesive to dry?
References
- 2008-12-16_MISC - IIS Windows Server - Edina, MN (edinadocs.edinamn.gov)
- City Facility Design and Construction Standards (fortcollins.gov)
Cite this guide
DIY Furniture with Mdf (2026). Diy Mdf Wall Panelling. https://mdfcreate.com/diy-mdf-wall-panelling/
Feel free to cite or share this guide.