
How To Make Mdf Edges Smooth
📖 Table of Contents
- Choosing the Right Tools for Smoothing MDF Edges
- The Importance of Proper Surface Preparation
- The Sanding Process: Step-by-Step
- Using Edge Sanding Tools for Precision
- Finishing Touches: Cleaning and Preparing for Paint
- Common Mistakes and How to Avoid Them
- Final Tips for a Professional Finish
- Make It Your Way
- Frequently Asked Questions
There's nothing quite like the satisfaction of completing a DIY furniture project — especially when the finished piece feels like it came straight from a high-end showroom. But if you've ever tried to sand down MDF edges and ended up with a rough, uneven surface, you know the frustration of not being able to achieve that perfect, professional look. I've been there, too. It took me a few attempts and a lot of trial and error, but I finally figured out the right tools, techniques and materials to get those MDF edges smooth and ready for finish.
MDF — medium-density fiberboard — is a go-to material for DIYers because it's affordable, easy to cut and shape, and works well with most adhesives and finishes. However, its porous and fibrous nature means that it's not inherently smooth. If you're like me, you've probably noticed that even after the first round of sanding, MDF edges can still feel rough and uneven. That's where the real work begins — and the key to a polished, professional finish lies in the steps you take to smooth those edges properly.
In this article, I'll walk you through the exact process I've used time and time again to achieve smooth, seamless edges on MDF. From the right tools to the best sanding techniques, I've covered everything you need to create a piece of furniture that looks like it was made by a professional. Whether you're building a bookshelf, a cabinet or a custom desk, the methods I'll share here will help you avoid the common pitfalls that leave your work looking unfinished.
Why You'll Love This Method
- Achieve a professional, polished look without expensive tools or materials
- Save time and money by avoiding costly refinishing mistakes
- Ensure your DIY furniture feels as good as it looks with a smooth, even finish
- Create a custom piece of furniture that rivals store-bought quality
Choosing the Right Tools for Smoothing MDF Edges
As of September 2026, the right tools can make the difference between a job that takes hours and one that goes smoothly in under an hour. For MDF edges, a random orbital sander is a game-changer — it removes material more evenly than a belt sander and is less likely to leave gouges in the wood. I've found that using 120-grit sandpaper first, then moving to 220-grit, helps level the edges effectively. For finer work, a sanding block or even a piece of wood wrapped in sandpaper can help you maintain even pressure.
Another essential tool is a high-quality edge sander, which is specifically designed for smoothing the edges of MDF. These tools have a curved profile that follows the edge of the board, making it much easier to reach tight corners and seams. I’ve used mine on several projects and noticed a significant difference in the finish compared to using a regular sander. It’s a small investment that pays off in the long run.
Don’t forget to have a vacuum or dust collection system handy — MDF dust is notoriously stubborn and can ruin your work if not cleaned up properly. I always sand in a well-ventilated area and use a shop vacuum with a HEPA filter to capture the fine dust. This not only helps with the finish but also makes cleanup faster and easier.
Start with 120-grit sandpaper for the first pass, then move to 220-grit for a finer finish. For the final touch, use 320-grit or higher to get a smooth, polished surface that’s ready for paint or stain.
The Importance of Proper Surface Preparation
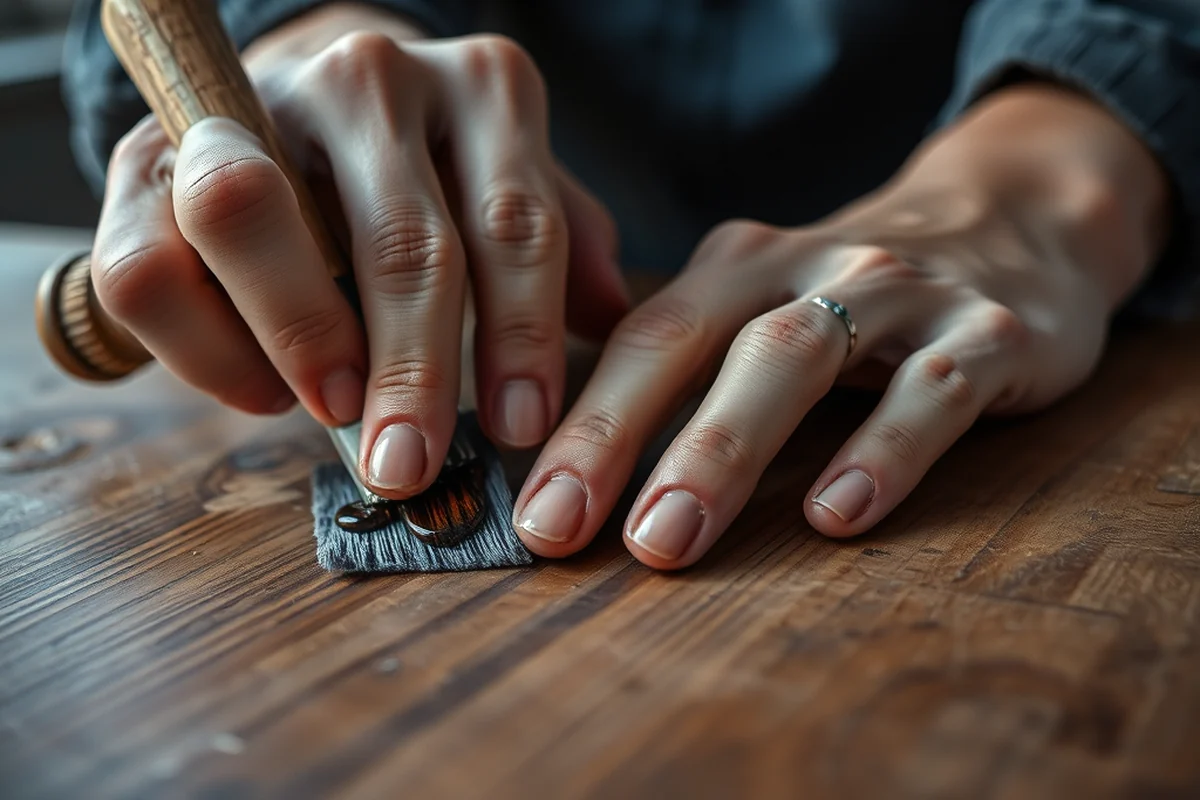
Proper preparation can make all the difference in the final result. I always start by cutting the MDF panels to the correct size and using a router or a jigsaw to make clean, straight cuts. Uneven edges can be a nightmare to sand, so taking the time to make precise cuts is essential. I’ve learned the hard way that even a small misalignment can create a visible gap that’s difficult to correct later.
Next, I use a router with a chamfer bit to round off the edges slightly. This not only makes the edges easier to sand but also helps prevent splintering when you start sanding. I’ve noticed that without this step, the edges tend to chip or crack, especially when I'm using a coarser grit of sandpaper. A slight rounding also helps the edges look more professional and less jagged.
Once the edges are rounded, I use a damp cloth to wipe down the MDF and remove any dust or debris. This ensures that the sandpaper can make proper contact with the surface and that the final finish will adhere better. Skipping this step can lead to a rougher texture and a less-than-ideal finish, even after multiple rounds of sanding.
A little preparation can save hours of work later — don’t skip the steps.
Related: Can you make mdf board waterproof
Related: What is better than mdf
Related: Can you make mdf water resistant
The Sanding Process: Step-by-Step
Sanding MDF edges can be tricky, but with the right approach, you can achieve a smooth, even finish. I always start by using a random orbital sander with 120-grit sandpaper. This helps remove the bulk of the roughness and creates a more even surface. I work in the direction of the grain, using even pressure to avoid uneven spots. I've found that going too fast or using too much pressure can cause the MDF to wear away unevenly.[1]
After the first pass, I switch to 220-grit sandpaper and repeat the process. This helps smooth out any remaining imperfections and prepares the surface for the final sanding step. I always make sure to clean the MDF with a damp cloth after each pass to remove dust and debris, which can interfere with the sanding process. This step is crucial because dust can create a rougher texture and make the final finish look uneven.
For the final pass, I use 320-grit sandpaper or higher. This helps create a very smooth surface that's ready for paint or stain. I've found that this step is especially important if you're planning to apply a finish like lacquer or polyurethane, as a rough surface can cause the finish to look uneven or textured. I always take my time with this step to ensure that the edges are as smooth as possible.
Always sand in the direction of the grain to avoid creating scratches or uneven spots. This helps the sandpaper glide smoothly over the surface and creates a more even finish.
“There's nothing quite like the satisfaction of completing a DIY furniture project — especially when the finished piece feels like it came straight from a…”— DIY Furniture with Mdf editors
Related: Can you make mdf smooth
Related: Can you make mdf waterproof
Related: Can you make mdf moisture resistant
Using Edge Sanding Tools for Precision

Edge sanding tools are a must-have for anyone looking to achieve smooth MDF edges. These tools have a curved profile that allows them to follow the edge of the board more closely than a regular sander. I've used several different models and found that they help create a much more even finish, especially in tight corners and seams.
One of the benefits of using an edge sander is that it allows you to apply even pressure along the edge, which helps prevent the MDF from wearing away unevenly. I've noticed that using a regular sander can lead to uneven results, especially if you're not careful with the pressure. An edge sander helps maintain a consistent finish, even in the most difficult spots.
Another advantage of using an edge sander is that it reduces the amount of time and effort needed to achieve a smooth finish. I've found that using this tool can cut the sanding time in half and help create a much more professional-looking result. It's a small investment that pays off in the long run.
Related: How to make mdf heat resistant
Related: Mdf full form
Finishing Touches: Cleaning and Preparing for Paint
Once you've finished sanding, it's time to clean the MDF and prepare it for the final finish. I always use a vacuum with a HEPA filter to remove the fine dust, as MDF dust can be very stubborn and difficult to clean. I've found that using a vacuum helps ensure that the surface is completely free of dust before applying any finish.
After vacuuming, I wipe the MDF with a damp cloth to remove any remaining debris and give the surface a final clean. This helps ensure that the paint or stain will adhere properly and that the final finish will look smooth and even. I've noticed that skipping this step can lead to a rougher texture and a less-than-ideal finish, even after multiple coats of paint.
Finally, I apply a wood conditioner or primer to the MDF to help the paint or stain adhere better. This step is especially important if you're using a finish like lacquer or polyurethane, as a rough surface can cause the finish to look uneven or textured. I've found that this step helps create a much smoother, more professional-looking finish.
Related: Mdf table good
Related: Table gigogne mdf
Common Mistakes and How to Avoid Them
One of the most common mistakes I see is not using the right grit of sandpaper. Using a coarser grit can cause the MDF to wear away unevenly, while using a finer grit too early can lead to a rougher finish. I've made this mistake before, and it ended up costing me hours of extra work to fix.
Another common mistake is not cleaning the MDF properly after each pass of sanding. Dust and debris can build up quickly, especially on MDF, and can create a rougher texture if not removed. I've learned the hard way that taking the time to clean the MDF after each pass helps create a much smoother finish.
Finally, many DIYers skip the step of using a wood conditioner or primer before applying paint or stain. This can lead to an uneven finish and make the paint or stain look rougher. I've found that using a primer helps create a much smoother, more professional-looking result.
Avoid these common mistakes and you'll save time, money and frustration.
Related: How to make mdf waterproof
Related: How to make mdf harder
Final Tips for a Professional Finish
To achieve a professional-level finish, it's important to take your time and use the right tools for the job. I've found that using a random orbital sander with the correct grit of sandpaper helps create a smooth, even finish that looks great. It's also important to clean the MDF thoroughly after each pass of sanding to ensure that the surface is free of dust and debris.
Using an edge sander can also help create a much more even finish, especially in tight corners and seams. I've used this tool on several projects and noticed a significant difference in the final result. It's a small investment that pays off in the long run.
Finally, don't forget to apply a wood conditioner or primer before applying paint or stain. This helps create a smoother, more even finish and can make the final result look more professional. Taking the time to follow these steps can make all the difference in the quality of your finished piece.
💰 Budget Build
A cost-effective way to achieve smooth MDF edges using basic tools and materials.
⏰ Weekend Version
A quick and efficient method for smoothing MDF edges in just a few hours on the weekend.
✨ Upgraded Finish
Enhance your MDF edges with a high-quality finish that looks and feels like store-bought furniture.
🏠 Small-Space Adaptation
A space-saving approach to smoothing MDF edges that works well in small workshops or home offices.
🔒 Rental-Safe Option
A method that minimizes damage to rental properties while still achieving a professional finish on MDF edges.
| The mistake | Why it happens | The fix |
|---|---|---|
| Using the wrong grit of sandpaper | Using a coarser grit can cause the MDF to wear away unevenly, leading to a rougher texture. | Start with 120-grit sandpaper and move to 220-grit and 320-grit for the final finish. |
| Not cleaning the MDF after each pass of sanding | Dust and debris can build up on the surface and create a rougher texture if not removed. | Use a vacuum with a HEPA filter and wipe the MDF with a damp cloth after each pass of sanding. |
| Skipping the wood conditioner or primer step | This can lead to an uneven finish and make the paint or stain look rougher. | Apply a wood conditioner or primer before painting to ensure a smooth, even finish. |
| Using too much pressure when sanding | Applying too much pressure can cause the MDF to wear away unevenly, leading to a rougher texture. | Use even pressure and move the sander in the direction of the grain for a more even finish. |
How To Make Mdf Edges Smooth
Common Questions
What grit sandpaper should I use for smoothing MDF edges?
Do I need a special tool for smoothing MDF edges?
Can I use a regular sander to smooth MDF edges?
How do I clean MDF after sanding?
References
- City Facility Design and Construction Standards (fortcollins.gov)
Cite this guide
DIY Furniture with Mdf (2026). How To Make Mdf Edges Smooth. https://mdfcreate.com/how-to-make-mdf-edges-smooth/
Feel free to cite or share this guide.