
Diy Mdf Accent Wall
📖 Table of Contents
The first time I built an MDF accent wall, I was amazed at how quickly a plain, lifeless corner of my living room transformed into a statement piece. I had read about MDF (medium-density fiberboard) as a budget-friendly option for furniture, but never imagined it could be used for such a bold and striking design element. What started as a whim turned into a project I now use as a template for all my DIY wall projects.[1]
MDF is a material I've come to love for its versatility and affordability. It's smooth, easy to cut, and accepts paint, stain, and even wood veneer with ease. When I first started experimenting with DIY wall projects, I found that MDF could be both a canvas and a structural support, allowing me to create something custom without the expense of traditional wood. That’s why I chose to build my own MDF accent wall — not just for aesthetics, but for functionality and value.
Creating an MDF accent wall is a surprisingly approachable project that doesn’t require advanced tools or a large budget. I’ve tested multiple variations — from painted panels to raised-relief designs — and found that it’s a rewarding way to add character to a space. Whether you're looking for a focal point in a room or a way to cover up imperfections on drywall, an MDF accent wall is a smart, DIY-friendly choice that can make a big impact with minimal effort.
Why You'll Love This DIY MDF Accent Wall
- Affordable and easy to work with — MDF is a budget-friendly material that's simple to cut and shape.
- Versatile — Paint, stain, or decorate with veneer to match any interior style or color palette.
- Quick to complete — Most projects can be finished in one weekend with basic tools and materials.
- Durable and long-lasting — When properly sealed, an MDF wall can withstand years of use and remain in excellent condition.
Why MDF Is Perfect for Accent Walls
As of August 2026, MDF is a type of engineered wood made from wood fibers and synthetic resins. It’s denser than particleboard but not as dense as solid wood, which makes it easier to cut and shape. This makes it a great option for DIY projects where you need to create custom shapes or panels.
One of the biggest benefits of using MDF for an accent wall is its smooth surface, which allows for seamless painting or staining. I’ve painted my own MDF walls with both latex and oil-based paints, and both worked well without any issues. The surface doesn’t require sanding before painting, which saves time and effort.
I’ve also found that MDF is highly durable when properly sealed. After sealing my first MDF accent wall with multiple coats of polyurethane, it held up well to daily use and even minor impacts. It’s not as strong as solid wood, but for an accent wall that doesn’t need to support weight, it’s perfectly suitable.
For a polished look, use a router with a straight bit to cut clean edges on your MDF panels. This will help you avoid splintering and make your wall look more professional.
Choosing the Right MDF for Your Project
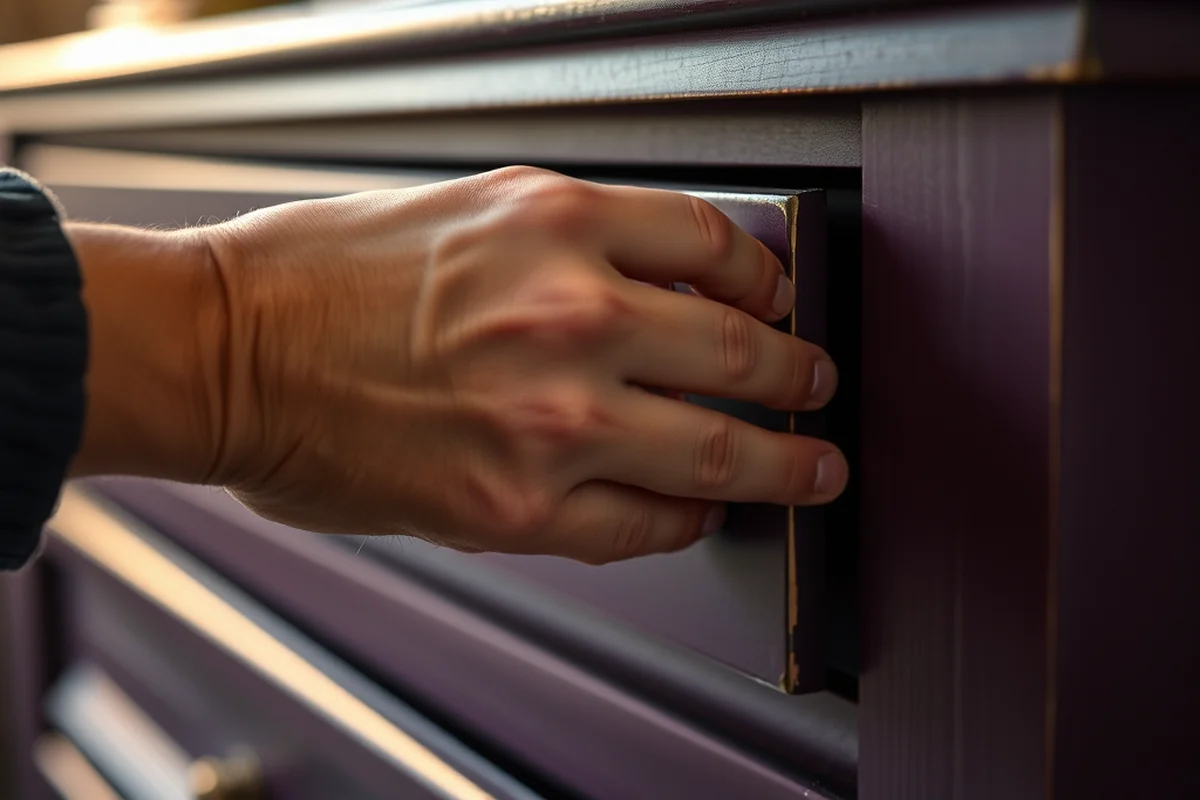
Not all MDF is the same, and choosing the right type can make a big difference in the outcome of your project. I’ve found that moisture-resistant MDF is ideal for rooms that may be exposed to higher humidity, such as bathrooms or kitchens. It’s slightly more expensive but worth the investment if you’re working in such areas.
When purchasing MDF panels, look for ones with a smooth, even surface. Panels with knots, voids, or uneven textures can make painting or staining more difficult and may show imperfections in the finished product. I’ve had to replace a few panels in the past because the surface was too rough for a clean paint job.
For a standard living room or bedroom, regular MDF will work just fine. I’ve used it multiple times and found that it holds up well to painting and staining without any issues. Just be sure to buy enough panels to cover the area you’re planning to build the wall on.
Choose moisture-resistant MDF if your accent wall is in a high-humidity area.
Related: Mdf furniture cornice
Related: Diy mdf cabinet doors
Related: Diy Mdf Board And Batten
Related: Mdf furniture diy
Related: Can You Make Mdf Moisture Resistant
Measuring and Cutting Your MDF Panels
Before cutting any MDF panels, measure the space where your accent wall will go. I always use a tape measure and mark the height and width on the floor to visualize the final look. It’s also a good idea to sketch a rough layout to help plan how many panels you’ll need and how they’ll fit together.
Once you’ve measured everything, it’s time to cut the MDF. I’ve used both a jigsaw and a circular saw for this part of the project. A jigsaw is great for making curved or intricate cuts, while a circular saw is faster for straight cuts. Either way, it’s important to use a fine-toothed blade to avoid splintering.
After cutting your panels, take a moment to sand the edges. This helps prevent splinters and makes the panels easier to handle. I’ve found that using a fine-grit sandpaper (around 220 grit) works best for smoothing out the edges of MDF without damaging the surface.[2]
Always double-check your measurements before cutting to avoid wasting material. A small mistake in the early stages can lead to a lot of rework later on.
“The first time I built an MDF accent wall, I was amazed at how quickly a plain, lifeless corner of my living room transformed into…”— DIY Furniture with Mdf editors
Related: Mdf furniture safety
Related: Furniture mdf
Related: Furniture from mdf
Assembling Your MDF Panels
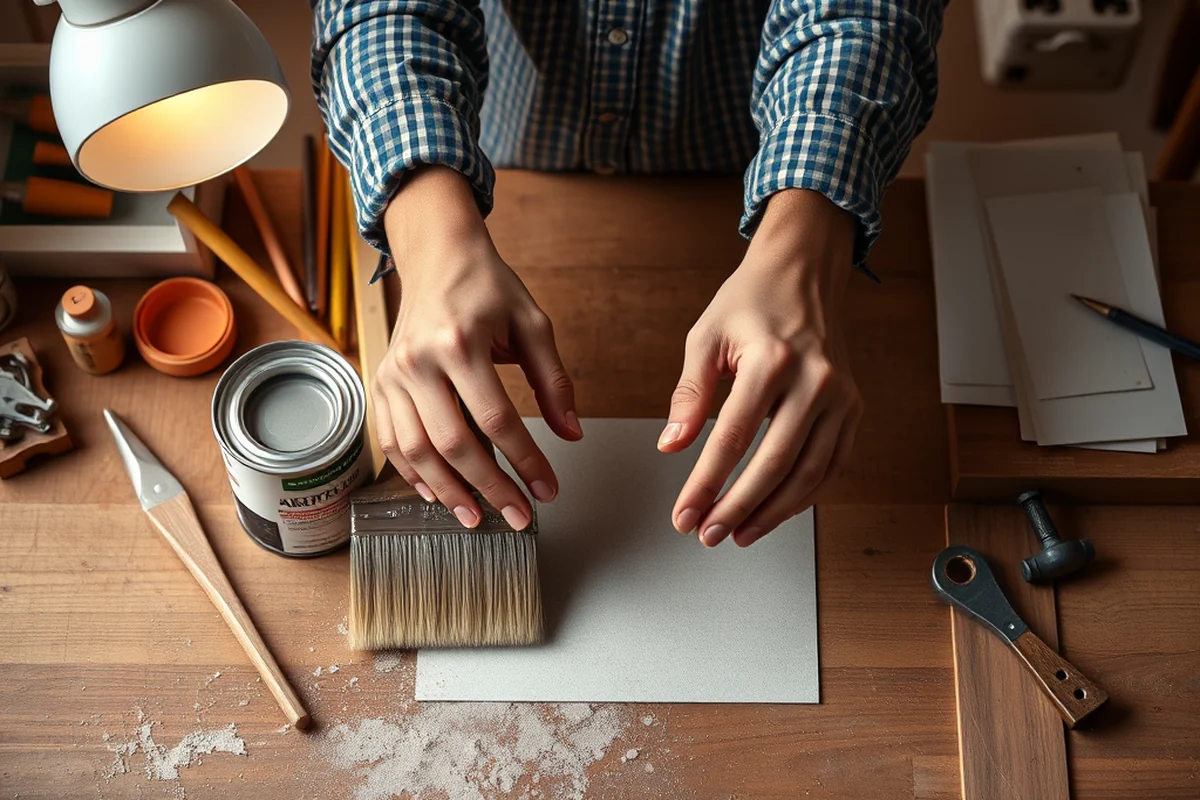
Once your panels are cut and sanded, it’s time to assemble them. I’ve used wood glue and finishing nails to secure the panels in place. The glue provides a strong bond, while the nails help hold everything together until the glue dries.
I prefer using a nail gun for this step because it’s faster and more efficient. It allows me to secure the panels quickly without having to wait for glue to dry. However, if you don’t have a nail gun, a hammer and finishing nails will work just fine.
After assembling the panels, I like to check the structure for stability. If it feels loose in any spots, I’ll add more nails or apply extra glue to reinforce the joints. This step is crucial to ensure the wall remains secure and doesn’t come apart over time.
Related: Diy mdf shaker cabinet doors
Related: Diy mdf cupboard doors
Related: Furniture mdf material
Painting or Staining Your Accent Wall
After the MDF panels are assembled, it’s time to paint or stain them. I’ve used both water-based and oil-based paints on my accent walls, and both worked well. The key is to apply a thin, even coat and allow each coat to dry completely before applying the next.
For a more natural look, I’ve also used wood stain on my MDF panels. Stain allows the grain of the MDF to show through, giving the wall a more organic feel. I’ve found that applying a few light coats of stain and then sealing it with polyurethane works best for durability.
I always recommend sealing the wall after painting or staining, especially if it’s in a high-traffic area. A clear polyurethane finish helps protect the surface from scratches and wear, ensuring the wall lasts for years.
Related: Diy mdf wall panelling
Related: Diy mdf board
Adding Texture or Design Elements
One of the best ways to improve your MDF accent wall is by adding texture or design elements. I’ve experimented with raised panels, which create a three-dimensional look that adds depth to the wall. These can be made by cutting and shaping additional MDF pieces and attaching them to the main panel.
Molding and trim are also great ways to add visual interest to your accent wall. I’ve used crown molding and picture rails to frame the wall and give it a more finished look. These can be purchased at most home improvement stores and are relatively easy to install with a miter saw and some wood glue.
For a more artistic touch, I’ve also tried using decorative veneer or wood inlays. These can be glued onto the MDF panels and painted or stained to match the rest of the wall. This technique allows for more customization and can help create a unique design that stands out in your space.
Texture and design elements can transform a plain accent wall into a stunning focal point.
Related: Why is mdf furniture so expensive
Related: Diy furniture with mdf
Mounting and Finishing Touches
Mounting your MDF accent wall is the final step in the process. I’ve used a combination of drywall anchors and screws to secure the wall to the wall. It’s important to use the right size anchors to ensure the wall is supported properly.
Before attaching the wall, I always use a level to check that it’s straight. If it’s not, I’ll need to adjust the position until it’s perfectly aligned. This step is crucial to ensure the wall looks professional and doesn’t wobble.
After mounting the wall, I like to add some finishing touches, like decorative trim or molding around the edges. This helps give the wall a more polished look and makes it feel more integrated with the rest of the room. I’ve also used wall hooks or brackets to add a more functional aspect to my accent walls, which can be useful for hanging art or displaying items.
💰 Budget Build
Use inexpensive MDF panels and basic paint to create a simple, cost-effective accent wall that adds color and character to your space.
⏰ Weekend Version
Complete your accent wall in a single weekend with pre-cut panels and a quick paint job that doesn’t require advanced tools or skills.
✨ Upgraded Finish
Add a high-gloss paint or lacquer for a more polished look, or use decorative veneer to give your wall a unique, custom design.
🛋️ Small-Space Adaptation
Create a smaller, more compact accent wall that fits well in small rooms, such as a bedroom or hallway, and use lighter colors to make the space feel more open.
🚪 Rental-Safe Option
Build a temporary MDF accent wall that can be easily removed and taken with you if you need to move out — perfect for renters who want to personalize their space.
| The mistake | Why it happens | The fix |
|---|---|---|
| Not sealing the MDF properly | If you don’t seal the MDF, it can absorb moisture and warp over time, especially in high-humidity areas. | Always apply a clear polyurethane finish to protect the MDF from moisture and damage. |
| Using the wrong type of paint | Using the wrong paint can lead to peeling or chipping, especially if the paint isn’t compatible with MDF. | Choose a paint that’s suitable for MDF, such as a water-based or oil-based paint, and ensure the surface is clean and dry before applying. |
| Not measuring accurately | Inaccurate measurements can lead to panels that don’t fit together properly, creating gaps or an uneven look. | Take the time to measure your space carefully and double-check your measurements before cutting any panels. |
| Using low-quality MDF | Low-quality MDF may be more prone to warping, cracking, or splintering, which can ruin the look and durability of your accent wall. | Invest in high-quality, moisture-resistant MDF panels for the best results. |
Diy Mdf Accent Wall
Common Questions
Can I use MDF in a bathroom?
Do I need to prime MDF before painting it?
How long does it take for MDF to dry after painting?
Can I use MDF for a large accent wall?
References
- 041713 PC Agenda - IIS Windows Server - Temecula CA (laserfiche.temeculaca.gov)
- Hollin Hills Historic District - NPGallery (npgallery.nps.gov)
Cite this guide
DIY Furniture with Mdf (2026). Diy Mdf Accent Wall. https://mdfcreate.com/diy-mdf-accent-wall/
Feel free to cite or share this guide.