
Diy Mdf Fridge Magnets
📖 Table of Contents
- What You Need to Get Started
- Choosing the Right Magnet for Your DIY MDF Fridge Magnets
- Customizing Your DIY MDF Fridge Magnets
- Making Sure Your DIY MDF Fridge Magnets Are Durable
- Tips for Cutting and Shaping Your MDF
- Adding a Personal Touch with Text and Images
- Storing and Maintaining Your DIY MDF Fridge Magnets
- Make It Your Way
- Frequently Asked Questions
I still remember the first time I stuck a homemade MDF fridge magnet on my kitchen door — it felt like a tiny victory, a quiet sign that I could actually build something useful with my own hands. The magnet was simple: a 4x6 inch rectangle of MDF, painted with my favorite navy blue, and sealed with a thin layer of epoxy. It wasn’t perfect, but it held a key and a grocery list, and that felt like magic. For years, I had assumed that fridge magnets were one of those ‘buy at the store’ things, but a trip to a local hardware store changed that. There, I found MDF sheets for under $10, and everything clicked into place. I realized that with the right tools and a bit of patience, I could make fridge magnets that were not only functional but also uniquely mine.
DIY MDF fridge magnets are a great way to add personality to your kitchen while also getting creative with materials that are both affordable and easy to work with. Unlike the generic plastic or metal magnets you find in stores, custom MDF magnets allow you to embed photos, artwork, or even small mementos of your life into the design. It’s a way to make the everyday more meaningful, and I found that the process of making them was just as satisfying as the final product. Whether you're a seasoned DIYer or just starting out, this project is a fantastic way to explore the possibilities of MDF and magnetization.
What surprised me the most was how quickly the project came together once I got the hang of it. I spent about an hour cutting and assembling my first magnet, and it was ready to hang on the fridge the same day. It wasn’t just about the time it took to make the magnet — it was about the satisfaction of seeing something I created with my own hands become a part of my home. I started making them in batches, and over time, I built a collection that reflected my personality, my family, and even my interests. DIY MDF fridge magnets are more than just a craft project; they're a way to make your space feel more like yours.
Why You'll Love This DIY MDF Fridge Magnet Project
- Customizable to fit your personal style and space
- Cost-effective compared to store-bought options
- Quick and easy to complete, even for beginners
- Adds a unique, handmade touch to your kitchen
What You Need to Get Started
As of August 2026, to make your own DIY MDF fridge magnets, you’ll need a few basic materials. Start with a sheet of MDF — I typically use 3mm thickness for magnets because it’s thin enough to hold on the fridge but strong enough to stay in place. I bought mine at a local hardware store for around $10 per sheet. Next, you’ll need a jigsaw or a scroll saw to cut the MDF into your desired shapes. I found that a jigsaw was more than enough for simple shapes like rectangles or circles, and I used a guide to keep things straight. Once you’ve cut out your pieces, it’s time to sand them down. I used 120-grit sandpaper first, then moved up to 220-grit for a smoother finish.[1]
After sanding, I painted the pieces with a small brush and a few coats of acrylic paint. I used a variety of colors, but my favorite was a deep navy blue for a modern look. Once the paint was dry, I applied a coat of epoxy resin to give the magnets a glossy, durable finish. I picked a clear, fast-drying epoxy because I wanted the magnets to be ready to use as soon as possible. Finally, I attached a strong neodymium magnet to the back of each piece using a two-part epoxy adhesive. I made sure to let the adhesive cure fully before using the magnets on the fridge — it took about 24 hours, but the results were worth the wait.
If you’re new to working with MDF, you might want to start with a simple shape, like a rectangle or a circle. I found that starting with a rectangle made it easier to get the hang of the process before moving on to more complex designs. I also recommend keeping a small container of water on hand — I used it to dampen the MDF while sanding to help reduce the dust. It made the process cleaner and more comfortable for my hands. Overall, the materials were easy to find and affordable, which made the whole project feel less intimidating and more like a fun weekend activity.
When using a jigsaw, place a straight edge or a piece of scrap wood on the MDF to act as a guide. This helps ensure that your cuts are straight and even, especially if you're new to the tool.
Choosing the Right Magnet for Your DIY MDF Fridge Magnets
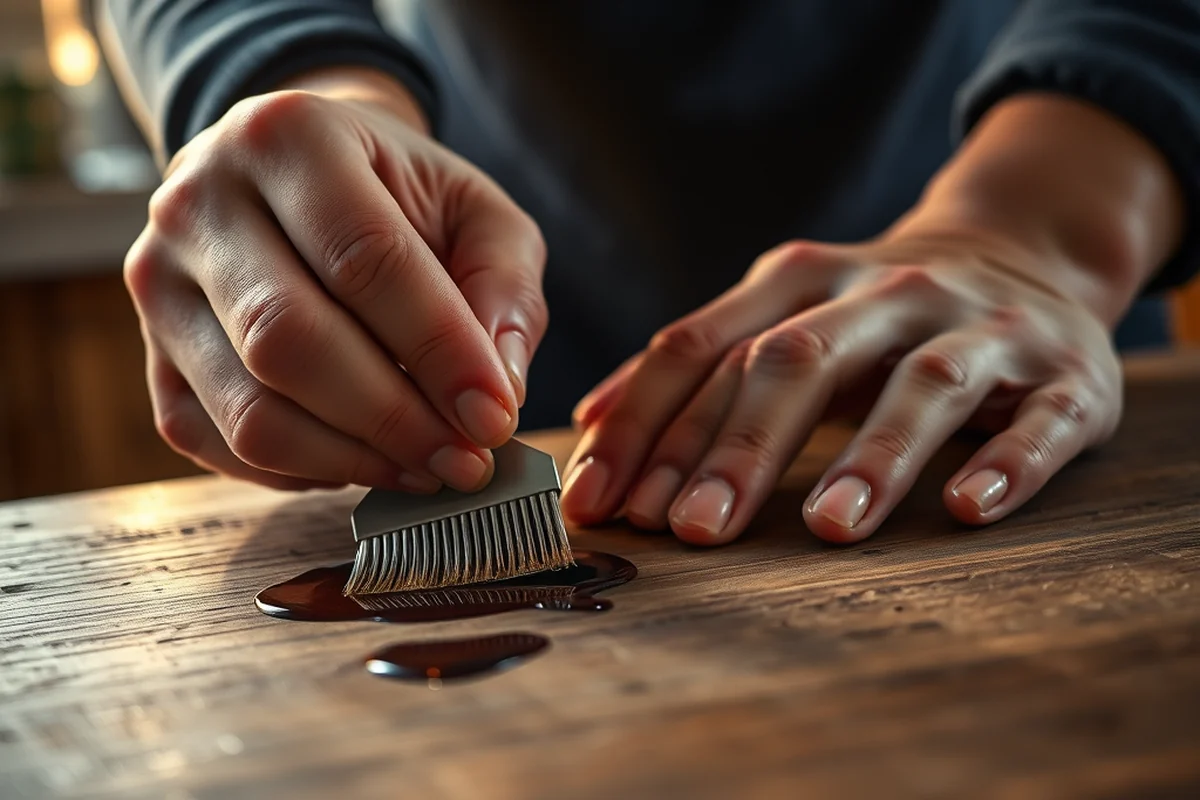
One of the most critical choices when making DIY MDF fridge magnets is selecting the right magnet. I initially tried using small metal discs, but they didn’t hold up well and often fell off the fridge. After some research, I discovered that neodymium magnets are the best option for this project. They’re powerful and can stick to a fridge with ease, even if the fridge has a stainless steel surface. I bought some adhesive-backed neodymium magnets from a local hobby store, and they made the process much easier. I simply peeled them off the backing and stuck them to the back of the MDF pieces before applying the epoxy.[2]
I tested a few different types of magnets during this process, and the neodymium ones were clearly superior. They’re also small enough to fit neatly on the back of the MDF without bulking up the design. One thing to note is that neodymium magnets are quite strong — I had to be careful not to drop them or let them come into contact with other magnets, as they can stick together with a lot of force. I also found that using a strong adhesive like epoxy was essential to keep the magnets securely attached to the MDF. If the magnet isn’t firmly attached, it could come loose over time, especially if the fridge is bumped or if the magnet is used frequently.
Another thing I considered was the size of the magnet. I found that a 1.5-inch diameter magnet worked well for most of my MDF pieces — it was big enough to provide a strong grip but small enough to be unobtrusive. I also experimented with smaller magnets for more intricate designs, and they worked just as well. It’s important to choose a magnet that’s appropriate for the size of your MDF piece — if the magnet is too small, it may not hold the magnet securely on the fridge. Overall, the right magnet makes all the difference in how well your DIY MDF fridge magnets perform and look.
Choosing the right magnet is key — a strong neodymium magnet ensures your DIY MDF fridge magnets stick securely to the fridge.
Related: Table Gigogne Mdf
Related: Diy Mdf Wall Panelling
Related: Diy Mdf Shaker Cabinet Doors
Related: Mdf Furniture Safety
Related: Diy Mdf Board
Related: Safavieh Area Rugs
Customizing Your DIY MDF Fridge Magnets
One of the best parts of making DIY MDF fridge magnets is the ability to customize them to fit your personal style. I started with simple acrylic paints, but I soon discovered that I could go even further by adding photos, text, or decorative elements to the magnets. I used a heat transfer vinyl to add text to some of my magnets, and it looked professional and lasted for months. I also tried using a small amount of decoupage glue and fabric scraps to create a textured look on a few of my magnets. The results were surprisingly elegant and gave each magnet a unique identity.
I found that using a clear epoxy resin was essential to protect the custom designs I added. It helped keep the colors from fading and prevented the materials from peeling off over time. I applied the epoxy in thin, even layers, allowing each layer to cure completely before adding the next. This not only gave the magnets a glossy finish but also made them more durable. I also experimented with using different types of paint, including metallic and chalk paints, to achieve different effects. The metallic paint added a subtle sheen that caught the light beautifully, while the chalk paint gave the magnets a rustic, handmade look.
Another idea I tried was embedding small mementos into the magnets — like a tiny seashell or a scrap of fabric from a favorite shirt. I used a bit of epoxy to secure these items in place, and it added a personal touch that made each magnet feel like a piece of my life. I found that the customization process was one of the most fun parts of the project — it was like creating small pieces of art that I could use every day. The ability to personalize each magnet made the whole experience more rewarding and more meaningful.
If you're adding text or images to your magnets, consider using a heat press. It allows for precise, professional-looking results and can be reused for future projects.
“I still remember the first time I stuck a homemade MDF fridge magnet on my kitchen door — it felt like a tiny victory, a…”— DIY Furniture with Mdf editors
Making Sure Your DIY MDF Fridge Magnets Are Durable
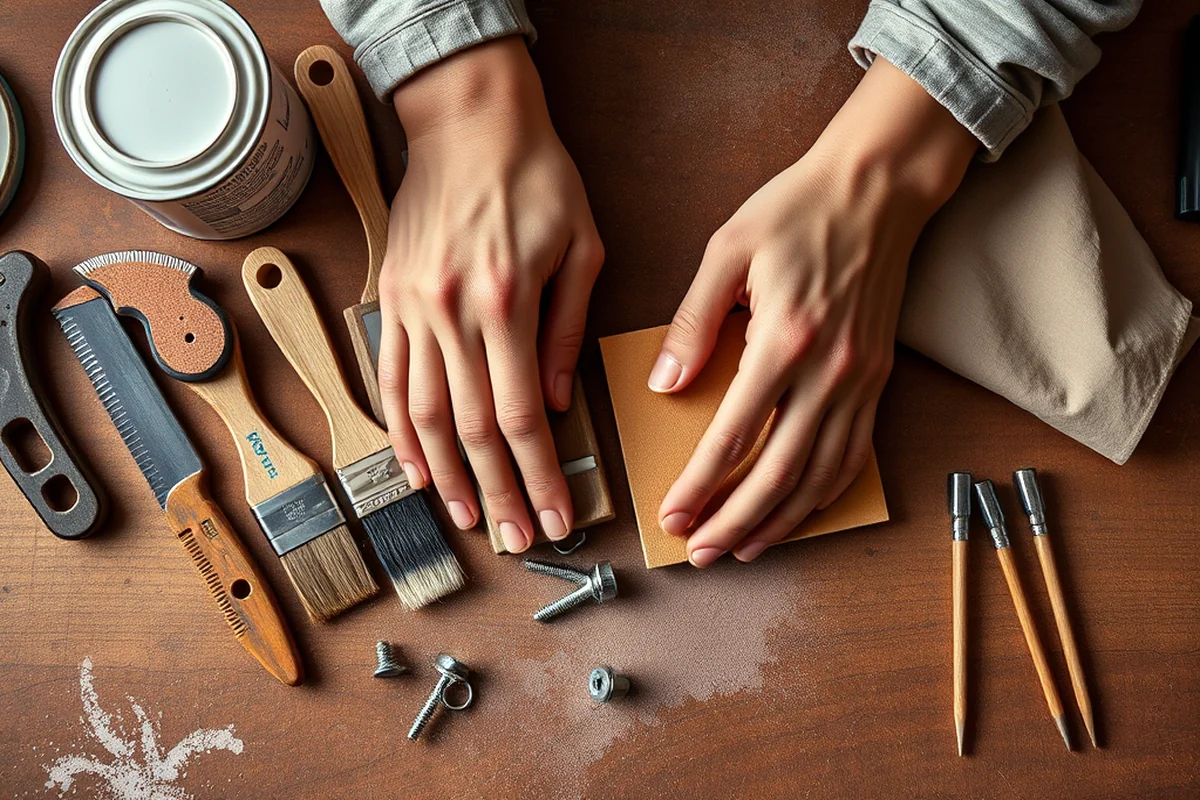
Once you've painted and added the magnet to your DIY MDF fridge magnets, it's important to make sure they’re properly sealed and protected. I found that using a clear epoxy resin was the best way to achieve a durable finish. It not only protected the paint from chipping or fading but also made the magnets easier to clean. I applied the epoxy in thin layers, allowing each layer to cure completely before applying the next. This ensured that the finish was even and that the epoxy didn’t bubble or crack.
In addition to epoxy, I also used a clear spray sealer to give the magnets an extra layer of protection. I found that the spray sealer was especially useful for areas that were more prone to wear and tear — like edges or corners. I applied the sealer in a well-ventilated area and made sure to let it dry completely before using the magnets on the fridge. This helped prevent the sealer from smudging or leaving a residue on the fridge.
Another thing I did to make the magnets more durable was to sand them down after painting but before applying the epoxy. I used a fine-grit sandpaper to remove any imperfections or rough spots on the surface. This made the finish smoother and more even. I also found that using a small brush to apply the epoxy helped me get into the corners and edges more easily. Overall, the finishing process was an essential step — it made the magnets more resistant to damage and ensured that they looked great for a long time.
Tips for Cutting and Shaping Your MDF
Cutting and shaping your MDF is one of the most important steps in making DIY MDF fridge magnets, and doing it correctly can make a big difference in the final result. I found that using a jigsaw with a fine-tooth blade was the best way to achieve clean, precise cuts. I used a straight edge as a guide to make sure my cuts were straight, and I made sure to keep the blade well-lubricated to prevent overheating. I also found that cutting the MDF slowly and carefully helped reduce the risk of splintering or tearing the material.
After cutting the pieces, I always sanded them down to remove any rough edges or splinters. I used a fine-grit sandpaper, like 220-grit, to ensure a smooth finish. I also found that using a damp cloth to wipe the MDF as I worked helped reduce the amount of dust that accumulated. This made the process cleaner and more comfortable for my hands. I also used a small file to smooth out any rough spots or corners that the sandpaper didn’t catch.
One thing I learned early on was the importance of using the right blade for the job. I initially tried using a standard blade, but it wasn’t cutting as smoothly as I wanted. After switching to a fine-tooth blade, I noticed a big improvement in the quality of the cuts. I also found that cutting the MDF in one direction — rather than back and forth — helped reduce the risk of the blade slipping or breaking. Overall, taking the time to cut and shape the MDF properly made a big difference in the final look and feel of the magnets.
Adding a Personal Touch with Text and Images
One of the most fun parts of making DIY MDF fridge magnets is adding text and images that reflect your personality. I used a heat transfer vinyl to add names, quotes, and even small illustrations to some of my magnets. It was a quick and easy way to add a personal touch, and the results were surprisingly professional-looking. I also used a small brush to paint text directly onto the magnets — it was a bit more time-consuming, but it gave the magnets a hand-painted look that I really liked.
For images, I used a small amount of decoupage glue to adhere small photos or prints onto the magnets. I found that using a light coat of glue helped keep the images in place without making the magnets too thick. I also used a clear sealer to protect the images and prevent them from peeling off. It was a simple but effective way to add a personal element to the magnets. I also experimented with using different fonts and colors to make the text stand out more — bold, contrasting colors worked best for readability.
Another idea I tried was using a small amount of epoxy to embed tiny mementos into the magnets — like a seashell or a small piece of fabric. It was a creative way to add a unique, personal touch that made each magnet feel like a part of my life. I found that the text and images not only made the magnets more personal but also helped them stand out on the fridge. Overall, adding these details made the magnets more than just functional — they became little works of art that I used every day.
Adding text and images gives your magnets a unique, personal touch that makes them stand out.
Storing and Maintaining Your DIY MDF Fridge Magnets
Once your DIY MDF fridge magnets are complete, it's important to store and maintain them properly to ensure they last for years. I found that keeping them in a cool, dry place helped prevent the paint or epoxy from fading or peeling. I used a small box or a drawer to keep them organized, and I made sure not to stack them too tightly to avoid any damage. I also found that using a soft cloth to wipe the magnets occasionally helped keep them clean and free from dust or fingerprints.
If the magnets ever start to look worn or chipped, I found that a quick touch-up with a small brush and a bit of acrylic paint was enough to restore them to their original condition. I also used a small amount of epoxy to reseal any areas that had become dull or scratched. It was a simple but effective way to keep the magnets looking new. I also made sure to avoid using harsh cleaners or abrasive materials on the magnets, as these could damage the finish or the magnet itself.
Another thing I did was to label the magnets with the name of the person they were intended for — it helped me organize them more easily and ensured that everyone in the house could find the right magnet quickly. I found that this small detail made the magnets more user-friendly and made it easier to keep track of them over time. Overall, proper storage and maintenance helped ensure that the magnets remained functional and attractive for a long time.
💰 Budget Build
Create simple, no-frills magnets using basic materials to keep costs low.
⏰ Weekend Version
Make a batch of magnets in one day with easy steps and minimal cleanup.
✨ Upgraded Finish
Add a high-gloss, professional look with premium paint and epoxy.
🏠 Small-Space Adaptation
Make smaller magnets to save space and fit more on your fridge.
🧰 Rental-Safe Option
Create magnets that can be removed easily without damaging the fridge.
| The mistake | Why it happens | The fix |
|---|---|---|
| Using the wrong type of magnet | Using a weak magnet can cause your DIY MDF magnets to not stick properly to the fridge, making them less functional. | Choose a strong neodymium magnet that's appropriate for the size of your MDF piece. |
| Not sealing the magnets properly | Failing to seal the paint or epoxy can cause the magnets to chip or fade over time, especially if they're exposed to moisture or heat. | Apply a clear epoxy or sealer after painting to protect the surface and ensure a long-lasting finish. |
| Cutting the MDF incorrectly | Poorly cut MDF can lead to uneven shapes or rough edges that may be uncomfortable to use on the fridge. | Use a fine-tooth blade and take your time to make clean, precise cuts. |
| Not letting the epoxy cure fully | Using the magnets before the epoxy has fully cured can cause them to crack or break, especially if they're bumped or moved around. | Always wait for the epoxy to cure completely before using the magnets on the fridge. |
Diy Mdf Fridge Magnets
Common Questions
How do I make sure my MDF magnets are strong enough to stick to the fridge?
Can I use any type of paint on my MDF magnets?
How do I protect my magnets from fading or chipping?
Can I use my magnets on a stainless steel fridge?
References
Cite this guide
DIY Furniture with Mdf (2026). Diy Mdf Fridge Magnets. https://mdfcreate.com/diy-mdf-fridge-magnets/
Feel free to cite or share this guide.