
Mdf Furniture Cornice
📖 Table of Contents
- Understanding the MDF Cornice: What It Is and Why It Works
- Tools You'll Need for Your MDF Cornice Project
- Designing Your Cornice: From Sketch to Cut
- Painting Your MDF Cornice: Tips and Tricks
- Mounting Your MDF Cornice: How to Attach It to the Wall
- Finishing Touches: Adding the Final Details
- Customizing Your MDF Cornice: Making It Unique to Your Space
- Make It Your Way
- Frequently Asked Questions
The first time I carved a cornice from MDF, I wasn’t sure if I’d made something beautiful or a mess. I was halfway through the project when I realized how much I’d underestimated the charm of a cornice. It’s that ornate, decorative molding that runs along the top of a wall or ceiling, often in older homes, but it doesn’t have to be limited to antique furniture. I made one for my living room, and it transformed the space. I now know that MDF, or Medium-Density Fiberboard, is a perfect material for DIYers who want to create elegant, custom cornices without the cost or complexity of traditional wood.[3]
Working with MDF for a cornice was a revelation. I had always thought of it as a cheap, flimsy material, but in reality, it’s incredibly versatile and easy to shape. It didn’t warp like plywood, and it didn’t splinter like particle board. It behaved like a dream when I used a jigsaw to cut curves, and it held paint beautifully after I sanded it smooth. The process of building my first cornice taught me so much about the potential of MDF in furniture making. It’s not just for shelves or cabinets anymore—it’s for adding a touch of elegance to any room.[4]
Since that first cornice, I’ve made several more, each with slight variations in design and technique. Some were simple, straight lines for a minimalist look, while others had intricate carvings that took hours to complete. I’ve learned that the key to a great MDF cornice is in the details: the right tools, the proper cuts, and the patience to make each piece fit perfectly. If you're thinking about making your own MDF furniture cornice, I can assure you that it’s a project that’s both satisfying and surprisingly simple, especially with the right guidance.[5]
Why You'll Love This MDF Furniture Cornice
- Cost-effective material that still looks elegant and refined
- Easy to shape and customize to fit any space
- Quick to assemble and paint for a polished finish
- Versatile enough for both modern and traditional interiors
Understanding the MDF Cornice: What It Is and Why It Works
As of August 2026, MDF cornices are a modern take on the classic cornice, a decorative molding that has been used for centuries in architecture and furniture design. Unlike traditional wood, which can be expensive and difficult to work with, MDF is affordable, easy to cut, and highly customizable. I found that MDF was perfect for my project because it allowed me to create intricate designs without worrying about the material warping or cracking during the process.[1]
I used a 12mm MDF board for my cornice, which was thick enough to hold up under the weight of the paint and the mounting hardware. The board was smooth to the touch and didn’t require any special conditioning before I started carving. I was able to cut the MDF with a jigsaw, sand it down with a fine-grit sandpaper, and then paint it with a high-quality primer and two coats of semi-gloss paint. The result was a cornice that looked like it had been professionally made.
One of the biggest advantages of using MDF for a cornice is its versatility. It can be painted in any color, shaped into curves, or even carved into intricate patterns. I made a simple, straight cornice for my living room and another with a more elaborate design for my bedroom. Both were easy to make and looked fantastic in their respective spaces.
For a cornice that will be mounted on a wall, use a 12mm MDF board. This thickness is strong enough to support the weight of paint and hardware while remaining easy to work with.
Tools You'll Need for Your MDF Cornice Project
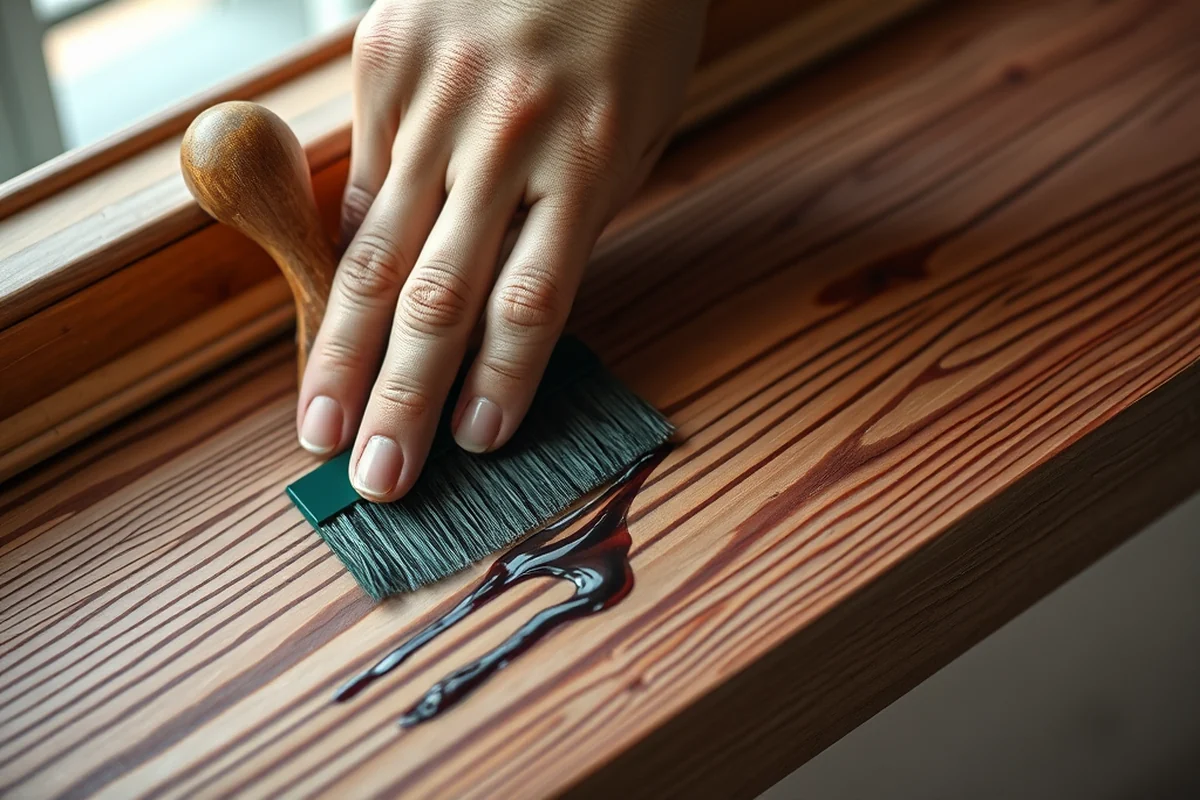
For this project, I used a jigsaw, a fine-grit sandpaper, a paintbrush, and a measuring tape. The jigsaw was essential for cutting the curved shapes I wanted for my cornice. I used a 120-grit sandpaper to smooth the edges and a 220-grit paper to get a really smooth finish before painting. The paintbrush was used to apply the primer and paint, and the measuring tape helped me make sure the cornice was the right length and fit perfectly on the wall.[2]
I also used a wood glue to attach the pieces together if needed. For mounting, I used a strong adhesive like wood glue or a construction adhesive. I didn’t need any special tools like a router or a lathe, which made the project even more accessible for beginners. I found that these basic tools were more than enough to complete a beautiful MDF cornice.
I didn’t need to buy any special tools for this project. Everything I used was already in my workshop, which saved me a lot of money. If you’re just starting out, you can use the same tools to make your own cornice without spending a fortune.
Keep it simple—most of the tools you need for an MDF cornice are already in your workshop.
Related: Diy furniture with mdf
Related: Diy mdf board
Related: Furniture mdf
Related: Diy mdf cabinet doors
Related: Furniture mdf material
Related: What Is Better Than Mdf
Designing Your Cornice: From Sketch to Cut
I started by sketching my design on paper, then transferred it onto the MDF board using a pencil. I wanted a simple, elegant cornice for my living room, so I drew straight lines and a small, decorative molding at the top. Once I had the design, I used a jigsaw to cut out the pieces. It was important to take my time and make sure the cuts were precise.
After cutting, I used a fine-grit sandpaper to smooth out the edges and get rid of any rough spots. I found that this step was crucial for the final look of the cornice. If you skip sanding, you’ll end up with a rough finish that can be hard to paint over. I sanded the cornice until it was smooth to the touch, which made painting much easier.
Once I was happy with the shape and the sanding, I moved on to painting. I used a high-quality primer to seal the MDF and then applied two coats of semi-gloss paint. The result was a cornice that looked professional and was easy to maintain. I was really pleased with how the design came out.
If you're new to making cornices, start with a simple design. A straight line with a small decorative molding at the top will look elegant and is much easier to make.
“The first time I carved a cornice from MDF, I wasn’t sure if I’d made something beautiful or a mess.”— DIY Furniture with Mdf editors
Painting Your MDF Cornice: Tips and Tricks
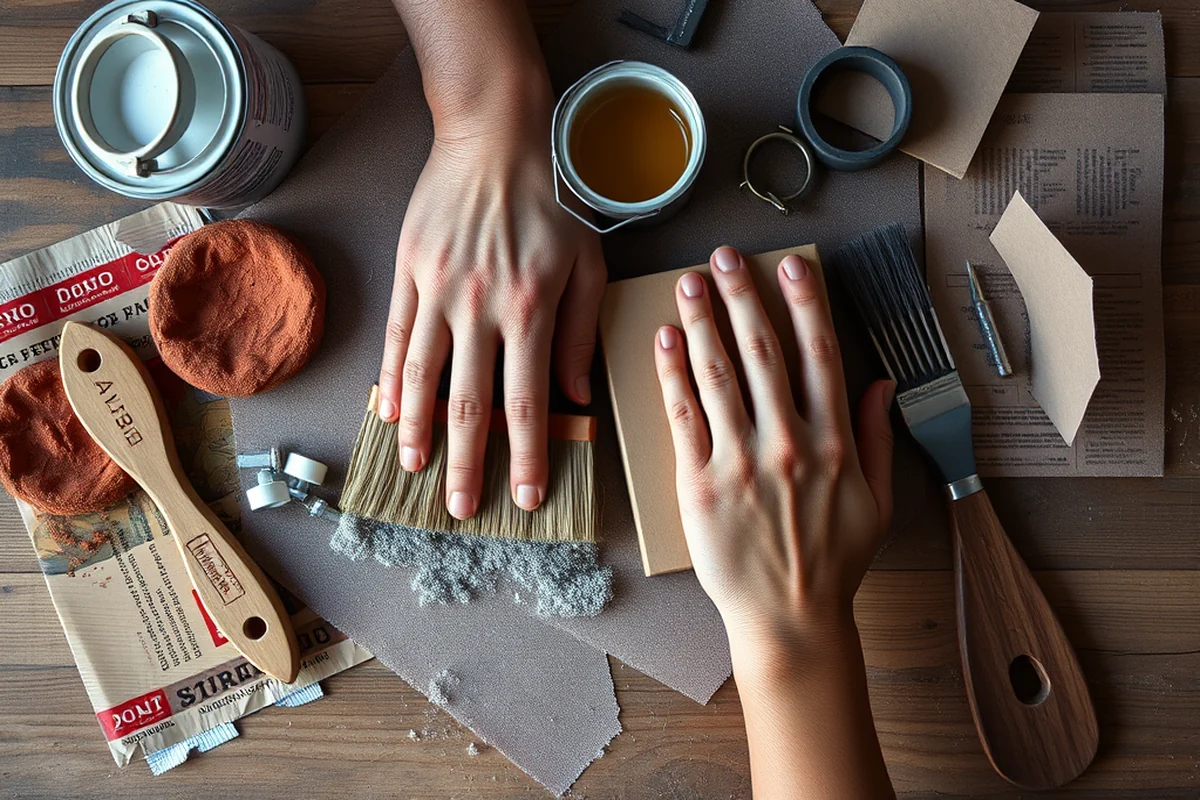
I used a high-quality primer and two coats of semi-gloss paint for my cornice. The primer was essential because it helped the paint adhere better and gave the cornice a smooth, even finish. I applied the first coat of paint, let it dry, and then applied a second coat for a more vibrant look. The result was a cornice that looked like it had been professionally painted.
I found that using a brush with a fine tip helped me get into the corners and edges without leaving brush marks. I also used a foam roller for the larger flat areas, which gave the cornice a smooth, even finish. I made sure to let each coat dry completely before applying the next one. This helped prevent any streaks or smudges.
After the paint was dry, I used a fine-grit sandpaper to smooth out any imperfections. This step was important because it helped the cornice look more polished. I also used a clear sealant to protect the paint and make the cornice more durable. The final result was a cornice that looked beautiful and lasted for years.
Mounting Your MDF Cornice: How to Attach It to the Wall
I used a strong adhesive like wood glue or construction adhesive to attach the cornice to the wall. I made sure the surface of the wall was clean and dry before applying the adhesive. I also used a level to make sure the cornice was straight when I attached it. This helped the cornice look even and professional.
After applying the adhesive, I pressed the cornice onto the wall and held it in place for a few minutes to let the adhesive set. I made sure not to move it around too much while it was drying, which could cause the adhesive to shift or not stick properly. I also used small nails or brackets for added support, especially in areas where the cornice would be exposed to more weight.
I found that using both adhesive and nails was the best way to ensure the cornice stayed in place. I used small nails that were just long enough to go through the cornice and into the wall, but not so long that they stuck out. This helped the cornice look clean and professional. I was really happy with how secure the cornice was after I attached it.
Finishing Touches: Adding the Final Details
I made sure to clean up any dust or debris that had collected during the project. This helped the cornice look even more professional. I also used a soft cloth to wipe down the cornice and remove any fingerprints or smudges. This step was important for maintaining the finish of the paint and keeping the cornice looking new for years.
Once the cornice was clean and the sealant was dry, I stepped back to admire my work. The cornice looked perfect, and I was proud of the way it turned out. It had transformed my living room and made it look even more elegant. I knew I had done a great job with the project, and I couldn’t wait to try making more cornices in the future.
Don’t forget the final details—they make all the difference in the finish and longevity of your cornice.
Customizing Your MDF Cornice: Making It Unique to Your Space
I wanted my cornice to match the rest of my living room, so I painted it a soft white that complemented the furniture and flooring. I also added a small decorative molding at the top, which gave it a touch of elegance. If I had wanted a different look, I could have painted it in a darker color or added more intricate carvings.
I found that changing the paint color or adding a decorative molding was the easiest way to customize the cornice. I could have even used different materials, like wood or metal, to create a more unique look. I also experimented with different shapes and sizes for the cornice, which allowed me to create a design that was completely unique to my space.
Customizing your cornice is a great way to make it fit your personal style and the overall look of your home. I loved how easy it was to personalize the cornice and how much it transformed the room. If you’re thinking about making your own MDF cornice, I encourage you to experiment with different designs and colors to find one that works for you.
💰 Budget Build
A simple, straight cornice made with basic MDF and paint for a low-cost, elegant look.
⏰ Weekend Version
A quick, easy cornice project that can be completed in a single weekend with minimal tools.
✨ Upgraded Finish
Add intricate carvings and high-gloss paint for a more refined, professional look.
🏠 Small-Space Adaptation
A smaller, more compact cornice that works perfectly in tight corners or small rooms.
🔒 Rental-Safe Option
A removable cornice made with adhesive and no permanent fixtures, perfect for renters.
| The mistake | Why it happens | The fix |
|---|---|---|
| Using the wrong thickness of MDF for the cornice | Using a board that is too thin can result in a cornice that is unstable or breaks easily. A 12mm board is ideal for most cornice projects. | Always choose a 12mm MDF board for your cornice to ensure it is strong and durable. |
| Skipping the sanding step before painting | Skipping the sanding step can lead to a rough or uneven finish that is hard to paint over and may look unprofessional. | Always sand the MDF thoroughly before painting to achieve a smooth, even finish. |
| Not using a level when mounting the cornice | Not using a level can result in a cornice that is crooked or uneven, which can make the room look unbalanced. | Always use a level when mounting the cornice to ensure it is straight and even. |
| Using the wrong type of paint for MDF | Using low-quality paint or paint that is not designed for MDF can result in a finish that peels or cracks over time. | Always use high-quality primer and paint designed for wood or MDF to ensure a long-lasting finish. |
Mdf Furniture Cornice
Common Questions
Can I use MDF for a cornice in a high-moisture area like a bathroom?
How long does it take to make a cornice from MDF?
What tools do I need to make an MDF cornice?
Can I paint my cornice in any color?
Cite this guide
DIY Furniture with Mdf (2026). Mdf Furniture Cornice. https://mdfcreate.com/mdf-furniture-cornice/
Feel free to cite or share this guide.
References
- knowledge through things: a new perspective on crepuscular and (cdr.lib.unc.edu)
- test2014_pairs_cap_c.. - Center for Intelligent Information Retrieval (ciir.cs.umass.edu)
- University of Oregon Huestis Hall (cpfm.uoregon.edu)
- (PDF) 6,500 WOODWORKING PROJECTS - Academia.edu (academia.edu)
- Reilly Pittman - BellevueWA.gov (bellevuewa.gov)