
Diy Furniture Embellishments
📖 Table of Contents
- What Are DIY Furniture Embellishments?
- Hand-Painted Embellishments: A Quick and Easy Option
- Carved Embellishments: Adding Depth and Texture
- Inlaid Embellishments: A Classic Touch of Elegance
- Metal Embellishments: A Bold and Modern Look
- Textured Embellishments: Adding Interest with a Touch
- Combining Embellishments for a Cohesive Look
- Make It Your Way
- Frequently Asked Questions
I remember the first time I added a simple hand-carved detail to a shelf I built — it transformed a plain piece of furniture into something that felt like it belonged in a gallery. That’s the power of DIY furniture embellishments. They take your basic project from functional to unforgettable, and I’ve learned that even the smallest details can change the whole look and feel of a room. Whether you're a seasoned woodworker or just starting out, adding embellishments is a great way to express your personal style and elevate the quality of your DIY work.
DIY furniture embellishments are more than just decorative add-ons. They're a way to inject personality into your creations, and they can be as simple or as complex as you want. I’ve used everything from hand-painted accents to intricate metal inlays, and each one has brought its own unique charm to the furniture I’ve built. The key is to choose embellishments that match your vision and the space where the furniture will go. It’s easy to get carried away, but I’ve found that focusing on a few key areas can make all the difference.
What I love most about DIY furniture embellishments is how they allow you to customize every piece to fit your personal taste. I’ve turned plain bookshelves into statement pieces by adding decorative brackets and painted patterns, and I’ve even used carved wood to give a simple coffee table an elegant, artisan feel. These embellishments don’t just look good — they also help your furniture feel more handcrafted and special. The best part is that you don’t need a lot of tools or experience to start creating your own unique furniture designs.
Why You'll Love This Project
- Transform plain furniture into unique, personalized pieces with minimal effort.
- Add value to your DIY projects with decorative details that elevate style and function.
- Explore a wide range of embellishment options to match your home decor and personal taste.
- Enjoy the satisfaction of creating custom furniture that reflects your creativity.
What Are DIY Furniture Embellishments?
As of August 2026, DIY furniture embellishments are the extra touches that make your furniture feel special. I’ve used everything from hand-painted patterns to carved wood to add character to my projects. These embellishments don’t just look good — they also help your furniture stand out and reflect your personality.[1]
One of the best things about DIY embellishments is that they can be as simple or as intricate as you want. I’ve found that even small details, like adding a carved edge or a painted accent, can make a big difference in the overall look of a piece. It’s all about choosing embellishments that match your style and the space where the furniture will go.
I recommend starting with simple embellishments if you're new to this. Hand-painted designs, decorative brackets, and carved edges are all great options. These types of embellishments are relatively easy to do and can make a big impact without requiring a lot of time or skill.[2]
Use a fine-toothed saw for carving, a brush for painting, and a ruler for measuring. Having the right tools makes the process much smoother.
Part of our For beginners ideas guide.
Hand-Painted Embellishments: A Quick and Easy Option
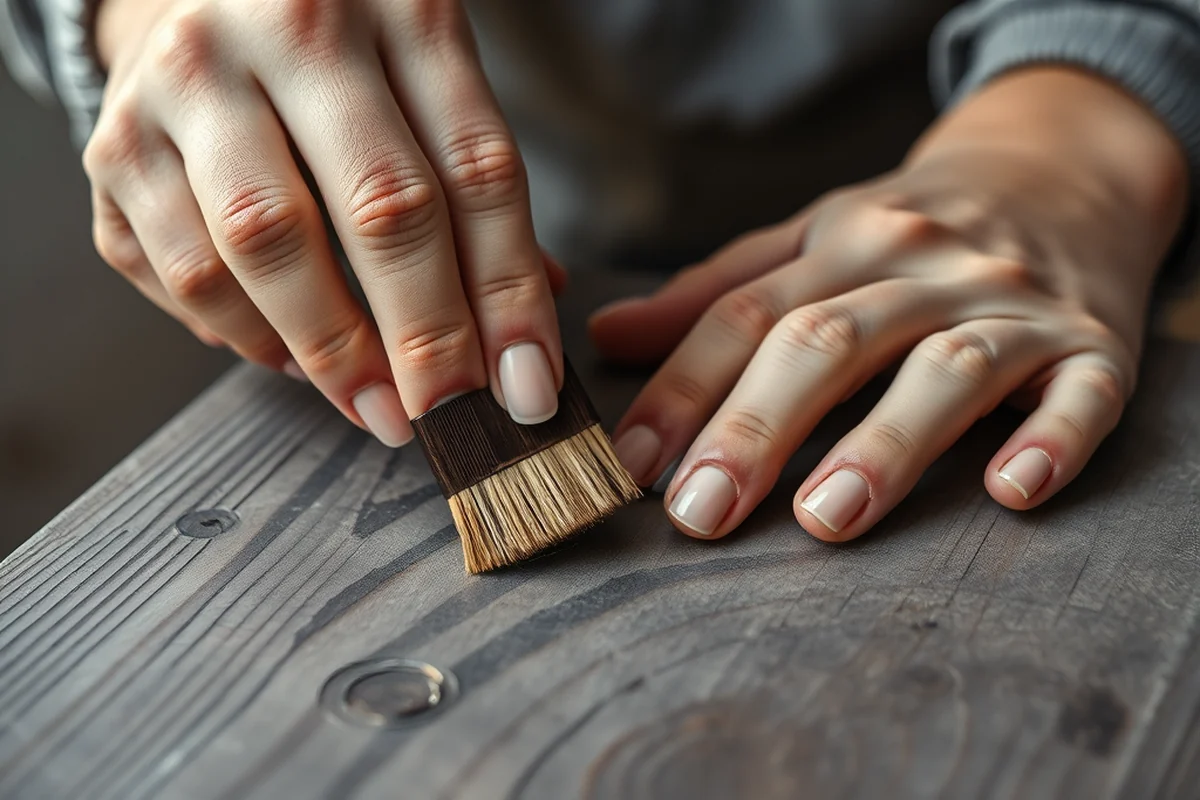
Hand-painted embellishments are one of my favorite ways to add color and personality to furniture. All you need is a brush, paint, and a steady hand. I’ve used this technique on shelves, tables, and even cabinets to create unique designs that match my home decor.
One of the best things about hand-painted embellishments is that they’re customizable. I’ve painted geometric patterns, floral designs, and even custom text on my furniture. It’s a great way to express your personal style and make your furniture one-of-a-kind.
I recommend using a high-quality brush and paint that’s designed for wood surfaces. You’ll get better results with the right materials. It’s also a good idea to work on a clean, dust-free surface to ensure your paint looks smooth and even.[3]
Painting is a quick and easy way to give your furniture a fresh new look.
Related: Diy cat furniture ideas
Related: Diy furniture
Related: Diy japandi furniture
Related: Diy furniture feet
Related: Diy furniture ideas pinterest
Related: Mid Century Modern Living Room Furniture
Carved Embellishments: Adding Depth and Texture
Carved embellishments are a great way to add depth and texture to your furniture. I’ve used this technique on bookshelves, cabinets, and even coffee tables to create unique, handcrafted looks. The carving process can take a bit of time, but the results are well worth it.
One of the things I love about carved embellishments is that they can be as simple or as intricate as you want. I’ve done everything from simple scroll patterns to detailed floral motifs. It’s all about choosing a design that fits your style and complements your home decor.
If you're new to carving, I recommend starting with a simple design and using a fine-toothed saw. This will help you get the hang of the technique before moving on to more complex patterns. Carving is a great way to add a personal touch to your furniture and make it feel more handcrafted.[4]
Use a stenciling technique to create clean, precise patterns on your wood. This is especially useful for beginners who are just learning to carve.
“I remember the first time I added a simple hand-carved detail to a shelf I built — it transformed a plain piece of furniture into…”— DIY Furniture with Mdf editors
Inlaid Embellishments: A Classic Touch of Elegance
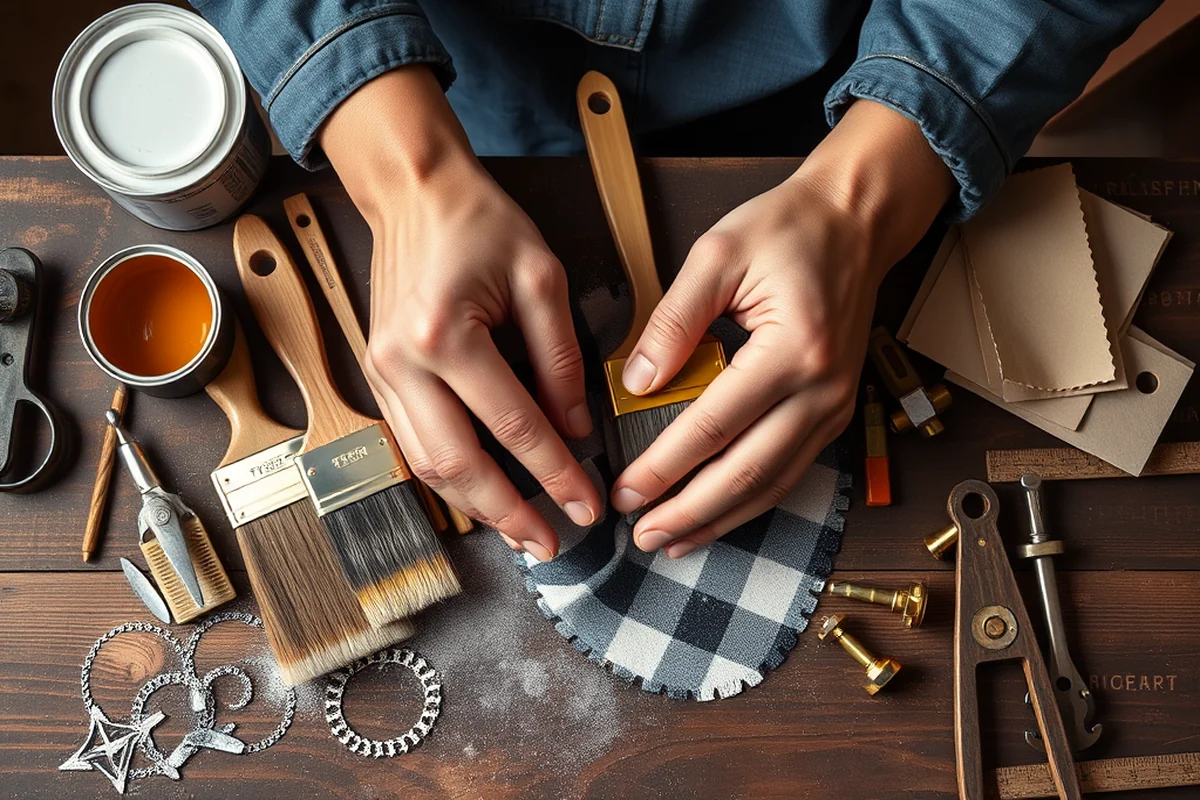
Inlaid embellishments are a great way to add a classic, elegant touch to furniture. I’ve used this technique on tables, cabinets, and even dressers to create unique, decorative patterns. The process involves cutting out a shape in the wood and inserting another material, like metal or wood, into the opening.
One of the things I love about inlaid embellishments is that they can be customized to fit any design. I’ve done everything from simple geometric patterns to detailed floral motifs. It’s a great way to add a personal touch to your furniture and make it feel more handcrafted.
If you're new to inlay work, I recommend starting with a simple design and using a fine-toothed saw. This will help you get the hang of the technique before moving on to more complex patterns. Inlay work is a bit more involved but can create stunning visual effects that really make your furniture stand out.[5]
Metal Embellishments: A Bold and Modern Look
Metal embellishments are a great way to add a bold, modern look to furniture. I’ve used this technique on tables, chairs, and even cabinets to create unique, eye-catching designs. The process involves attaching metal pieces to the surface of the wood using screws, adhesive, or welding.
One of the things I love about metal embellishments is that they can be customized to fit any style. I’ve used everything from simple metal brackets to detailed metal inlays. It’s a great way to add a personal touch to your furniture and make it feel more handcrafted.
If you're new to working with metal, I recommend starting with simple designs and using a strong adhesive. This will help you get the hang of the technique before moving on to more complex projects. Metal embellishments can really make your furniture stand out and add a touch of modern elegance.
Textured Embellishments: Adding Interest with a Touch
Textured embellishments are a great way to add interest and dimension to furniture. I’ve used this technique on shelves, tables, and even cabinets to create unique, tactile designs. The process involves adding texture to the surface of the wood using materials like fabric, rope, or even painted patterns.
One of the things I love about textured embellishments is that they can be customized to fit any design. I’ve used everything from simple fabric wraps to detailed rope patterns. It’s a great way to add a personal touch to your furniture and make it feel more handcrafted.
If you're new to working with textured materials, I recommend starting with simple designs and using a strong adhesive. This will help you get the hang of the technique before moving on to more complex projects. Textured embellishments can really make your furniture stand out and add a unique, tactile feel.
Adding texture is a great way to make your furniture feel more handcrafted and unique.
Combining Embellishments for a Cohesive Look
Combining different embellishments can create a cohesive, visually interesting look. I’ve used this technique on shelves, tables, and even cabinets to create unique, multi-layered designs. The key is to choose embellishments that complement each other and fit the overall style of the furniture.
One of the things I love about combining embellishments is that it allows for a lot of creativity. I’ve used everything from carved wood to painted patterns to create custom designs that reflect my personal style. It’s a great way to add a personal touch to your furniture and make it feel more handcrafted.
If you're new to this technique, I recommend starting with a simple design and gradually adding more embellishments. This will help you get the hang of the process before moving on to more complex projects. Combining embellishments is a great way to create a unique, cohesive look that really makes your furniture stand out.
💰 Budget Build
Use affordable materials like paint and fabric to create simple, stylish embellishments without breaking the bank.
⏰ Weekend Version
Complete a quick project in just a few hours with easy-to-do embellishments that look great in any room.
✨ Upgraded Finish
Add high-end embellishments like inlay or carved details for a more luxurious look and feel.
🛋️ Small-Space Adaptation
Create compact, space-saving furniture with embellishments that fit perfectly in small apartments or rooms.
🏠 Rental-Safe Option
Use removable or temporary embellishments that won’t damage the furniture if you need to move out quickly.
| The mistake | Why it happens | The fix |
|---|---|---|
| Using low-quality materials that don’t adhere well to the furniture. | Low-quality materials can lead to peeling, chipping, or even damage to the furniture over time. | Invest in high-quality materials that are designed for furniture embellishments. This will ensure your work lasts longer and looks better. |
| Not preparing the surface of the furniture properly before adding embellishments. | A poorly prepared surface can make it difficult for embellishments to adhere, leading to loose or falling pieces. | Always sand and clean the surface of the furniture before adding any embellishments. This will help ensure a smooth, even finish. |
| Overcomplicating the design and making it look cluttered. | Too many embellishments or a overly complex design can make the furniture look cluttered and unbalanced. | Keep the design simple and focused on a few key elements. This will help ensure the embellishments enhance the furniture without overwhelming it. |
| Not allowing enough time for the embellishments to dry or cure properly. | If you rush the process, the embellishments may not adhere properly or may not look as good as they could. | Always allow enough time for the embellishments to dry or cure according to the manufacturer’s instructions. This will help ensure the best results. |
Diy Furniture Embellishments
Common Questions
What materials do I need to get started with DIY furniture embellishments?
Can I use any type of paint on my furniture for embellishments?
How long does it take to complete a DIY furniture embellishment project?
What are some of the easiest embellishments to add to furniture?
Cite this guide
DIY Furniture with Mdf (2026). Diy Furniture Embellishments. https://mdfcreate.com/diy-furniture-embellishments/
Feel free to cite or share this guide.
References
- Furniture Design Research Papers - Academia.edu (academia.edu)
- RCW 68.52.040: - WA.gov (app.leg.wa.gov)
- Coffer | The Art Institute of Chicago (artic.edu)
- Integration of intangible cultural heritage elements into furniture ... (bioresources.cnr.ncsu.edu)
- 19th Century Furniture Options for Style and Storage - Unbound (blog.library.si.edu)