
Diy Mdf Board And Batten
📖 Table of Contents
The first time I installed a board and batten wall in my living room, I was struck by how quickly the space transformed. What had once felt flat and lifeless suddenly had depth, texture, and a kind of rustic charm that made me want to run my hands along the grooves. Using MDF, I was able to achieve a clean, modern look without the cost or hassle of real wood. It wasn’t just about aesthetics—it was about control, knowing exactly how the panels would fit and finish.
I’ve spent years working with MDF, and board and batten has always been one of my favorite applications. It’s forgiving, easy to cut, and allows for a level of customization that’s hard to achieve with other materials. The best part? You don’t need to be a seasoned carpenter to do this right. With just a few tools and a clear plan, even a beginner can walk away with a beautiful, finished wall.
I remember my first mistake—trying to skip the measuring phase and just winging it. The result was uneven panels, gaps between the boards, and a lot of frustration. But after that, I learned the importance of precision. Today, I can walk you through the process, step by step, and show you how to avoid those same pitfalls. This project isn’t just about building a wall—it’s about creating something that feels like it belongs in your home.
Why You'll Love This DIY Mdf Board and Batten Project
- Cost-effective alternative to real wood with the same visual appeal
- Easy to cut, shape, and assemble using basic tools
- Versatile for use in living rooms, kitchens, and home offices
- Adds a rustic or modern touch to any interior without major renovation
Why Choose MDF for Your Board and Batten Wall
As of August 2026, Medium-density fiberboard, or MDF, is a composite material made from wood fibers and synthetic resins. It’s incredibly smooth, which makes it ideal for painting or staining. Unlike real wood, MDF doesn’t have knots or grain variations that can complicate the finishing process. It’s also much cheaper, making it a smart option for large projects like board and batten walls.[1]
I’ve tested several materials over the years, and MDF has always been the most reliable with precision. Because it’s denser and less prone to warping than particle board, it holds its shape well after cutting. This is especially important when you’re working with a pattern that requires even spacing between the boards.
Another benefit of MDF is that it’s lightweight, which makes it easier to handle and install. I’ve found that this is particularly helpful when working on larger walls or when you need to move panels around multiple times to get the layout just right.
MDF can be easily damaged if you use the wrong blade. A fine-tooth blade cuts cleanly and reduces the risk of splintering. I always use a blade with 80 teeth or more for the best results.[2]
Planning Your Layout and Measurements
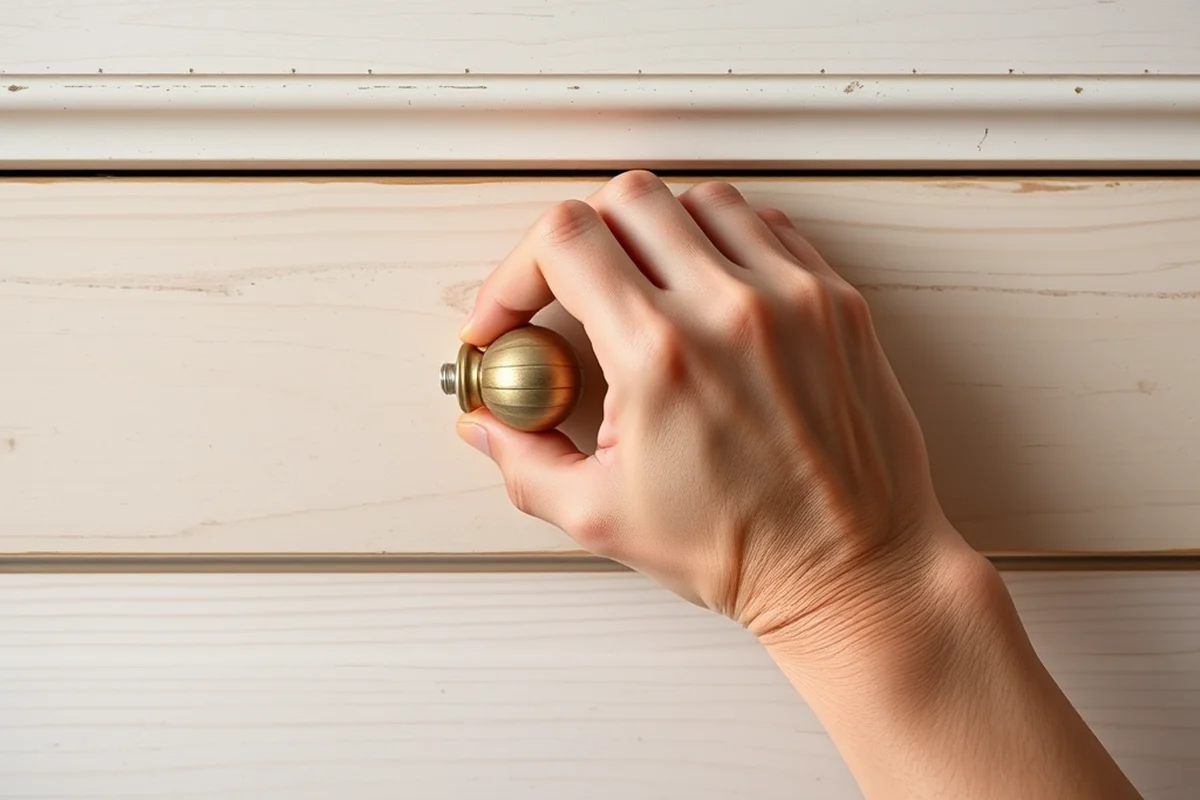
Before cutting any panels, it’s important to measure your wall accurately. I always start by using a laser level to mark a horizontal line across the top of the wall. This ensures that every board will be perfectly aligned, no matter how many panels you need.
Next, I create a sketch of the layout, marking the spacing between the boards. For a standard board and batten design, I recommend a 6-inch board with a 2-inch batten. This gives a nice balance between the two and creates a clean, rhythmic look.[3]
Once the layout is planned, I transfer the measurements to the wall using a pencil and a measuring tape. I also make sure to account for any trim or molding that may need to be installed around the edges of the wall.
Measure twice, cut once.
Related: Why is mdf furniture so expensive
Related: Furniture from mdf
Related: Diy mdf accent wall
Related: Can You Make Mdf Board Waterproof
Cutting and Assembling the Panels
After marking the layout on the MDF panels, I use a circular saw to cut them out. I always make sure to cut the boards and battens separately, as they’ll be installed at different angles. A miter saw is perfect for cutting the battens at a 45-degree angle to fit neatly between the boards.[4]
Once all the panels are cut, I use a drywall saw to notched the edges of the battens. This allows them to sit flush against the boards and prevents them from sticking out. I’ve found that this step is crucial for achieving a clean, finished look.
When assembling the panels, I use a T-square to align the boards and battens precisely. I also use a level to make sure that everything is perfectly straight. Once the alignment is correct, I apply wood glue to the joints and secure them with clamps.
Using a drywall saw, I notch the edges of the battens to allow them to sit flush with the boards. This step prevents any gaps or protrusions that could ruin the finished look.
“The first time I installed a board and batten wall in my living room, I was struck by how quickly the space transformed.”— DIY Furniture with Mdf editors
Related: Diy furniture with mdf
Related: Diy mdf cupboard doors
Related: Diy mdf shaker cabinet doors
Mounting the Panels on the Wall

Once the panels are assembled, it’s time to mount them on the wall. I use 1x2 wooden strips to create a frame that the panels can be attached to. These strips are spaced evenly along the wall and serve as a base for hanging the panels.
I attach the wooden strips to the wall using screws and a power drill. I make sure to use a level to keep everything straight and even. Once the frame is in place, I attach the panels to the wooden strips using a combination of nails and wood glue.
To ensure the panels are secure, I use a nail gun to drive in the nails at an angle. This helps prevent the nails from popping out over time. I also use a hammer to tap any loose nails into place.
Related: Furniture mdf material
Related: Diy mdf board
Related: Diy mdf wall panelling
Painting and Finishing the Wall
After the wall is mounted, I sand the surface with 220-grit sandpaper to create a smooth, even finish. I always work in a well-ventilated area and wear a dust mask to avoid inhaling any fine particles.
Once the surface is smooth, I apply a primer to help the paint adhere better. I use a brush to apply the primer in thin, even strokes, making sure to cover every surface. After the primer dries, I apply two coats of paint in my desired color.
Finally, I add a clear topcoat to protect the paint and give the wall a finished look. This step is especially important if the wall is in a high-traffic area, as it helps prevent scuff marks and wear.
Related: Diy mdf cabinet doors
Related: Mdf furniture cornice
Related: Mdf furniture diy
Adding a Personal Touch
One of the best things about board and batten is that it’s easy to customize. I’ve tried everything from adding decorative trim to using a distressing technique to give the wall a rustic look. You can also experiment with different paint colors or add a texture using a sponge or brush.
Another option is to use a different type of panel or batten. I’ve used oak for the boards and pine for the battens in the past, and the contrast was really nice. You can also add a border around the edges to frame the design and make it stand out.
If you want a more dramatic effect, you can use a darker paint on the battens and a lighter shade on the boards. This creates a nice contrast and adds depth to the wall. I’ve found that this technique really highlights the grooves and makes the design pop.
Personalize your space—it’s your home, after all.
Related: Furniture mdf
Related: Mdf furniture safety
Troubleshooting and Common Issues
One of the most common issues I’ve encountered is uneven spacing between the boards. This usually happens when the measuring phase is skipped or rushed. To fix this, I use a level and a measuring tape to check each board and adjust it as needed.
Another common problem is warping in the MDF panels. This can happen if the panels are exposed to moisture or if they’re not stored properly before installation. To prevent this, I always store the panels in a dry, cool place and avoid leaving them outside for extended periods.
If the paint starts to chip or peel, it’s usually because the surface wasn’t properly sanded or primed. I always make sure to sand the panels thoroughly and apply a good primer before painting. This helps the paint adhere better and last longer.
💰 Budget Build
Use leftover MDF scraps and paint to create a simple, cost-effective board and batten wall.
⏳ Weekend Version
Install a smaller section of the wall in a weekend with minimal effort and tools.
🎨 Upgraded Finish
Use wood veneer or real wood for the boards and add a clear lacquer finish for a more luxurious look.
🛋️ Small-Space Adaptation
Create a board and batten accent wall in a small room to add depth and visual interest.
🏠 Rental-Safe Option
Install the board and batten wall using removable adhesive or temporary mounts for a rental-friendly project.
| The mistake | Why it happens | The fix |
|---|---|---|
| Skipping the measuring phase | This can lead to uneven spacing and misaligned panels. | Always measure twice and mark the wall clearly before cutting. |
| Using the wrong blade to cut MDF | Using a blade with too few teeth can cause splintering and damage the panels. | Use a fine-tooth blade with 80 teeth or more for clean, smooth cuts. |
| Not sanding the surface before painting | This can result in a rough, uneven paint finish. | Always sand the MDF with 220-grit sandpaper before applying paint. |
| Using wood glue incorrectly | Applying too much or too little glue can lead to weak joints or a messy finish. | Apply a thin, even layer of wood glue to the joints and clamp them securely. |
Diy Mdf Board And Batten
Common Questions
Can I use MDF for a board and batten wall in a bathroom?
How do I ensure the panels are evenly spaced?
What tools do I need to complete this project?
Can I paint the MDF before installing it on the wall?
Cite this guide
DIY Furniture with Mdf (2026). Diy Mdf Board And Batten. https://mdfcreate.com/diy-mdf-board-and-batten/
Feel free to cite or share this guide.
References
- HaulerInfo - NC.gov (files.nc.gov)
- 2021-09-07 Meeting Minutes - IIS Windows Server - Augusta, GA (forms.augustaga.gov)
- HCRA Elector List - New York State Department of Health (health.ny.gov)
- All of 2022 - Lexington, MA (lexingtonma.gov)