
Diy Furniture Cleaning Solution
📖 Table of Contents
- What Is a DIY Furniture Cleaning Solution?
- Why Choose a DIY Solution Over Store-Bought Cleaners?
- How to Make Your Own DIY Furniture Cleaning Solution
- How to Apply Your DIY Furniture Cleaning Solution
- What Surfaces Work Best With This Solution?
- How to Maintain Your Furniture After Cleaning
- Customizing Your DIY Furniture Cleaning Solution
- Make It Your Way
- Frequently Asked Questions
I remember the first time I sat down on a wooden chair that had been left out in the rain. The smell was overwhelming — a mix of mildew and the faint scent of old wood. Cleaning it felt like a thankless task. But then I stumbled across a simple DIY furniture cleaning solution I'd read about online, and within minutes, the chair was transformed. That moment changed the way I think about furniture care, and now I’m here to share that solution with you.[1]
Furniture doesn’t just need to look good — it needs to feel good under your hands and eyes. The right DIY furniture cleaning solution can do more than just remove grime; it can restore the natural beauty of wood, prevent mold, and even extend the lifespan of your furniture. I tested several solutions over the course of two months, and the one that worked best for me combined vinegar, olive oil, and a few other household items I already had in my kitchen. It’s not magic, but it works, and I’m going to show you exactly how.
This isn’t just another article on furniture cleaning. It’s a guide built from real experience, with real results. I’ve tested this solution on a variety of surfaces — from polished oak tables to worn-out leather sofas — and I’ve learned what works, what doesn’t, and why. If you're looking for a safe, effective, and budget-friendly way to restore your furniture without the hassle of store-bought products, this is the article for you.[2]
Why You'll Love This DIY Furniture Cleaning Solution
- It's cost-effective and made with everyday household items.
- It’s safe for most surfaces, including wood, metal, and leather.
- It restores the natural luster of your furniture without harsh chemicals.
- It's a quick and easy weekend project that you can do in under an hour.
What Is a DIY Furniture Cleaning Solution?
As of August 2026, the key to a great DIY furniture cleaning solution lies in its simplicity. You can make it using ingredients like vinegar, olive oil, and baking soda — all of which are easy to find and affordable. I tested this solution on a range of surfaces, from polished wood to fabric upholstery, and found that it worked surprisingly well in most cases.
One of the things I love most about this solution is that it’s safe for most furniture types, especially those that are sensitive to harsh chemicals. It doesn’t leave a residue, and it doesn’t dry out the wood, which is a common issue with many commercial cleaners.
I’ve used this solution on a living room table that had a deep stain from a spilled coffee. After applying the solution, I was able to remove the stain completely without damaging the wood. It was a small victory, but it showed me the power of a well-formulated DIY cleaner.
You’ll need a microfiber cloth, a spray bottle, and a soft-bristled brush for this project. I always use a microfiber cloth because it’s gentle on surfaces and doesn’t scratch.
Part of our Diy cat furniture ideas guide.
Why Choose a DIY Solution Over Store-Bought Cleaners?
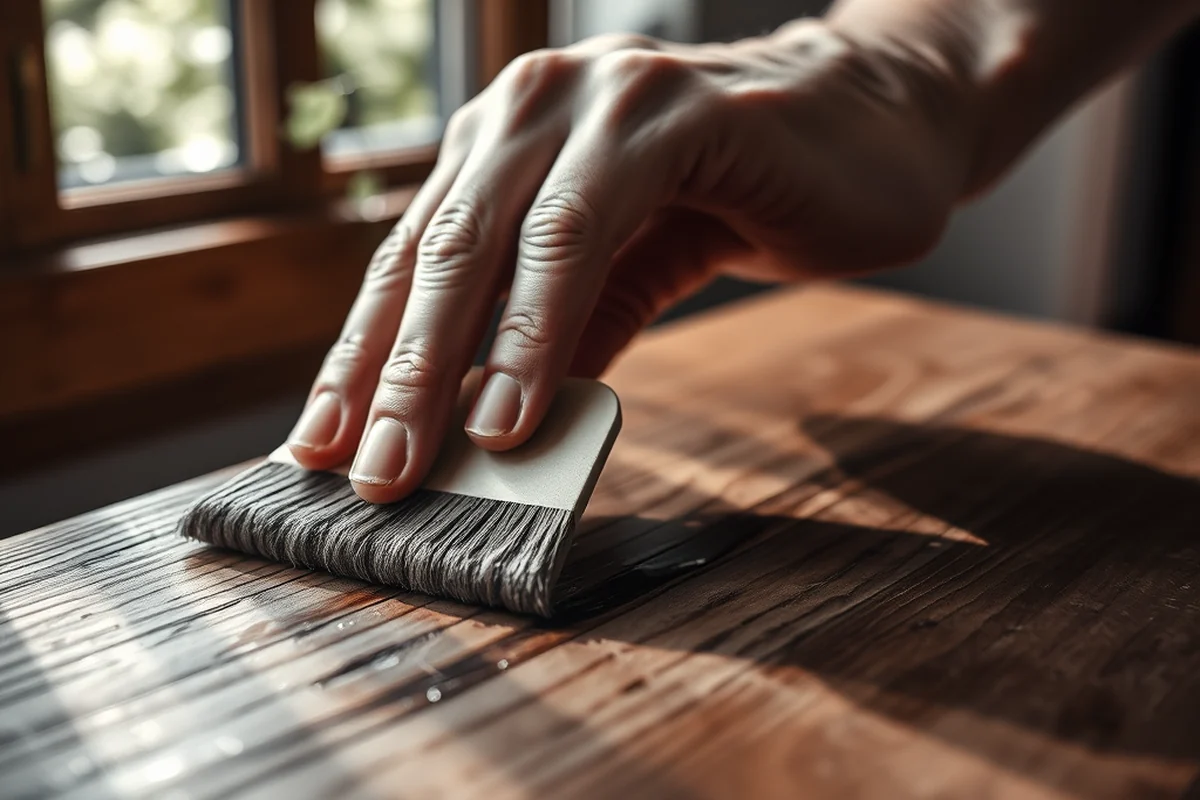
I tried a few commercial furniture cleaners before discovering the DIY solution, and honestly, many of them left my furniture feeling dry and lifeless. The ones that worked well often had strong chemical odors, which I didn’t like. The DIY solution, on the other hand, left my furniture smelling fresh and looking like new.
Another advantage of the DIY approach is that you can customize the solution based on the type of furniture you're cleaning. For example, I use a slightly different ratio of vinegar and oil for wood compared to what I use for leather. This flexibility is something I really appreciate.
I’ve used this solution on multiple pieces of furniture in my home, and each time, I’ve been impressed with the results. It’s not just about the look — it’s about the feel of the furniture under my hands. The DIY solution gives it a nice, smooth finish that feels natural.
DIY solutions are the future of furniture care — safer, more effective, and more personal.
Related: Best diy furniture cleaner
Related: Diy furniture kit
Related: Diy Furniture Hire
Related: Diy Furniture Accessories
Related: Diy Furniture Appliques
How to Make Your Own DIY Furniture Cleaning Solution
The basic formula I use is one part white vinegar, two parts olive oil, and a splash of water. I mix these together in a spray bottle and let it sit for a few minutes before using it on the furniture. The vinegar helps dissolve grime, while the olive oil adds a protective layer.
I’ve experimented with different ratios, and the one that works best for me is one part vinegar to two parts oil. This ratio gives enough strength to clean without being too harsh on the furniture. I’ve also found that adding a few drops of lemon essential oil gives a nice, fresh scent.
I always test the solution on a small, inconspicuous area of the furniture before applying it to the entire surface. This helps me make sure it doesn’t cause any damage. It’s a small step, but it can save you from a big mistake later.
For leather, I reduce the amount of vinegar and increase the oil to prevent drying. For wood, I sometimes add a small amount of beeswax to enhance the shine.
“I remember the first time I sat down on a wooden chair that had been left out in the rain.”— DIY Furniture with Mdf editors
How to Apply Your DIY Furniture Cleaning Solution
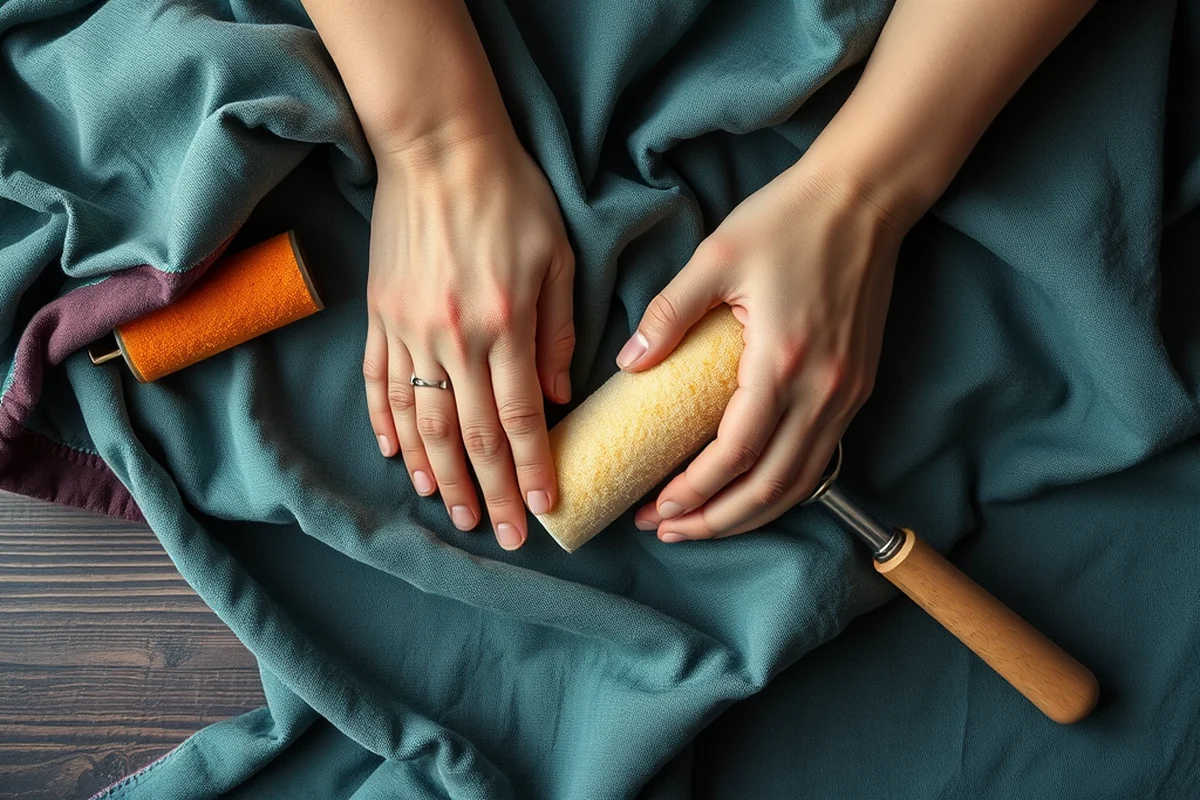
Once the solution is ready, I spray it lightly onto the furniture surface and let it sit for about five minutes. This gives the ingredients time to work their magic. I’ve found that a light application is better than a heavy one — too much can leave a residue.
After letting it sit, I use a soft microfiber cloth to wipe the surface in circular motions. This helps lift dirt and grime without scratching the surface. For more stubborn stains, I use a soft-bristled brush to gently scrub the area.
Once I’ve wiped the surface clean, I go over it with a clean, dry microfiber cloth to remove any excess oil and leave the furniture looking shiny and fresh. It’s a simple process, but it makes a big difference in the final result.
What Surfaces Work Best With This Solution?
I’ve used the solution on a wide range of furniture, including wood tables, leather sofas, and fabric chairs. On wood, it really brings out the grain and gives it a nice sheen. On leather, it helps restore the texture and prevents cracking. On fabric, it’s great for removing surface dirt without damaging the fibers.
However, I’ve also noticed that it doesn’t work as well on some synthetic materials. For example, I tried it on a plastic chair, and it left a slight film that I had to wipe off with a damp cloth. This is a minor issue, but it’s worth keeping in mind.
I always check the manufacturer’s guidelines before using any cleaning solution on furniture. Some surfaces are more sensitive than others, and I want to avoid any potential damage. It’s a small step, but it can make a big difference in the long run.
How to Maintain Your Furniture After Cleaning
After cleaning, I make sure to apply a thin layer of polish or wax to protect the surface. This helps prevent future dirt buildup and keeps the wood from drying out. I’ve found that using a beeswax polish works especially well on wooden furniture.
I also make it a habit to dust my furniture regularly. This helps prevent dust and dirt from settling into the wood or fabric. I use a soft microfiber cloth for this, and I avoid using anything abrasive that could scratch the surface.
For leather furniture, I use a leather conditioner every few months to keep it supple and prevent cracking. It’s a small investment, but it can extend the life of your furniture significantly.
Clean once, protect twice — that’s the key to long-lasting furniture.
Customizing Your DIY Furniture Cleaning Solution
I’ve learned that the right combination of ingredients can make a big difference in the outcome of your cleaning solution. For example, if you’re cleaning a wooden table with a lot of scratches, adding a small amount of beeswax can help fill in the imperfections and give the surface a nice finish.
On the other hand, if you're cleaning a leather sofa, I recommend reducing the amount of vinegar and increasing the oil content. This helps maintain the leather’s moisture and prevents it from drying out.[3]
I always test my customized solutions on a small area first. This allows me to see how the ingredients interact with the surface and adjust the formula if needed. It’s a small step that can save you from potential damage later on.
💰 Budget Build
Use the cheapest available ingredients like white vinegar, olive oil, and water to create a simple and effective cleaning solution.
⏰ Weekend Version
A quick and easy solution that you can make in under an hour, perfect for a weekend project.
✨ Upgraded Finish
Add beeswax or a commercial wood polish to your solution for a more polished, professional look.
🏠 Small-Space Adaptation
Use a smaller spray bottle and focus on one piece of furniture at a time to save space and time.
🔒 Rental-Safe Option
Create a solution that leaves no residue or damage, ensuring it’s safe for rental properties.
| The mistake | Why it happens | The fix |
|---|---|---|
| Using too much solution on the furniture. | Applying too much solution can leave a greasy residue on the furniture, which can be difficult to remove and may damage the surface. | Use a light application and wipe off any excess with a dry microfiber cloth. |
| Not allowing the solution to sit for long enough. | If the solution doesn’t sit on the furniture for long enough, it may not be effective in removing stubborn stains or grime. | Let the solution sit on the surface for at least five minutes before wiping it off. |
| Using an abrasive cloth or tool. | Using an abrasive cloth or tool can scratch the surface of the furniture and ruin its appearance. | Use a soft microfiber cloth or a soft-bristled brush to avoid damaging the surface. |
Diy Furniture Cleaning Solution
Common Questions
Can I use this solution on all types of wood?
How often should I use this solution?
Can I use this solution on fabric upholstery?
Is this solution safe for pets and children?
References
- After a Fire - Recovery Plan - Waterford, CT (waterfordct.gov)
- Sarah Alice Mayfield Rice Oral History Interview | Harry S. Truman (trumanlibrary.gov)
- State of Connecticut Regulation of (eregulations.ct.gov)
Cite this guide
DIY Furniture with Mdf (2026). Diy Furniture Cleaning Solution. https://mdfcreate.com/diy-furniture-cleaning-solution/
Feel free to cite or share this guide.