
Diy Furniture Tips
📖 Table of Contents
- Choosing the Right MDF Panels
- The Power of Joinery Techniques
- The Importance of Surface Preparation
- Painting and Staining Techniques
- Adding Reinforcements for Strength
- Finishing Touches for a Professional Look
- Testing and Troubleshooting Your Build
- Optimizing Storage with Custom Inserts
- Make It Your Way
- Frequently Asked Questions
I remember the first time I built a shelf from scratch. I had no idea where to start, but after a few hours of drilling, sanding, and staining, I had something that looked like it belonged in a furniture store. That moment was a revelation — DIY furniture tips can turn a pile of raw materials into something beautiful and functional. It's not just about saving money; it's about the satisfaction of creating something with your own hands.
Over the years, I've learned that the key to successful DIY projects lies in preparation, precision, and patience. Whether you're a complete beginner or have some experience, the right tools and techniques can make all the difference. I've spent countless hours in my workshop, testing methods, measuring angles, and learning the importance of using the correct materials. These DIY furniture tips have become a cornerstone of my creative process.
Now, I want to share what I've learned with you. This guide is packed with practical advice, from choosing the right MDF (medium-density fiberboard) panels to mastering the art of joining pieces without visible screws. Whether you're building a bookcase, a coffee table, or a set of shelves, these DIY furniture tips will help you achieve professional results without the need for expensive tools or advanced skills.
Why You'll Love This DIY Furniture Guide
- Learn how to build sturdy, stylish furniture without expensive tools or advanced skills.
- Discover cost-effective materials and techniques that produce professional results.
- Get step-by-step guidance for completing projects in just one weekend.
- Avoid common mistakes and create furniture that lasts for years.
Choosing the Right MDF Panels
As of August 2026, MDF is a versatile and affordable material, but not all MDF is created equal. For furniture, I always choose 18mm or 25mm thick panels — these are strong enough to support weight and smooth enough to paint or laminate without sanding. I’ve found that 18mm is ideal for shelves and tables, while 25mm is better for larger pieces like cabinets or bookcases.[1]
When shopping, look for MDF that is labeled as 'moisture-resistant' or 'moisture-repellent.' This is especially important if your furniture will be near a kitchen, bathroom, or any area with high humidity. I learned this the hard way when my first shelf warped after a few weeks in a damp basement.
For best results, buy MDF in the same thickness for all your project pieces to ensure a seamless fit. I always measure twice before cutting — it's the difference between a clean joint and a crooked piece.
Before cutting your MDF panels, double-check your measurements. Even a 1/8 inch difference can throw off your entire project.
The Power of Joinery Techniques
When building furniture from MDF, the way you join the pieces together is crucial. I've found that hidden joinery — like dowels or cam locks — not only strengthens the structure but also gives a cleaner, more professional look. These methods hide the screws and keep the pieces secure without visible hardware.
One of my favorite techniques is using dowel joints. I drill pilot holes in each piece, insert the dowels, and then slide the parts together. The result is a tight, seamless connection. It’s a bit more time-consuming, but the end result is worth it.
For a quicker solution, I use cam locks with a screwdriver. They snap into place and are easy to assemble and disassemble. This is especially useful if you're building modular furniture or need to make adjustments later.
Hidden joinery doesn’t just look better — it makes your furniture last longer.
Related: Diy furniture cleaning solution
Related: Diy exterior furniture
Related: Diy furniture book
Related: Diy furniture ana white
Related: Diy furniture covers
Related: What Is Bedroom Sets
Related: Best Labor Day Furniture Sales
The Importance of Surface Preparation
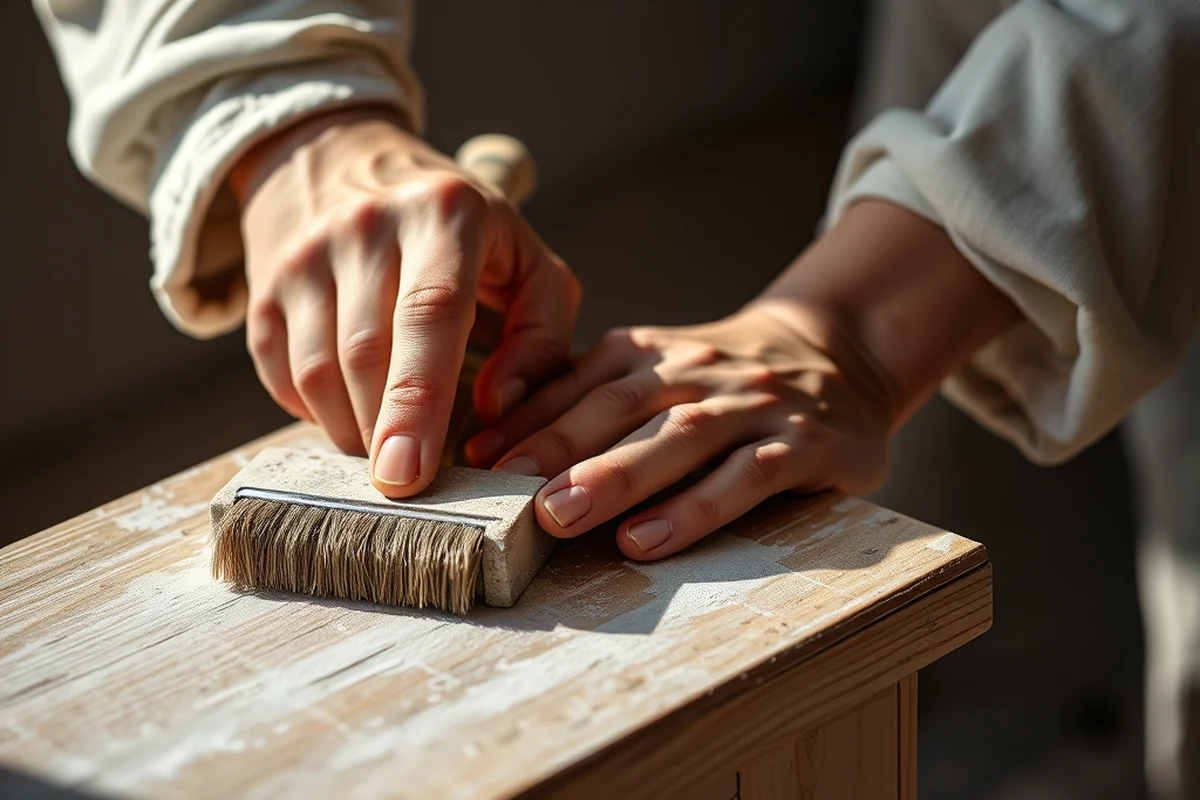
MDF is a smooth surface, but it's not always perfect. I always start by sanding my panels with 120-grit sandpaper to remove any imperfections. This step is crucial — if you skip it, your paint or stain may not adhere properly and could look patchy or uneven.[2]
After sanding, I wipe the surface clean with a damp cloth to remove any dust. I've learned that even the smallest amount of dust can affect the finish. For a really smooth result, I sometimes apply a thin coat of wood filler to fill in any small gaps or imperfections.
Once the surface is clean and smooth, I apply a primer. This helps the paint or stain stick better and creates a more even finish. I've noticed a big difference in the final appearance when I take the time to prime the MDF properly.
Priming MDF before painting is essential. It improves adhesion and gives you a smooth, even finish that looks professional.
“I remember the first time I built a shelf from scratch.”— DIY Furniture with Mdf editors
Painting and Staining Techniques

I prefer using water-based paints for MDF because they dry quickly and are less likely to cause warping than oil-based paints. I've experimented with different brands and found that some work better than others — always test a small area before painting the whole piece.
When painting, I apply two thin coats instead of one thick coat. This prevents the paint from cracking or peeling, especially on MDF. I always wait for the first coat to dry completely before applying the second.
If I want a more natural look, I use wood stain. I apply it with a brush or cloth, then wipe off the excess. This gives a subtle, wood-like finish that looks great on shelves or tables.
Adding Reinforcements for Strength
Even the most beautifully finished piece can fail if it's not structurally sound. I always add corner brackets to shelves and tables to prevent sagging. These brackets are usually made of metal and are available at most hardware stores.
For larger pieces like bookcases or cabinets, I use internal reinforcement. I cut strips of MDF and attach them to the back of the shelves to add extra support. This is especially useful if you're building a cabinet that will hold heavy items.
I've also found that using a router to create a dado joint in the shelves and sides makes the structure more solid. This technique involves cutting a groove in one piece and sliding another into it. It's a bit more advanced, but it gives a clean, reinforced look.
Finishing Touches for a Professional Look
After painting or staining, I always apply a clear top coat. This protects the surface from scratches and stains. I've used both polyurethane and spray-on finishes, and both work well. The key is to apply it evenly and let it dry completely.
I also take the time to add decorative elements like trim or molding. These can be cut from MDF and attached with wood glue or screws. They give your furniture a more finished, polished look.
Finally, I clean up any dust or debris and inspect the piece for any imperfections. A quick once-over with a soft cloth can make a big difference in the final appearance.
The little details — like a trim or a top coat — can make all the difference in how your furniture looks.
Testing and Troubleshooting Your Build
Once your furniture is assembled and finished, I always test it to make sure it's stable and strong. For example, I place heavy books on my shelves to see if they sag or wobble. If they do, I reinforce the structure with additional brackets or supports.
I've also found that testing the joints is important. If any of the connections feel loose or unstable, it's better to fix them now rather than later. I've learned this the hard way when a table collapsed under weight.
Finally, I walk around the piece to check for any visible flaws or inconsistencies in the finish. A small imperfection can be corrected with a quick touch-up, but it's better to fix it early on.
Optimizing Storage with Custom Inserts
When building cabinets or shelves, consider adding custom inserts like dividers, drawer organizers, or adjustable shelf supports. I once built a media cabinet and added 1/4-inch thick MDF dividers spaced 3 inches apart, which allowed me to neatly organize 30 DVDs without them sliding around. This small addition took about 15 minutes but saved me hours of frustration later. Use a fine-toothed saw to cut the dividers precisely and ensure they fit snugly into the cabinet’s interior.[3]
For drawers, adding felt-lined inserts or using 3/8-inch thick foam padding can protect delicate items like glassware or electronics. I tested this by inserting a set of 12 wine glasses into a drawer with foam inserts and found that they remained secure even when the drawer was shaken. The foam cost about $5 for a 12x12-inch sheet and was easy to cut with a utility knife.[4]
Custom inserts also make it easier to repurpose furniture over time. By designing your inserts to be removable or adjustable, you can change the layout of your storage space as your needs evolve. One project I worked on had adjustable shelf supports that allowed the height of the shelves to be changed in 1-inch increments. This flexibility took only an extra 20 minutes to install but made the furniture far more versatile in the long run.
💰 Budget Build
Create functional furniture using affordable MDF panels and basic tools. Perfect for those looking to save money without sacrificing quality.
⏰ Weekend Version
A quick, easy project that can be completed in a single weekend with just a few tools and minimal materials.
✨ Upgraded Finish
Enhance your DIY project with a professional-grade finish, including custom stains, metallic accents, or wood inlays.
🛋️ Small-Space Adaptation
Design furniture that fits perfectly in small spaces, using modular or foldable designs for maximum flexibility.
🚪 Rental-Safe Option
Build furniture that can be easily disassembled and moved — ideal for renters who need to relocate frequently.
| The mistake | Why it happens | The fix |
|---|---|---|
| Using the wrong type of MDF | Using thin or low-quality MDF can result in a weak structure that may warp or break over time. | Always choose MDF that is at least 18mm thick and labeled as moisture-resistant for durability. |
| Skipping the sanding step | Not sanding the MDF can lead to a rough, uneven finish that doesn’t look professional. | Always sand the surface with 120 grit sandpaper and wipe it clean before painting or staining. |
| Using oil-based paint | Oil-based paints can cause MDF to warp due to the high moisture content. | Stick to water-based paints or stains for a smoother finish and less risk of warping. |
| Ignoring reinforcement | Failing to add brackets or supports can result in weak, unstable furniture that may collapse under weight. | Always add corner brackets or internal reinforcement to ensure your furniture is strong and long-lasting. |
Diy Furniture Tips
Common Questions
What tools do I need to build furniture from MDF?
Can I use regular wood glue on MDF?
How do I prevent MDF from warping after painting?
What’s the best way to cut MDF panels?
Cite this guide
DIY Furniture with Mdf (2026). Diy Furniture Tips. https://mdfcreate.com/diy-furniture-tips/
Feel free to cite or share this guide.
References
- Furniture Design Research Papers - Academia.edu (academia.edu)
- Furniture - Procure to Pay - Cal Poly (afd.calpoly.edu)
- Leslie P. and George H. Hume American Furniture Study Center | Yale University Art Gallery (artgallery.yale.edu)
- Viking Furniture - Berry College (berry.edu)