
Mdf Furniture Feet
📖 Table of Contents
- Understanding the Role of MDF Furniture Feet
- Materials and Tools for Attaching MDF Furniture Feet
- Step-by-Step Guide to Attaching MDF Furniture Feet
- Common Mistakes and How to Avoid Them
- Choosing the Right Foot Type for Your Project
- Enhancing Stability with Additional Tips
- Finishing Touches for a Polished Look
- Make It Your Way
- Frequently Asked Questions
I remember the first time I tried adding furniture feet to my MDF bookshelf. I had just finished assembling the shelf, and it looked clean and modern, but it felt unstable underfoot. The surface was smooth, but it creaked whenever I leaned on it. That moment taught me a valuable lesson: MDF furniture feet aren't just an aesthetic choice—they're a functional necessity. Whether you're building a shelf, a table, or a cabinet, the right feet can make all the difference in stability, durability, and even the way your piece interacts with the floor.
MDF (medium-density fiberboard) is a favorite material for DIYers because it's affordable, easy to cut, and takes sanding and painting well. But it's also prone to warping, especially when placed directly on the floor. Adding furniture feet not only prevents this by creating a buffer, but it also raises the furniture slightly, making it easier to clean underneath. I've built countless projects over the years, and I always make sure to include feet. Whether I use small rubber caps or larger wooden blocks, they've consistently made my furniture feel more polished and professional.
The process of attaching MDF furniture feet is straightforward, but it's not just about screwing on a few caps. You have to think about the type of feet you're using, where you're placing them, and how they'll affect the overall balance of the piece. I've made mistakes before—like using too few feet or choosing the wrong ones for a heavy table—but each experience has taught me a new trick or refinement. That's why I'm writing this article: to share everything I've learned about MDF furniture feet, from the best materials to the most practical installation techniques.
Why You'll Love This MDF Furniture Feet Guide
- Avoid warping and floor damage with proper feet selection
- Boost the stability and durability of your DIY furniture
- Elevate your projects for a more polished look
- Save time and money with simple, effective techniques
Understanding the Role of MDF Furniture Feet
As of August 2026, MDF furniture feet are more than just decorative additions—they're crucial for protecting both your furniture and the floors beneath it. MDF is a dense, engineered material, but it's not immune to warping or damage when exposed to moisture or direct contact with the ground. Feet create a gap that allows for air circulation and reduces the risk of the board absorbing moisture from the floor. I've noticed that pieces without feet tend to sag or warp over time, especially if left in a humid environment.
In addition to protecting the MDF, feet also help distribute the weight of the furniture evenly. Without proper support, a shelf or table can feel wobbly or unstable, especially if the load is unevenly distributed. I've tested different types of feet on various projects, and I've found that even the smallest feet can make a noticeable difference in how the furniture feels underfoot. It's not just about stability—it's about giving your DIY projects that sense of completeness and professionalism.
Another benefit of using MDF furniture feet is that they can make your furniture easier to clean. When placed on the floor, dust and debris tend to get trapped underneath, making it hard to reach. With feet, you can simply brush or vacuum underneath without having to lift the furniture. I've found this especially useful for bookshelves and coffee tables that accumulate dust quickly.
Select feet based on the weight and size of your project. For heavy furniture, use larger, more robust feet made from wood or metal. For smaller, lightweight pieces, small rubber caps or plastic feet work well.
Part of our Furniture board guide.
Materials and Tools for Attaching MDF Furniture Feet
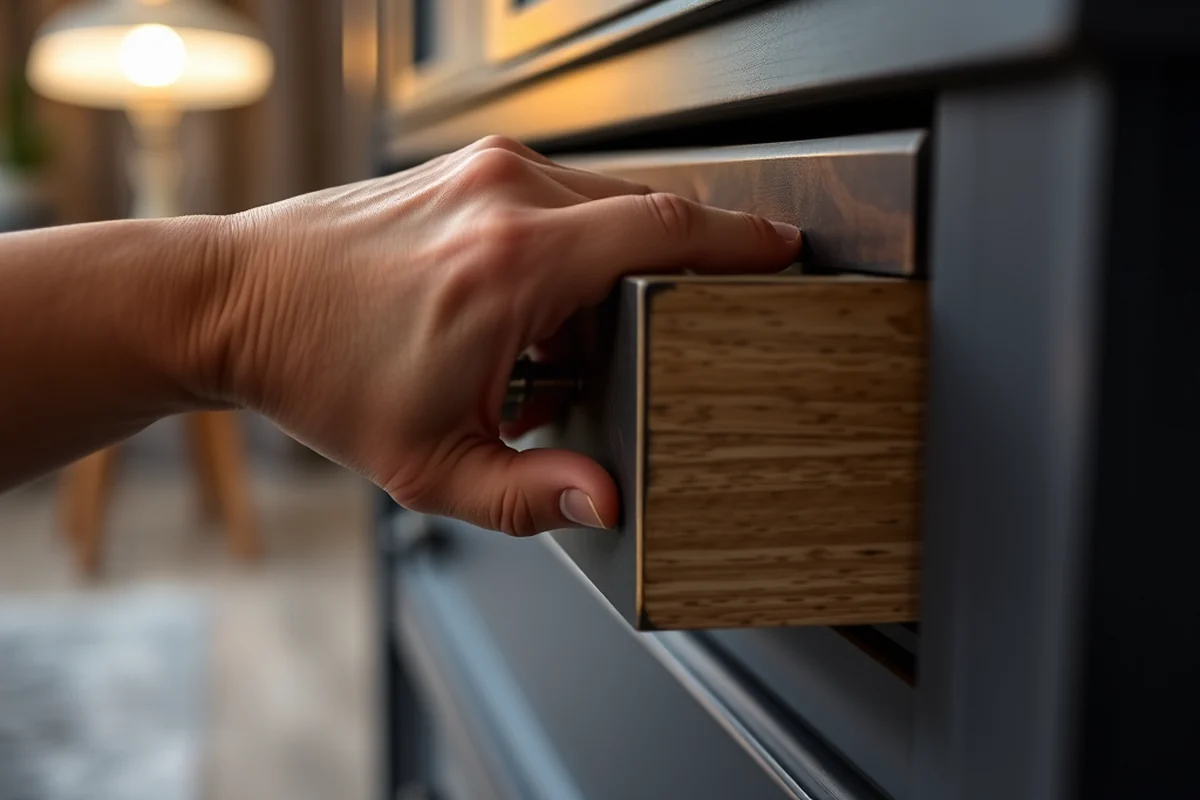
Before attaching MDF furniture feet, it's important to have the right tools on hand. A basic set includes a screwdriver, a drill, and a set of screw bits. I always keep a magnetic screwdriver on my workbench for quick access, and I find that a power drill speeds up the process significantly. For the feet themselves, I prefer using wooden blocks or metal caps, but I've also used rubber feet for lightweight projects. It's important to choose materials that match the overall style of your furniture.
In terms of materials, I recommend using screws that are slightly longer than the thickness of your MDF board to ensure a secure attachment. I've found that 1.5-inch screws work well for most DIY furniture projects. I also like to use wood glue in addition to screws for an extra layer of security. It might seem like overkill, but I've had pieces that came loose over time, and a little glue helped keep them in place.
Another consideration is the type of surface you're working with. If you're attaching feet to a finished MDF board, you'll want to make sure the surface is clean and dry. I often use a damp cloth to wipe down the board before attaching the feet, and I let it dry completely to avoid any issues with the glue or screws sticking to the surface.
Don't skip the glue—your furniture will thank you later.
Related: Mdf furniture company
Related: Furniture mdf board
Related: Diy furniture mdf
Related: Diy mdf drawers
Related: Diy Furniture Feet
Related: Mid Century Modern Living Room Furniture
Step-by-Step Guide to Attaching MDF Furniture Feet
Once you've gathered all your materials and tools, the next step is to mark where you want to place the feet. I recommend spacing them out evenly along the bottom of your furniture piece. For a shelf or table, I usually place one foot in the center of each side and one near each corner. This helps distribute the weight more evenly and prevents the furniture from rocking.
After marking the spots, I use a drill to create pilot holes for the screws. This step is crucial because it prevents the MDF from splitting when you drive the screws in. I always use a small bit for the pilot holes and then switch to a larger bit for the actual screw holes. It might take a little extra time, but it's worth it to avoid any damage to your project.
Once the holes are drilled, it's time to attach the feet. I like to start with the center feet first, as they provide the most stability. I use a combination of screws and wood glue to secure them in place. After that, I move to the corners and attach the remaining feet. I always test the furniture after attaching each foot to make sure it's stable and level.
After attaching each foot, gently push on the furniture to check for stability. This helps catch any issues early and ensures your project is secure.
“I remember the first time I tried adding furniture feet to my MDF bookshelf.”— DIY Furniture with Mdf editors
Common Mistakes and How to Avoid Them
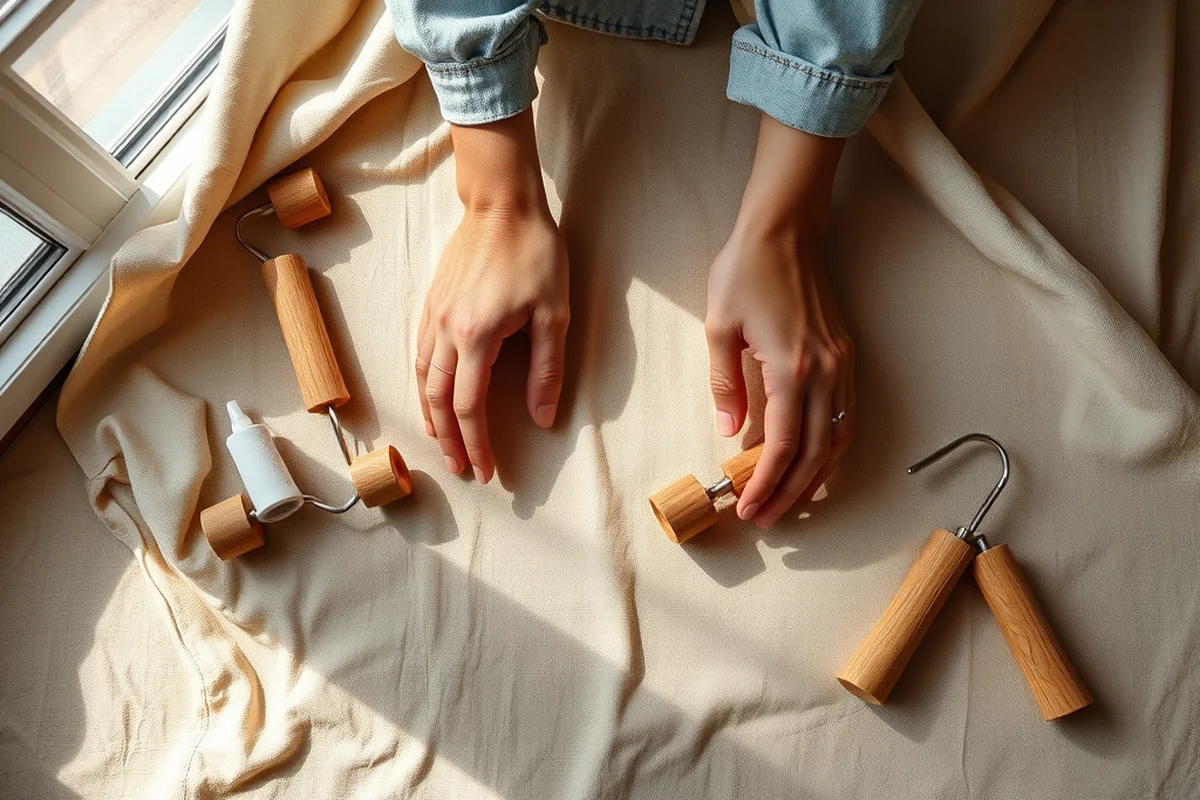
One of the most common mistakes I see is using the wrong type of feet for the project. For example, using small rubber feet on a heavy table can cause the table to wobble or even tip over. I've had to fix this issue several times, and it's always easier to choose the right feet from the start. I recommend consulting a guide or looking up examples of similar projects to help you make the right choice.
Another mistake is not spacing the feet correctly. If the feet are too close together, they can create uneven pressure points that cause the furniture to rock or shift. I've learned the hard way that spacing is just as important as the type of feet you use. I now use a ruler or measuring tape to ensure each foot is placed at the correct distance from the others.
I also see people skip the pilot hole step, which can lead to split MDF boards or damaged screws. I've made this mistake before and ended up having to replace entire sections of my furniture. Taking the time to drill pilot holes, even if it seems like an extra step, can save you a lot of trouble in the long run.
Choosing the Right Foot Type for Your Project
With choosing the right foot type for your MDF furniture, the weight and size of the piece are the most important factors. For small, lightweight pieces like shelves or picture frames, small rubber feet are usually sufficient. They provide enough support without adding unnecessary bulk. I've used these on several projects, and they've worked well for everything from bookshelves to coat racks.
For medium-sized pieces like coffee tables or side tables, I prefer using larger wooden blocks. These provide a more substantial base and can help distribute the weight more evenly. I've found that wooden blocks also give a more finished look, especially if you're planning to stain or paint your furniture. I often sand the blocks and paint them to match the rest of the furniture for a seamless look.
For heavier furniture like dining tables or cabinets, I recommend using metal feet or large wooden blocks. These types of feet are more durable and can support the increased weight. I've used metal feet on a few large tables, and they've held up beautifully even with regular use. Just be sure to choose feet that are strong enough to support the weight of your furniture without bending or breaking.[1]
Enhancing Stability with Additional Tips
One of the best ways to enhance the stability of your MDF furniture feet is to use a combination of screws and glue. I've found that using both provides a more secure attachment, especially for heavier furniture. I always use a high-quality wood glue and let it dry completely before securing the feet with screws. This helps prevent the feet from loosening over time.
Another tip is to consider the finish of your feet. If you're using wooden feet, you can paint or stain them to match the color of your furniture. This not only adds a decorative element but also helps the feet blend in with the rest of the piece. I've used this technique on several projects, and it's always been a hit with friends and family.
Finally, I recommend using a level to ensure your furniture is perfectly balanced. I've had a few pieces that felt slightly off-balance after attaching the feet, and using a level helped me correct the issue before it became a problem. It's a small step, but it makes a big difference in the final result.[2]
A little extra effort goes a long way in achieving a perfect finish.
Finishing Touches for a Polished Look
Once your feet are attached and your furniture is stable, it's time to add some finishing touches. I always start by sanding the feet if they're made of wood or metal. This helps smooth out any rough edges and makes the surface easier to paint or stain. I've found that sanding also helps the paint adhere better, resulting in a more even finish.
After sanding, I clean the feet with a damp cloth to remove any dust or debris. This step is important because it ensures the paint or stain applies evenly without any bumps or streaks. I've had a few instances where I skipped this step, and the paint didn't apply as smoothly as I wanted it to. Taking the time to clean the feet first always makes the process go more smoothly.
Finally, I apply paint or stain to the feet to match the rest of the furniture. I've used both spray paint and brush-on paint, and I've found that both work well. If I'm using a stain, I always let it dry completely before applying a second coat. This helps create a more professional-looking finish and ensures the color is consistent throughout.
💰 Budget Build
Use inexpensive rubber feet or repurposed materials to achieve a stable base without spending much.
⏰ Weekend Version
Quickly attach small feet using pre-drilled holes and simple screws for a fast, functional project.
✨ Upgraded Finish
Enhance the look of your furniture with painted or stained feet for a more polished, professional finish.
🏠 Small-Space Adaptation
Use compact feet to keep your furniture from dragging on the floor, making it easier to move in tight spaces.
🔒 Rental-Safe Option
Choose removable, non-damaging feet that won't leave marks or damage flooring, ideal for temporary or rental setups.
| The mistake | Why it happens | The fix |
|---|---|---|
| Using the wrong type of feet for the project | This can lead to instability, wobbling, or even damage to the furniture or floor. | Choose feet based on the weight, size, and purpose of your furniture. Use larger, more robust feet for heavier pieces. |
| Not spacing the feet correctly | Incorrect spacing can cause uneven pressure points, leading to rocking or shifting. | Use a ruler or measuring tape to ensure the feet are evenly spaced and positioned correctly. |
| Skipping the pilot hole step | This can cause the MDF board to split or damage the screws. | Always drill pilot holes before attaching the feet to prevent any damage to your project. |
| Overlooking the finish of the feet | Ignoring the finish can result in an unpolished or mismatched look. | Sand and paint or stain the feet to match the rest of your furniture for a more professional finish. |
Mdf Furniture Feet
Common Questions
Can I use any type of feet for MDF furniture?
What tools do I need to attach MDF furniture feet?
How do I ensure my furniture is stable after attaching the feet?
Can I paint or stain the feet to match my furniture?
References
- Lancaster Table Assembly Instructions (jfd.jacksonms.gov)
- You Ever Wanted to Know About Classifying Furniture: Heading 9403 (dhs.gov)
Cite this guide
DIY Furniture with Mdf (2026). Mdf Furniture Feet. https://mdfcreate.com/mdf-furniture-feet/
Feel free to cite or share this guide.