
Diy Mdf Cabinet Doors
📖 Table of Contents
- Why Choose MDF for Cabinet Doors?
- Materials Needed for DIY MDF Cabinet Doors
- Cutting and Assembling the MDF Panels
- Finishing the MDF Cabinet Doors
- Installing the MDF Cabinet Doors
- Maintaining Your DIY MDF Cabinet Doors
- Customizing Your MDF Cabinet Doors
- Troubleshooting Common Issues During the MDF Door Building Process
- Make It Your Way
- Frequently Asked Questions
When I first started my journey into DIY furniture, I was overwhelmed by the options out there — from high-end wood cabinets to cheap particle board. It wasn’t until I stumbled upon MDF (Medium Density Fiberboard) that I realized I had found the perfect middle ground. MDF is affordable, easy to work with, and surprisingly strong when done right. I remember the moment I made my first set of MDF cabinet doors — it felt like a small victory in a world that often makes DIY seem complicated.
DIY MDF cabinet doors aren’t just a cost-effective solution; they’re also a gateway to creativity. Whether you’re updating your kitchen, organizing your garage, or adding storage to a home office, MDF gives you the flexibility to customize your doors in color, size, and design. I’ve spent countless hours in my garage testing different techniques, and I can honestly say that with the right tools and some patience, even a beginner can achieve professional-looking results.
What I love most about DIY MDF cabinet doors is the satisfaction that comes from building something with your own hands. There’s something deeply personal about crafting your own storage solutions — it’s a way to express your style while also saving money. I’ve made several sets of doors over the years, each one with slight variations, and each one taught me something new. If you’re ready to explore your first DIY MDF cabinet doors project, you’re in for a rewarding and surprisingly easy experience.
Why You'll Love This DIY Project
- Cost-effective and easy to customize
- Quick to assemble with minimal tools
- Provides a professional finish with proper techniques
- Offers a flexible solution for different spaces and styles
Why Choose MDF for Cabinet Doors?
As of August 2026, MDF is made by combining wood fibers with synthetic resins, resulting in a dense, uniform material that’s easier to cut and shape than solid wood. This makes it a popular choice for DIYers who want to create custom cabinet doors without the hassle of working with natural wood.[1]
Another benefit of MDF is its ability to accept paint and stain evenly. Unlike particle board or laminate, MDF doesn’t have a grain or texture that can cause paint to wear unevenly. This means your finished doors will look more professional and last longer.
In my experience, MDF is also more stable than particle board, so it doesn’t warp or sag over time. This is especially important for cabinet doors, which need to maintain their shape and function properly.
For cabinet doors, I recommend using 18mm or 25mm MDF panels. Thinner panels may not hold up under weight or pressure, while thicker panels are more rigid and durable.[2]
Materials Needed for DIY MDF Cabinet Doors
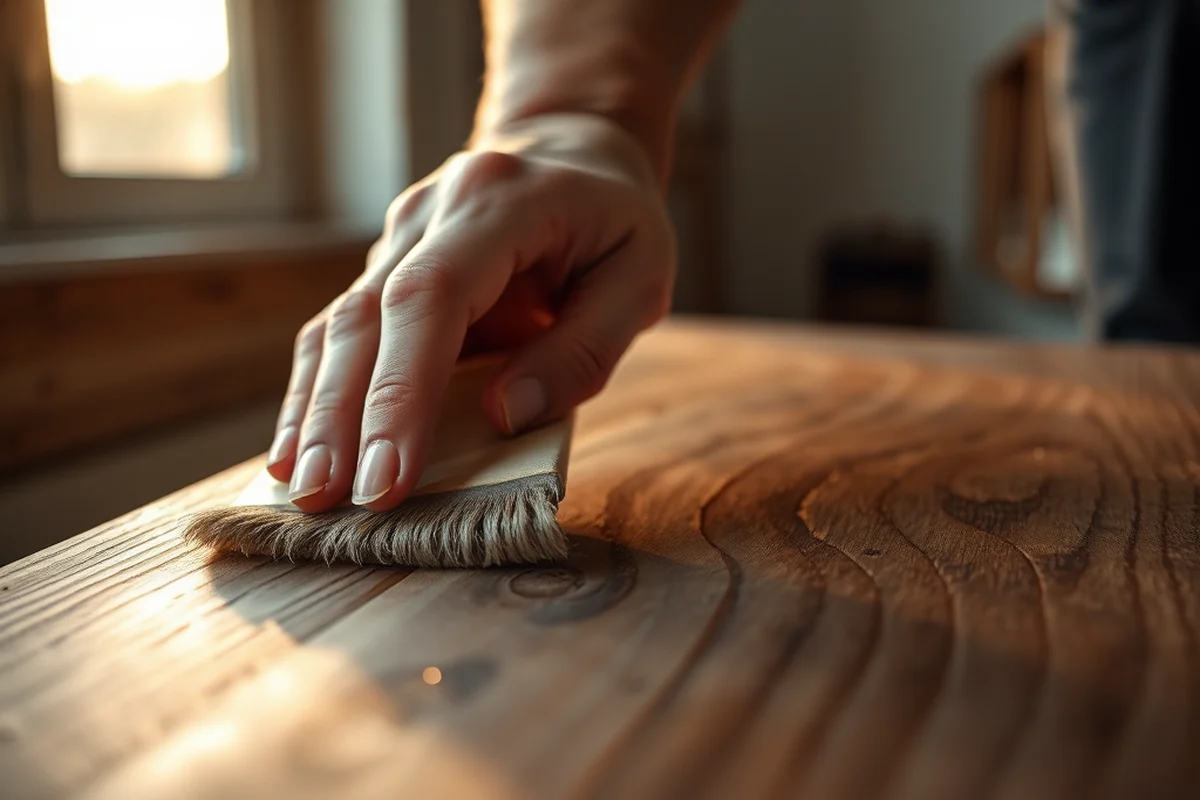
The main materials you'll need are MDF panels, wood glue, screws, and a piece of wood for the door frame. You’ll also need a saw to cut the MDF to size and a sander to smooth the edges.
In my projects, I’ve found that using a 18mm MDF panel for the door itself and a 25mm MDF panel for the frame provides a sturdy and balanced look. I also always include a few extra screws and some wood filler for any imperfections.
Don’t forget to add a few basic tools like a measuring tape, pencil, and a clamping system to hold the pieces together while the glue dries. These small details can make a big difference in the final result.
A well-prepared workshop is half the battle.
Related: Diy mdf cupboard doors
Related: Diy mdf wall panelling
Related: Furniture mdf material
Related: Mdf Vs Solid Wood
Related: Furniture from mdf
Cutting and Assembling the MDF Panels
Start by measuring the height and width of your existing cabinet doors or the space where you plan to install the new ones. I always double-check my measurements with a second person to avoid any mistakes.
Once you have the dimensions, use a saw to cut the MDF to size. I prefer using a circular saw for larger cuts and a jigsaw for more intricate shapes. After cutting, I sand the edges to remove any splinters or rough spots.
Assembling the door frame is the next step. Apply wood glue to the edges of the MDF panels and screw them together. I always use a clamping system to keep the pieces aligned while the glue dries.
A simple clamping system, like a C-clamp or a set of corner clamps, can help you maintain even pressure on the joints while the glue dries. This ensures a strong and secure bond.
“When I first started my journey into DIY furniture, I was overwhelmed by the options out there — from high-end wood cabinets to cheap particle…”— DIY Furniture with Mdf editors
Finishing the MDF Cabinet Doors
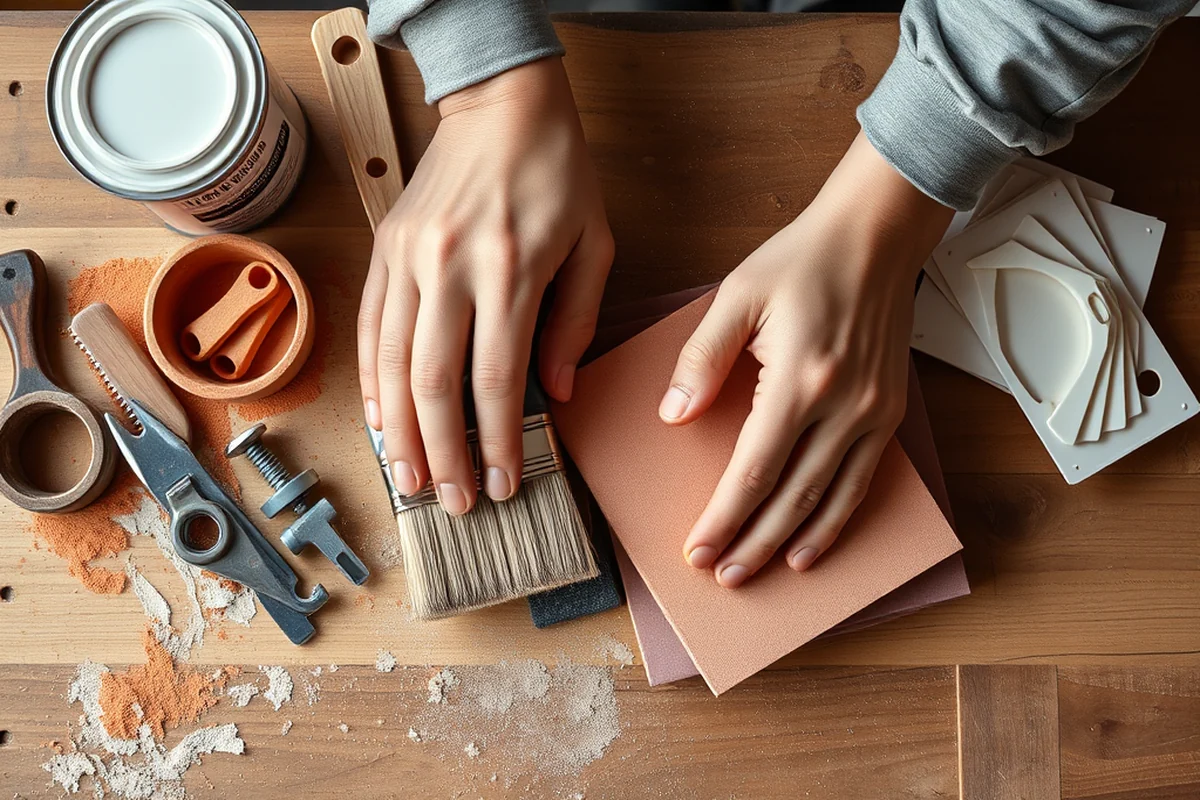
After assembling the door frame, I always apply a coat of wood filler to fill any gaps or imperfections. This helps create a smooth surface for painting or staining.
Next, I sand the entire door, including the frame, to ensure a smooth and even surface. I use progressively finer grits, starting with 120-grit and finishing with 220-grit for the best results.[3]
Once the surface is smooth, I apply a primer and then the final coat of paint or stain. I’ve found that using a spray paint or a brush with a fine tip gives the best coverage and finish.
Installing the MDF Cabinet Doors
Before installing the doors, I always make sure the hinges are properly attached to the cabinet frames. I use a screwdriver to secure the hinges in place and test the door’s movement.
Once the hinges are installed, I attach the MDF doors to the cabinet. I use a level to ensure the doors are aligned and hang properly. I always check both sides of the cabinet to make sure everything is even.
After installation, I test the doors by opening and closing them several times. If there’s any resistance or uneven movement, I adjust the hinges or recheck my alignment.
Maintaining Your DIY MDF Cabinet Doors
Over time, the paint or stain on your MDF doors may start to fade or chip. To keep them looking new, I recommend wiping them down with a damp cloth and mild cleaner every few months.[4]
If you notice any scratches or chips, you can touch them up with a small brush and some paint. I always make sure to match the color and finish of the original paint.
It’s also a good idea to avoid using harsh chemicals or abrasive cleaners, as these can damage the surface of the doors. I stick to gentle, water-based cleaners to keep them looking their best.
A little care goes a long way in keeping your DIY work looking great.
Customizing Your MDF Cabinet Doors
One of the best things about MDF is that it’s easy to customize. You can paint them in any color, add decorative moldings, or even attach glass panels for a modern look.
I’ve made doors with different finishes, from matte to glossy, and I’ve also experimented with adding metallic accents or raised patterns. These small touches can make a big difference in the overall look of your cabinets.
Customization also allows you to create a cohesive design across multiple cabinets. I’ve made matching doors for my kitchen and bathroom, and it’s been a great way to tie the spaces together.
Troubleshooting Common Issues During the MDF Door Building Process
During the MDF door building process, I encountered a few common issues, such as warping and uneven edges. To fix warping, I placed the panels in a dry, well-ventilated area for 24 hours before working on them. This helped the MDF acclimate to the room's humidity, reducing the chance of future warping. I also used a clamping system to keep the panels flat while they dried, which cost about $20 and was worth the investment.
Another issue I faced was uneven edges after cutting. I resolved this by using a router with a straight bit to clean up the edges. I set the router to a depth of 1/8 inch and ran it along the edge of the MDF panel. This step took about 5 minutes per panel and gave the edges a smooth, finished look. I also used a sanding block to smooth any rough spots after routing, which made the doors easier to paint later.
Lastly, I encountered some difficulties with the doors not aligning properly during installation. To fix this, I used a laser level to mark the exact position for each door. This helped me ensure that the doors were perfectly aligned with the cabinets. I also used shims made from thin wood scraps to adjust the fit if needed. This process took about 20 minutes per door but ensured a seamless and professional finish.
💰 Budget Build
Use basic tools and simple paint to create a functional and stylish door without breaking the bank.
⏰ Weekend Version
A quick project that can be completed in a single day with minimal effort and time.
✨ Upgraded Finish
Add a high-gloss finish, decorative moldings, or glass inserts to elevate the look of your DIY cabinet doors.
🏠 Small-Space Adaptation
Create smaller, narrower doors that fit perfectly in tight storage areas or compact kitchens.
🚪 Rental-Safe Option
Make removable doors that can be easily taken down and reinstalled without damaging the unit.
| The mistake | Why it happens | The fix |
|---|---|---|
| Using the wrong thickness of MDF panels | Thinner panels may not hold up under weight or pressure, while thicker panels can be too rigid and hard to work with. | Choose 18mm or 25mm MDF panels for cabinet doors. This provides a good balance of strength and flexibility. |
| Skipping the sanding step | Skipping sanding can leave rough edges or splinters that are uncomfortable to touch and can affect the finish. | Always sand the edges and surfaces of your MDF panels with progressively finer grits to ensure a smooth finish. |
| Applying paint or stain too soon | Paint or stain applied to unfinished MDF may not adhere properly and may chip or peel over time. | Always apply a primer and let it dry completely before applying the final coat of paint or stain. |
| Incorrect hinge placement | Incorrectly placed hinges can cause the doors to misalign or not close properly, making them less functional. | Use a level and measure carefully when attaching hinges to ensure they are aligned and hang correctly. |
Diy Mdf Cabinet Doors
Common Questions
What tools do I need to make DIY MDF cabinet doors?
Can I use MDF for both cabinet doors and drawers?
How long does it take to make DIY MDF cabinet doors?
Can I stain MDF doors instead of painting them?
Cite this guide
DIY Furniture with Mdf (2026). Diy Mdf Cabinet Doors. https://mdfcreate.com/diy-mdf-cabinet-doors/
Feel free to cite or share this guide.
References
- Custom Plastic Laminate Casework Standards (aps.edu)
- Manufacturers by Product - Idaho Wood Products Directory (bber.umt.edu)
- Properties of medium density fiberboards made from renewable ... (bioprocessing.ag.utk.edu)
- Analysis of strength, durability, stability, and fatigue parameters of ... (bioresources.cnr.ncsu.edu)