
How To Diy Furniture
📖 Table of Contents
- Gather the Right Materials and Tools
- Measure, Cut, and Sand with Precision
- Assembling Your Piece: Tips for a Solid Build
- Finishing Touches: Painting, Staining, or Sealing
- Designing Your Own Furniture: Tips for Custom Builds
- Troubleshooting Common Issues During the Build
- Finishing Your Project: Inspection and Final Touches
- Make It Your Way
- Frequently Asked Questions
The first time I built a shelf from scratch, I was nervous. My hands shook a little as I tightened the screws, and I kept second-guessing every measurement. But by the time I stepped back to admire the finished product, I felt a rush of pride. DIY furniture isn’t just about saving money — it’s about creating something personal, something that reflects your taste and effort. That shelf, now sitting in my living room, reminds me of the joy that comes from taking a simple idea and turning it into something real.[3]
DIY furniture is more accessible than most people think. You don’t need a degree in carpentry or a huge budget to start. With the right tools, a few basic materials, and a bit of patience, you can build pieces that are both functional and beautiful. I’ve made everything from bookshelves to coffee tables. Each project taught me something new — whether it was how to cut wood precisely or how to sand a surface until it was smooth enough to run my fingers over.[4]
The secret to successful DIY furniture isn’t magic — it’s preparation. I’ve learned that taking the time to plan, measure, and sketch out your project before you even touch a tool can make all the difference. Whether you’re a complete beginner or someone who’s dabbled in DIY before, this guide will walk you through the process step by step, showing you exactly how to diy furniture with confidence and clarity.
Why You'll Love This DIY Guide
- You'll save money compared to buying pre-made furniture.
- You can tailor every detail to your personal style and space.
- You’ll gain confidence in your ability to build and create.
- You'll end up with a piece of furniture that feels uniquely yours.
Gather the Right Materials and Tools
As of August 2026, I always start by listing out everything I’ll need, from wood and screws to sandpaper and paint. For my first shelf, I used 3/4-inch thick MDF, which is affordable and easy to work with. I also made sure I had a circular saw, a drill, and a couple of clamps. These tools are essential for cutting, assembling, and securing your furniture pieces.[1]
It’s easy to underestimate how much material you’ll need — I learned that the hard way when I ran out of wood halfway through my first project. To avoid this, I always buy a little extra. I also recommend investing in a quality measuring tape and a square, as they’ll help you get precise measurements and keep your pieces straight.[2]
One thing I’ve found is that having all your tools and materials laid out before you start can save you time and frustration later. I now have a dedicated workbench where I keep everything organized, and it’s made a huge difference in how smoothly my projects go.
Set up a dedicated workspace with all your tools and materials in reach. This minimizes the time you spend looking for things and helps you stay focused on the task at hand.
Part of our For beginners ideas guide.
Measure, Cut, and Sand with Precision
I always start by measuring twice before making any cuts. I use a tape measure and a square to ensure my measurements are accurate. Once I’m satisfied with the dimensions, I mark the wood with a pencil and use a circular saw to make the cuts. I’ve found that using a guide helps keep the cuts straight and even.
After cutting, I spend time sanding the edges and surfaces. I start with a coarse grit sandpaper and work my way up to a finer grit. This not only smooths out any rough edges but also prepares the surface for painting or staining. I’ve noticed that skipping this step can make the final finish look uneven and unprofessional.
One of the most frustrating things I’ve dealt with is a warped or bowed piece of wood. To prevent this, I always let the wood sit for a day or two before I start working on it. This allows it to acclimate to the room’s humidity, which helps prevent warping later on.
Measure twice, cut once — and always let your wood rest before working with it.
Related: Diy furniture embellishments
Related: Diy furniture dolly
Related: Diy furniture legs
Related: Diy furniture india
Related: What make furniture
Related: Furniture Covers For Pets
Assembling Your Piece: Tips for a Solid Build
I always start by pre-drilling holes before I attach any screws. This helps prevent the wood from splitting, especially if you’re using a material like MDF. I’ve found that using a drill bit that’s slightly smaller than the screw’s diameter makes a big difference in how smoothly the screw goes in.
When assembling your piece, I use clamps to hold everything in place while I’m working. This keeps the pieces aligned and makes it easier to attach the screws correctly. I’ve also found that working on a level surface is essential — I’ve had pieces that ended up slanted because I didn’t take this into account.
After everything is assembled, I take a step back and check for any wobbling or instability. If I notice something’s off, I’ll adjust it before moving on to the next step. This attention to detail has saved me from a lot of frustration down the line.
Pre-drilling prevents wood from splitting, and clamps help keep your pieces aligned during assembly. These simple steps can make a big difference in the final result.
“The first time I built a shelf from scratch, I was nervous.”— DIY Furniture with Mdf editors
Finishing Touches: Painting, Staining, or Sealing

I usually start by applying a primer to the wood, especially if I’m painting it. This helps the paint adhere better and creates a smooth, even base. I’ve found that using a high-quality primer can make the final paint job look much more professional.
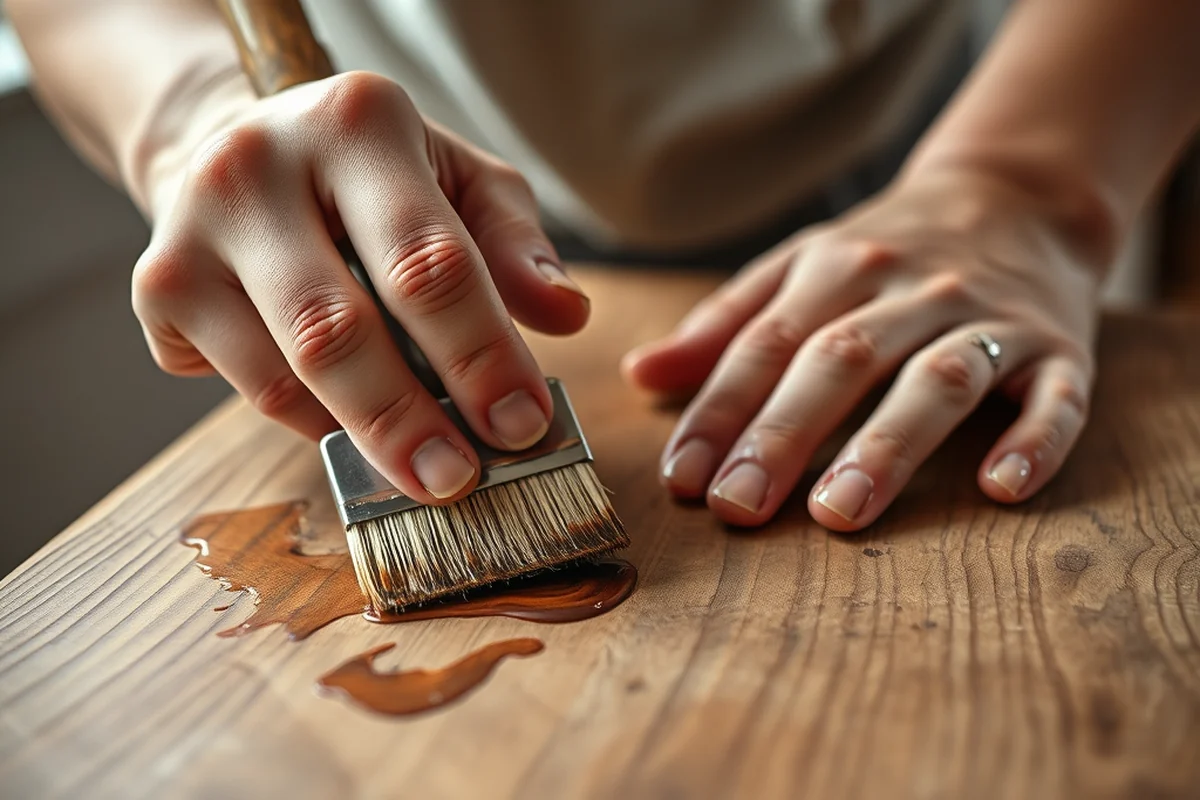
If I’m staining the wood, I always apply a couple of coats and let each one dry completely before moving on to the next. I’ve learned that rushing this step can lead to a blotchy or uneven finish. I also use a brush specifically designed for staining, as it helps apply the stain more evenly.
Once the paint or stain is dry, I apply a clear sealant to protect the surface. This is especially important if the furniture will be used regularly. I’ve used wood sealers in the past, and they’ve helped keep my pieces looking new for much longer.
Designing Your Own Furniture: Tips for Custom Builds
When designing my own furniture, I always sketch out a rough plan first. This helps me visualize how the piece will look and function. I’ve found that using graph paper or digital design tools can help me get precise measurements and proportions.
I also consider the space where the furniture will go. For example, if I’m making a shelf, I need to make sure it fits within the available height and width. I’ve had to adjust my designs several times to fit them into my home, and it’s made a big difference in the final result.
Another tip I’ve picked up is to use hardware that complements the design. Whether it’s drawer pulls or hinges, choosing the right hardware can enhance the overall look of the furniture. I’ve found that matching the hardware to the color of the finish can make a big impact.
Troubleshooting Common Issues During the Build
One of the most common problems I’ve faced is misalignment during assembly. This can happen if the pieces aren’t cut precisely or if the joints don’t fit together correctly. To fix this, I use a square to check each joint and make adjustments as needed.
Another issue is warping or bowing in the wood, especially if it hasn’t had time to acclimate. If this happens, I let the piece sit for a few days and see if it straightens out on its own. If not, I may need to use clamps to gently reshape it.
I’ve also had issues with paint or stain not adhering properly. In these cases, I go back to the drawing board and make sure the surface is clean and sanded before applying the finish. Taking the time to prepare the surface properly has saved me a lot of headaches.
A little patience and attention to detail can turn even the most challenging issues into opportunities for improvement.
Finishing Your Project: Inspection and Final Touches
Once everything is assembled and finished, I give the piece a thorough inspection. I look for any gaps, wobbles, or misalignments that I might have missed earlier. I’ve found that making these adjustments after the main build can make a big difference in the final quality.
I also take the time to clean up any dust or debris from the build process. This helps the surface look cleaner and more professional. I’ve noticed that even a small amount of dust can affect the finish of a painted or stained piece.
Finally, I test the furniture to see how it functions. For example, if it’s a shelf, I place books on it to see if it holds up. If it’s a table, I put a plate or bowl on it to check for stability. This final test gives me peace of mind that my DIY project is ready to be used.
💰 Budget Build
Create a functional piece of furniture without breaking the bank by using affordable materials like MDF and basic tools.
⏰ Weekend Version
Finish a simple DIY furniture project in one day with pre-cut pieces and minimal assembly.
✨ Upgraded Finish
Add a professional touch to your DIY furniture with high-quality paint, stain, or hardware.
🏠 Small-Space Adaptation
Design furniture that fits perfectly in small spaces, such as narrow shelves or compact tables.
🔒 Rental-Safe Option
Build furniture that’s easy to disassemble and move, making it ideal for renters who need to relocate frequently.
| The mistake | Why it happens | The fix |
|---|---|---|
| Skipping the pre-drilling step | This can cause the wood to split, especially with materials like MDF, leading to an unstable or damaged build. | Always pre-drill holes before attaching screws to prevent splitting and ensure a secure connection. |
| Not measuring twice before cutting | This can result in mismatched pieces that don’t fit together properly, leading to frustration and wasted time. | Take the time to measure twice and mark your pieces accurately before making any cuts. |
| Ignoring the need to acclimate the wood | Wood that hasn’t been allowed to adjust to the room’s humidity may warp or bow after assembly. | Let the wood sit for a few days before starting your project to ensure it’s stable and won’t warp later on. |
| Using low-quality paint or stain | This can lead to an uneven or peeling finish that doesn’t look professional. | Invest in quality paint, stain, or sealant to ensure a smooth, long-lasting finish that enhances your furniture. |
How To Diy Furniture
Common Questions
What tools do I need to get started with DIY furniture?
Can I build furniture without any prior experience?
How can I ensure my furniture is stable and doesn’t wobble?
What type of wood is best for DIY furniture?
Cite this guide
DIY Furniture with Mdf (2026). How To Diy Furniture. https://mdfcreate.com/how-to-diy-furniture/
Feel free to cite or share this guide.
References
- Leslie P. and George H. Hume American Furniture Study Center | Yale University Art Gallery (artgallery.yale.edu)
- Viking Furniture - Berry College (berry.edu)
- Furniture Design Research Papers - Academia.edu (academia.edu)
- Furniture - Procure to Pay - Cal Poly (afd.calpoly.edu)