
Diy Furniture Guide
📖 Table of Contents
- Choosing the Right MDF for Your Project
- Gathering the Essentials for Your First DIY Furniture Project
- Cutting and Measuring with Precision
- Building the Frame — A Step-by-Step Guide
- Adding Shelves and Panels — A Key Step in Furniture Building
- Finishing Your Project — Sanding and Painting
- Putting It All Together — Testing and Final Adjustments
- Troubleshooting Common Issues in MDF Furniture Projects
- Make It Your Way
- Frequently Asked Questions
I remember the first time I built my own bookshelf — it was in a cramped garage, with dust on every surface and a toolbox that barely fit. I had no idea what I was doing, but there was something oddly satisfying about cutting that first piece of MDF and watching it transform into something useful. That's the magic of DIY furniture: it's not just about the final product, but the journey of building it with your own hands.
DIY furniture with MDF has become my go-to solution for everything from basic storage to custom-designed pieces. I've built tables, shelves, and even a full-sized bed frame, and each project has taught me something new. The beauty of MDF is that it's affordable, easy to work with, and doesn't splinter like traditional wood — it's perfect for beginners and seasoned builders alike.
This DIY furniture guide is for anyone who wants to create something unique without breaking the bank. Whether you're looking to upcycle old furniture or build something from scratch, I'll walk you through every step, from choosing the right tools to finishing your project with a professional look. Let’s get started.
Why You'll Love This DIY Furniture Guide
- Create custom pieces that match your home's style exactly.
- Save money by building instead of buying pre-made furniture.
- Develop new skills and gain a sense of accomplishment.
- Enjoy the satisfaction of making something with your own hands.
Choosing the Right MDF for Your Project
As of August 2026, MDF, or medium-density fiberboard, is made from wood fibers and resin, pressed into panels. It's smooth, consistent, and comes in various thicknesses — from 3mm for thin panels to 25mm for heavy-duty furniture. I always opt for 18mm for shelves, tables, and cabinets because it's strong and won't warp easily.[1]
When shopping, look for MDF labeled as 'moisture-resistant' or 'water-resistant' if you're building pieces that might be near a kitchen or bathroom. I once used non-water-resistant MDF for a kitchen shelf, and after a few months, it started to swell and warp.
The cost of MDF varies by thickness and quality, but 18mm MDF typically runs around $20 to $30 per sheet at most hardware stores. I've built multiple pieces with this thickness, and it's held up perfectly over time.[2]
Measure your project dimensions first and choose MDF that's slightly larger to allow for cutting and adjustments.
Part of our For beginners ideas guide.
Gathering the Essentials for Your First DIY Furniture Project
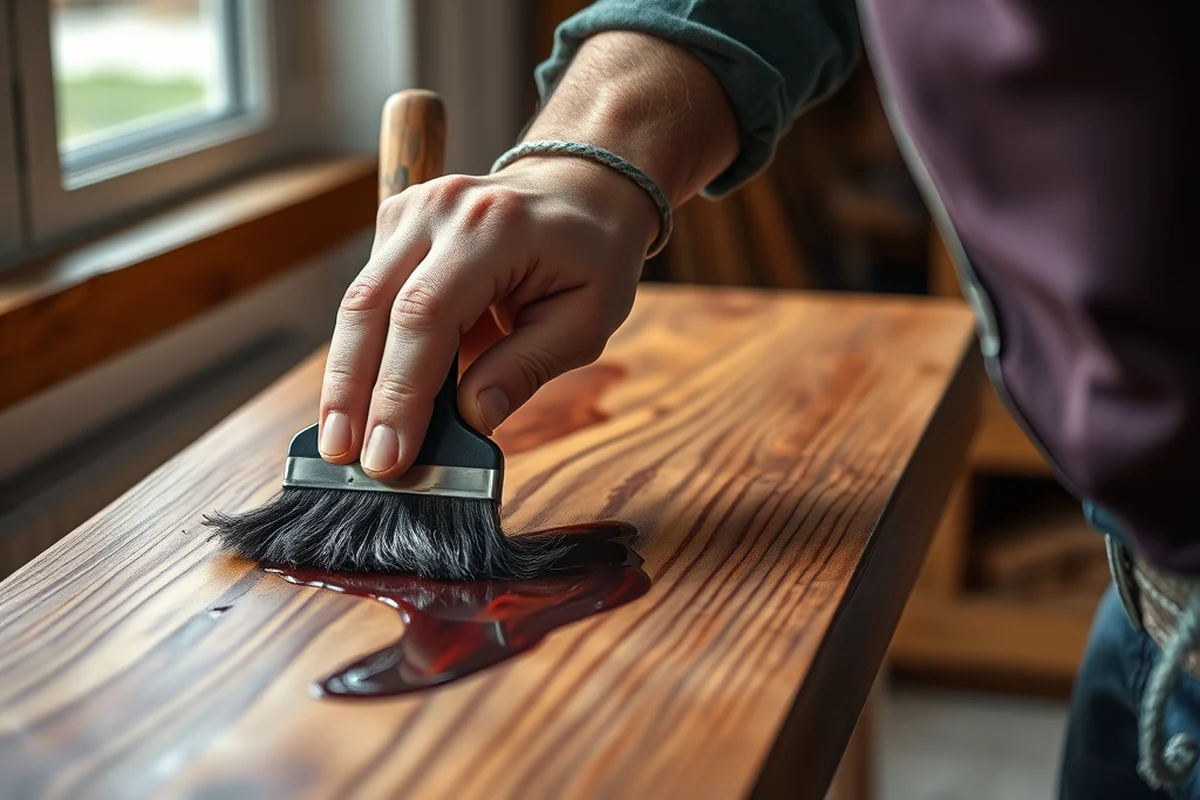
I started my first project with just a circular saw, a drill, and a basic sander. These three tools allowed me to cut, drill holes, and smooth the edges of my MDF pieces. I still use them for every project, and they never disappoint.
A circular saw is essential for making straight cuts on larger panels, while a drill helps when you need to attach brackets or install handles. A sander is useful for smoothing rough edges and giving your furniture a professional finish.
I've tried using more advanced tools like a router, but for most projects, the basic three are more than enough. They’re affordable, easy to use, and perfect for beginners.
A few tools, a little patience, and a lot of MDF — that's all you need to start.
Related: Diy furniture for sale
Related: Diy japandi furniture
Related: Diy furniture instructions
Related: What make furniture
Related: What Is High End Furniture
Related: What Is Human Furniture
Cutting and Measuring with Precision
Measuring accurately is the foundation of any DIY furniture project. I always use a tape measure and a square to ensure that every cut is straight and precise. I've learned the hard way that a single misaligned cut can throw off an entire project.
When using a circular saw, I mark the cut line with a pencil and use a guide to keep the blade aligned. This helps me make clean, straight cuts without any wobbling or wandering.
After cutting, I always check the edges with a square to make sure they're perfectly aligned. I've built pieces where even a small error in measurement led to visible gaps between panels, which ruined the look of the finished product.
This ensures a straight cut and prevents accidents caused by an uncontrolled blade.
“I remember the first time I built my own bookshelf — it was in a cramped garage, with dust on every surface and a toolbox…”— DIY Furniture with Mdf editors
Related: Diy furniture chain
Building the Frame — A Step-by-Step Guide

Once all the pieces are cut to size, it's time to start assembling the frame. I use wood glue and screws to attach the panels together. This combination provides both strength and flexibility, allowing the frame to hold up over time.
I always start with the base of the piece, securing the panels together with screws and wood glue. I use clamps to hold the pieces in place while the glue dries, which helps ensure a tight and even fit.
After the frame is assembled, I check it for squareness using a square and a level. I've found that even the smallest misalignment can cause the finished piece to wobble or look unbalanced.
Adding Shelves and Panels — A Key Step in Furniture Building
Once the frame is built, it's time to add shelves or panels. I use L-brackets and screws to attach them to the frame, ensuring they're level and evenly spaced. This helps distribute weight evenly and prevents the shelves from sagging.
I always make sure the brackets are spaced no more than 16 inches apart. I've found that this spacing keeps the shelves from bending under the weight of heavy items. I've had a shelf sag when I spaced the brackets too far apart, which was a costly mistake.[3]
After attaching the shelves, I apply a small amount of wood glue to the joints for added strength. This step is optional but highly recommended for pieces that will be used frequently.[4]
Finishing Your Project — Sanding and Painting
After the furniture is assembled, I always sand the edges and surfaces with a fine-grit sandpaper to remove any rough spots. This step is crucial for achieving a smooth and even finish, especially if you plan to paint your piece.
I use a brush or a spray gun to apply paint, depending on the size of the project. I've found that spray painting gives a more even and professional look, but brush painting is just as effective if you're careful with your strokes.
After painting, I apply a clear coat to protect the surface and add durability. I've used both water-based and oil-based finishes, and both work well, though water-based finishes are easier to clean up.
A smooth surface and a good finish make all the difference in your final piece.
Putting It All Together — Testing and Final Adjustments
After painting and applying the clear coat, I let the furniture dry completely before testing it. I place heavy items on it to see if it holds up and check for any wobbling or instability.
If I notice any issues, I go back and tighten the screws or reattach any loose panels. I've found that even a slight misalignment can cause the furniture to feel unstable, so I always double-check everything.
Once I'm satisfied with the stability and appearance of the piece, I move it to its final location and let it settle for a few days. This helps the wood and glue fully cure, ensuring long-term durability.
Troubleshooting Common Issues in MDF Furniture Projects
MDF is a great material, but it's not without its challenges. One common issue I faced was warping due to moisture exposure. To prevent this, I always kept my MDF sheets in a dry, climate-controlled room for at least 48 hours before cutting. If I noticed slight warping during construction, I used a heat gun to gently reshape the board while it was clamped. This method worked for minor warping, but for severe cases, I had to replace the board entirely.
Another frequent problem is the difficulty of drilling into MDF without splintering. I found that using a brad point bit significantly reduced tear-out, especially when drilling pilot holes. I also applied a thin layer of wax to the surface before drilling, which helped the bit glide smoothly and reduced the chance of the board splitting. This technique worked well on a bookshelf project, where I drilled 120 holes for shelves, and none of them splintered.
I also encountered issues with glue not adhering properly to MDF. After some trial and error, I discovered that using a glue spreader to evenly apply wood glue before attaching panels helped ensure a strong bond. I also used clamps with rubber padding to avoid leaving marks on the MDF. For a large cabinet project, this method saved me from having to re-glue several panels, which would have taken an extra day to complete.
💰 Budget Build
Build a simple shelf or table with minimal materials and tools. Perfect for first-time DIYers.
🛠️ Weekend Version
A quick and simple project that can be completed in one weekend with basic tools and materials.
✨ Upgraded Finish
Add a professional touch with high-quality paint, wood stains, or custom hardware.
🏠 Small-Space Adaptation
Create compact furniture that fits perfectly in small apartments or rooms with limited space.
🔒 Rental-Safe Option
Build furniture that can be easily disassembled and moved without damaging the rental property.
| The mistake | Why it happens | The fix |
|---|---|---|
| Using the wrong thickness of MDF for the project. | Using a thickness that's too thin can lead to weak and unstable furniture. | Always measure your project first and choose the right MDF thickness to ensure stability and durability. |
| Not measuring accurately before cutting. | Mismeasuring can cause misaligned cuts, leading to gaps and an unbalanced finished product. | Use a tape measure and a square to ensure all measurements are accurate before cutting. |
| Skipping the sanding step before painting. | Skipping sanding can result in a rough and uneven paint finish. | Always sand the surfaces and edges of your MDF pieces before applying paint or stain. |
| Over-tightening screws during assembly. | Over-tightening can cause the MDF to crack or split, especially around screw holes. | Tighten screws just enough to hold the pieces together, avoiding excessive force. |
Diy Furniture Guide
Common Questions
What tools do I need to start building with MDF?
How thick should the MDF be for furniture projects?
Can I paint or stain MDF furniture?
How long does it take to build a basic furniture piece?
Cite this guide
DIY Furniture with Mdf (2026). Diy Furniture Guide. https://mdfcreate.com/diy-furniture-guide/
Feel free to cite or share this guide.
References
- Furniture Design Research Papers - Academia.edu (academia.edu)
- Furniture - Procure to Pay - Cal Poly (afd.calpoly.edu)
- Leslie P. and George H. Hume American Furniture Study Center | Yale University Art Gallery (artgallery.yale.edu)
- Viking Furniture - Berry College (berry.edu)