
Diy Furniture Instructions
📖 Table of Contents
I remember the first time I built a coffee table out of MDF. It was a hot Saturday afternoon in my garage, and I had a box of leftover MDF boards, a few basic tools, and the vague idea that I could make something useful. What I didn’t know was that the process would be more satisfying than I ever imagined — and that the result would be a sturdy, beautiful piece of furniture that still sits in my living room today. DIY furniture with MDF has since become my go-to for transforming scraps into something functional and beautiful. The key is clear instructions, the right tools, and a little patience.[4]
DIY furniture instructions are more than just steps to follow — they’re a roadmap to creating something personal, practical, and lasting. Whether you're a complete beginner or someone who’s built a few things before, the right guidance can make all the difference. I've spent the last few years experimenting with different MDF projects, from simple shelves to more complex cabinet builds. I’ve learned that the best results come from following solid, step-by-step instructions. That’s why I’m writing this guide: to help you build confidently and successfully.[5]
If you’ve ever looked at a piece of furniture in a store and thought, 'I wish I could build that,' this article is for you. With DIY furniture instructions, you can take control of your space and create something that fits your style, budget, and needs. I’ve made sure to include everything you need to know — from the tools required to the exact measurements and techniques — so that you can walk away with a finished project and the confidence to tackle more builds in the future.
Why You'll Love This Build
- Create custom furniture that matches your home’s style
- Use leftover materials to save money and reduce waste
- Enjoy the satisfaction of a completed DIY project
- Learn new skills that will help you with future builds
Gathering Materials and Tools
As of August 2026, MDF (medium-density fiberboard) is an affordable, easy-to-work-with material that's perfect for DIY furniture projects. For a coffee table, I used 3/4-inch MDF boards, which are sturdy and can support moderate weight. You’ll also need wood screws, wood glue, and a few basic tools like a circular saw, a drill, and a sander. I found that having a level and a square on hand was incredibly helpful for ensuring everything is aligned properly.[1]
I bought all my materials from a local hardware store, and I was surprised at how much I could save by purchasing MDF in bulk. The cost of materials for a simple coffee table project came out to about $40, which included the boards, screws, and glue. I also used a leftover metal bracket I had from a previous project, which saved me a few dollars.[2]
One thing I learned early on was to measure twice and cut once. Using a tape measure and a pencil to mark the pieces before cutting helped me avoid mistakes. I also made sure to sand the edges of the MDF after cutting, which made the assembly process much smoother and prevented splinters.
Make sure your tools are in good working condition. A dull blade on your circular saw can cause splintering, while a loose drill bit can make holes uneven.
Part of our For beginners ideas guide.
Cutting and Assembling the Frame
I started by cutting the MDF boards to the desired dimensions. For my coffee table, I needed a top, four legs, and four support beams. Using a circular saw, I carefully cut each piece to size, making sure the edges were straight and clean. I also used a router to round the edges of the table top, which gave it a more finished look.
Assembling the frame was the next step. I used wood screws and wood glue to attach the support beams to the legs, ensuring everything was square and level. I found that using clamps while the glue dried helped keep the pieces aligned and prevented any shifting during the drying process.
Once the frame was assembled, I attached the table top to the frame using wood screws. I made sure to space the screws evenly and to countersink them slightly so they wouldn’t protrude. This gave the final product a clean, professional look.
A little patience during the assembly phase can make a big difference in the final result.
Related: Diy furniture blueprints
Related: Diy furniture embellishments
Related: Diy furniture feet
Related: Diy furniture dolly
Related: Diy furniture chain
Finishing Touches for a Professional Look
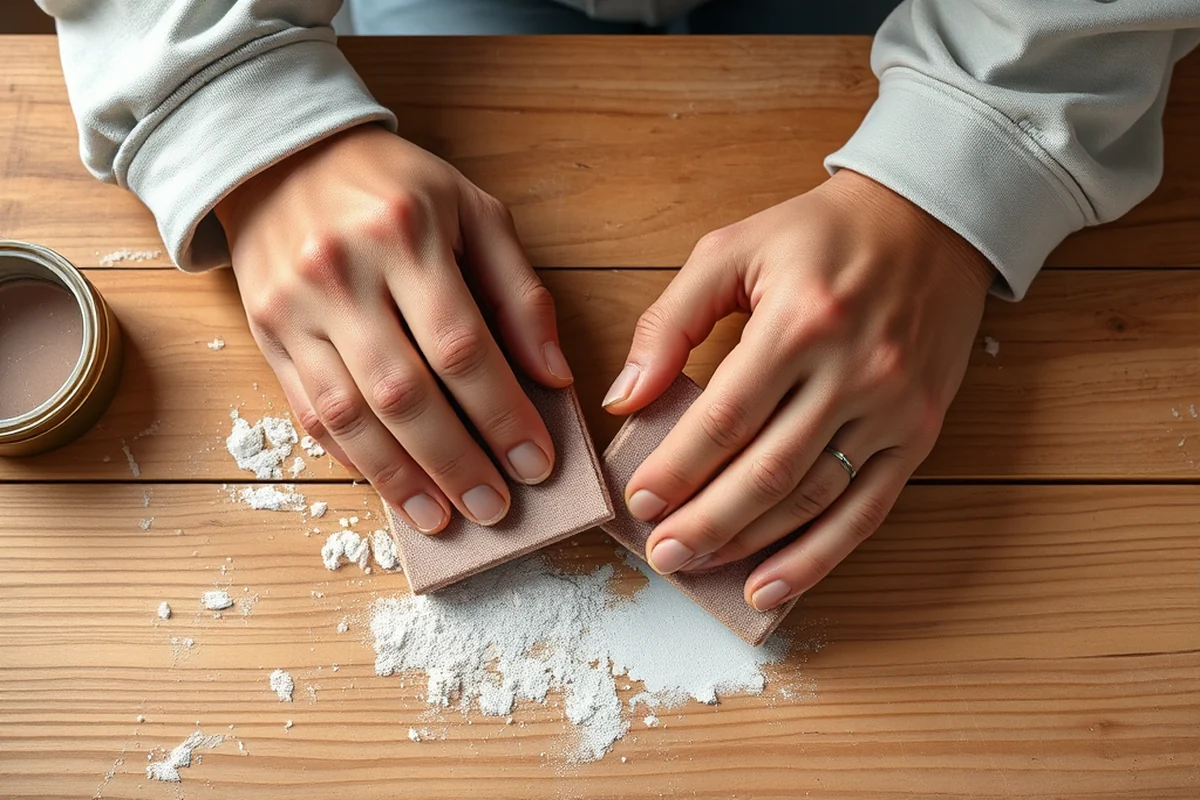
I always start with sanding. I used 120-grit sandpaper on the entire piece to smooth out any rough spots or splinters. I then moved up to 220-grit for a finer finish. Sanding not only improves the look of the piece but also helps the paint or stain adhere better.[3]
Next, I applied a coat of wood primer. This helped create a smooth base for the paint and prevented the MDF from absorbing too much of the paint, which can lead to an uneven finish. I used a spray primer, which was faster and more even than brushing.
Finally, I painted the piece with a water-based wood paint, which was easy to apply and had a low odor. I applied two coats, allowing each coat to dry completely before applying the next. The result was a smooth, even finish that looked just like a store-bought piece of furniture.
Applying a primer is an essential step when painting MDF. It helps the paint stick better and gives you a more even finish.
“I remember the first time I built a coffee table out of MDF.”— DIY Furniture with Mdf editors
Securing and Stabilizing the Build
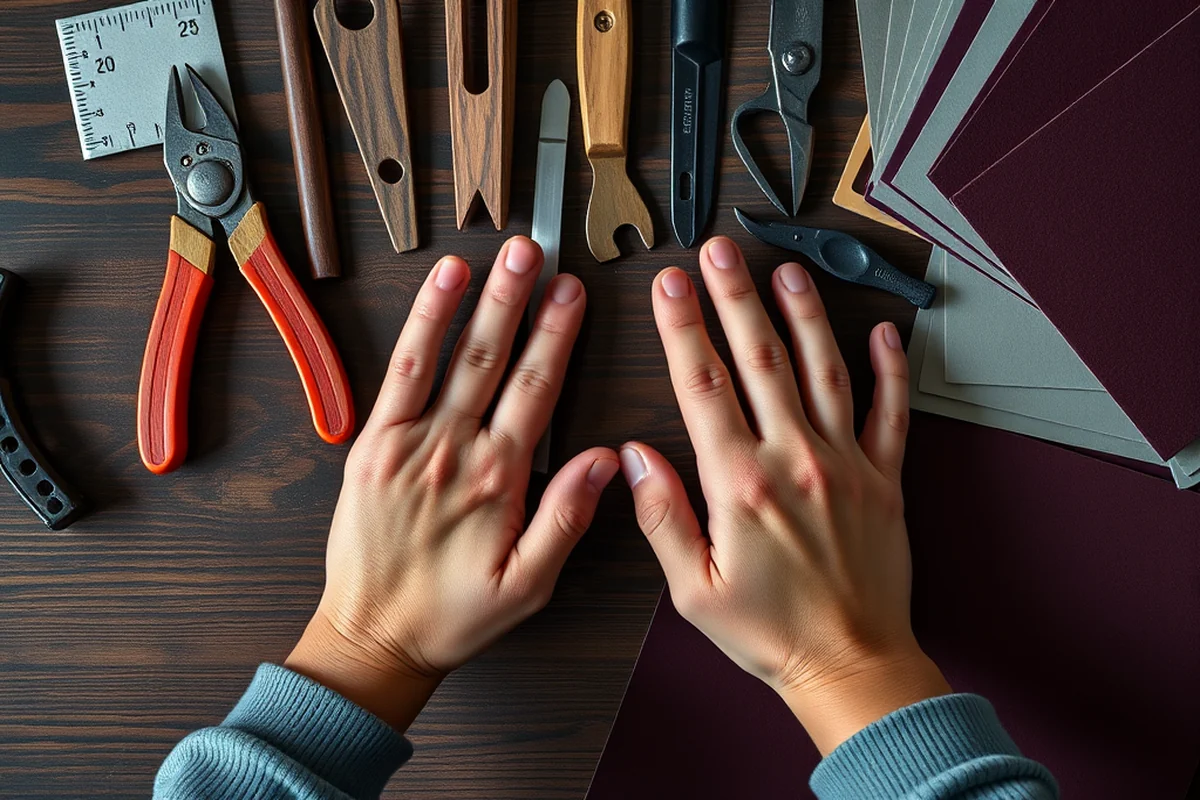
I used wood screws to attach all the joints, making sure each screw was tightened properly. I also used wood glue in addition to the screws for extra strength. This combination of fasteners and adhesive helped create a more durable build that could support heavier items like books or a TV.
I also added corner brackets to the legs of the coffee table to reinforce the joints. These brackets helped distribute the weight more evenly and prevented the legs from coming apart over time. I found that using a little wood glue on the brackets before attaching them made the connection even stronger.
Finally, I placed the finished coffee table on the floor and tested its stability by pressing down on it in different spots. I made sure there was no wobbling or creaking, which would have been a problem if the joints weren’t properly secured.
Choosing the Right MDF for Your Project
Not all MDF boards are created equal. For a basic coffee table, I used 3/4-inch MDF, which is thick enough to support weight but still easy to work with. Thinner boards, like 1/2-inch MDF, are better for shelves or decorative pieces, while thicker boards are better for larger furniture like tables or cabinets.
I also made sure to choose MDF that was moisture-resistant, especially if the piece would be placed in a damp area like a bathroom. Moisture-resistant MDF has a protective layer that prevents warping and swelling, which is especially important for long-term durability.
When purchasing MDF, I always check the edges to make sure they are straight and even. Warped or uneven edges can cause problems during the cutting and assembly process. If I found any imperfections, I used a sander to smooth them out before moving forward.
Customizing Your Build for a Unique Look
One of the best things about building with MDF is that it's highly customizable. I used a pencil to mark where I wanted to add decorative elements, like inlays or carvings. I also used a router to cut out shapes or patterns, which added a nice visual detail to the piece.
Another way to customize is to use different types of paint or stains. I used a water-based wood paint for my coffee table, but I also experimented with wood stains and even metallic paints for other projects. Each material gave the piece a different look and texture.
I also made sure to add hardware that matched my home’s style. For example, I used brushed nickel screws and handles for a modern look, while I used brass hardware for a more traditional piece. These small details helped make the furniture look more professional and finished.
Customization is the key to making your DIY furniture truly your own.
Troubleshooting Common Issues
One common problem is warping or bowing in MDF boards. This usually happens if the material wasn’t stored properly or if it got exposed to moisture. To fix this, I used a wood clamp to apply pressure to the warped area and let it sit for a few days. This helped the board return to its original shape.
Another issue I encountered was splintering when cutting. This often happens if the blade on your circular saw is dull or if the MDF wasn’t properly supported. To prevent this, I made sure to use a sharp blade and to place the board on a sturdy work surface with a sacrificial board underneath for added support.
If the paint or stain doesn’t adhere properly, it can lead to peeling or chipping. I found that using a primer before painting helped prevent this issue. If I ever encountered peeling paint, I would sand the affected area and apply a new coat of primer and paint.
💰 Budget Build
Create a simple piece of furniture using leftover materials and minimal tools.
⏰ Weekend Version
A project that can be completed in one weekend with basic skills and materials.
✨ Upgraded Finish
Add custom details and high-quality finishes for a more professional look.
🏠 Small-Space Adaptation
Design furniture that fits perfectly in small or compact spaces.
🔒 Rental-Safe Option
Build a piece of furniture that won't damage your rental property or leave behind permanent marks.
| The mistake | Why it happens | The fix |
|---|---|---|
| Not using a level or square during assembly | This can lead to a lopsided or unstable piece of furniture that doesn’t look or function well. | Always use a level and square to ensure all pieces are aligned and properly attached. |
| Skipping the primer before painting | This can cause the paint to peel or chip more easily, especially on MDF. | Always apply a coat of primer before painting to ensure the paint adheres properly. |
| Using the wrong type of screws or fasteners | This can lead to weak joints that may come apart over time. | Use screws and fasteners that are appropriate for MDF and the weight the furniture will support. |
| Not sanding the edges of the MDF | This can lead to splinters or rough edges that are uncomfortable and unsightly. | Always sand the edges of the MDF after cutting to smooth them out and make the final piece look more polished. |
Diy Furniture Instructions
Common Questions
Can I use MDF for all types of furniture?
What tools do I need to build with MDF?
How long does it take to build a piece of furniture with MDF?
Is it difficult to work with MDF?
Cite this guide
DIY Furniture with Mdf (2026). Diy Furniture Instructions. https://mdfcreate.com/diy-furniture-instructions/
Feel free to cite or share this guide.
References
- FRC Box Assembly Instructions | National Archives (archives.gov)
- Furniture Guidelines | College of Arts and Science (as.vanderbilt.edu)
- Furniture Design Research Papers - Academia.edu (academia.edu)
- Furniture - Procure to Pay - Cal Poly (afd.calpoly.edu)
- CITES I-II-III Timber Species Manual - USDA-Aphis (aphis.usda.gov)