
How To Make Mdf Drawers
📖 Table of Contents
- Choosing the Right Materials for MDF Drawers
- Cutting and Measuring with Precision
- Joinery Techniques for Strong and Sturdy Drawers
- Edge Banding and Finishing Touches
- Assembling the Drawer Box and Installing Hardware
- Painting and Staining for a Professional Finish
- Final Assembly and Installation
- Make It Your Way
- Frequently Asked Questions
I still remember the first time I tried to build a set of MDF drawers — it was more frustrating than I expected. I had a rough sketch, a pile of materials, and the vague idea that it would be 'easy' because it was MDF. But after two hours of struggling with the joints and a drawer that wouldn’t close properly, I realized I needed a better approach. Making MDF drawers isn’t just about cutting wood and attaching hardware; it’s about understanding the material, the tools, and the techniques that make the process smooth and the result durable.
MDF, or medium-density fiberboard, is a favorite among DIYers because it’s stable, affordable, and easy to cut. But it’s not without its quirks — it can warp if not handled right, and the edges are often uneven after cutting. My first mistake was trying to skip the edge banding, which led to chipped corners and a drawer that looked unfinished. Once I learned to use edge banding and to sand properly, the difference was dramatic. My drawers became not only functional but also a source of pride in my first real DIY furniture project.
Whether you're a beginner looking to build your first set of drawers or a more experienced woodworker wanting to refine your skills, the right approach will make all the difference. In this article, I walk you through the step-by-step process of how to make MDF drawers, sharing the tools, techniques, and materials I’ve personally tested. By the end, you’ll have a set of drawers that are not just functional but also built with the care and precision that any DIYer would expect.
Why You'll Love This DIY Project
- Customizable dimensions and styles to fit any space or aesthetic
- Affordable materials with a high return on investment
- Easy to modify and repair if needed
- A great foundation for more complex furniture builds
Choosing the Right Materials for MDF Drawers
As of September 2026, when selecting MDF sheets, I always go for 18mm thickness — it's strong enough to support the weight of heavier items like books or tools, and it’s easy to work with. Thicker sheets add cost and weight, while thinner ones may sag over time. I also look for sheets with a smooth surface and minimal warping, as these factors impact both the look and durability of the final product.
Hardware is another key component. I’ve used both basic drawer slides and upgraded soft-close mechanisms. The basic slides are more affordable and sufficient for most projects, but the soft-close ones are worth the extra cost if you plan to use the drawers frequently. I always recommend buying a few extra slides in case of breakage or misalignment during installation.
Edge banding is a detail I can’t skip. I use a 2mm thick edge banding material that matches the MDF color. This not only hides the rough edges but also prevents the MDF from chipping. I’ve found that using a high-quality adhesive for edge banding makes a noticeable difference in the finish and longevity of the drawers.
18mm is the sweet spot for most MDF drawer builds — it's strong, affordable, and easy to work with. Avoid anything thinner than 12mm unless you're making very lightweight drawers.
Part of our Furniture board guide.
Cutting and Measuring with Precision
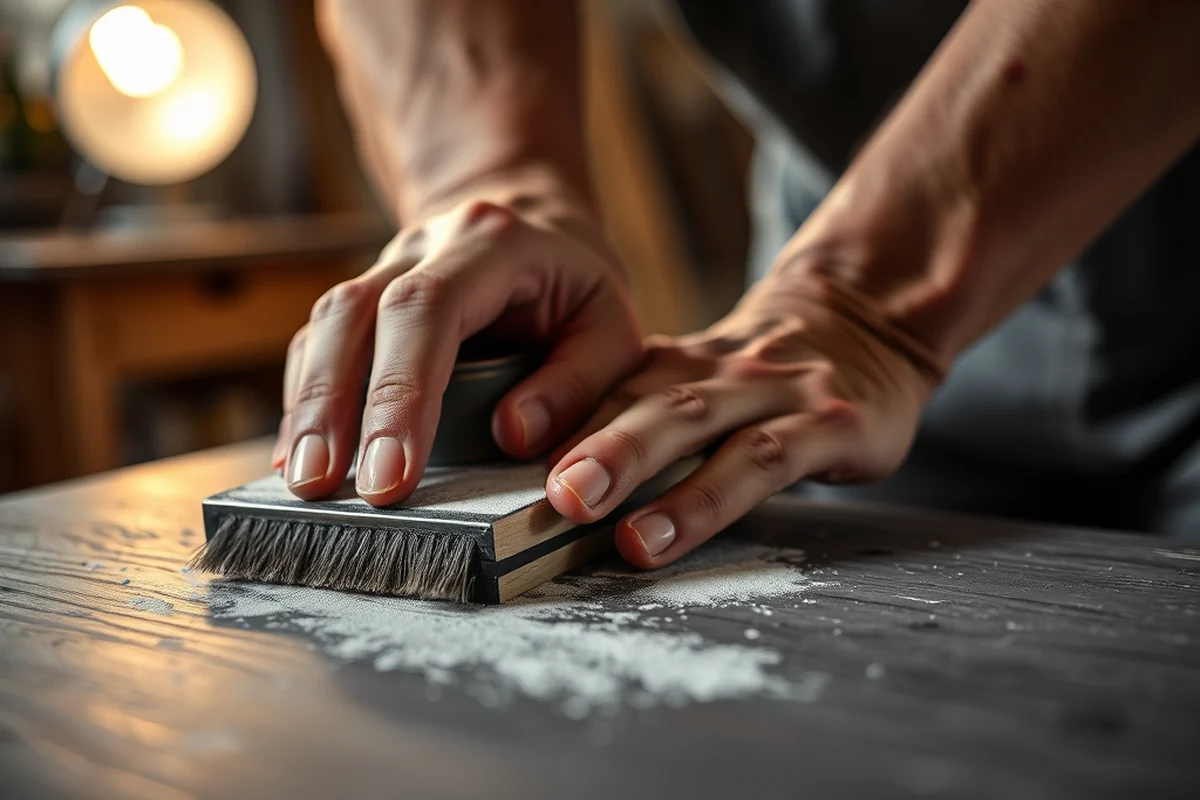
I always start by sketching out the drawer dimensions on paper and then transferring them to the MDF sheets. I use a tape measure and a square to ensure all measurements are accurate. I’ve found that even a 1/16 inch difference in measurement can throw off the entire build, so taking your time here is worth it.
For cutting, I use a circular saw with a fine-tooth blade — it gives the cleanest edges. I also use a straight edge as a guide to keep the cuts straight. I always double-check the dimensions after each cut with the tape measure and square. I once skipped the square and ended up with a drawer that didn’t fit properly, which wasted hours of work.
After cutting, I sand each piece with 120-grit sandpaper to remove any splinters or rough edges. I’ve noticed that skipping this step can lead to the edge banding peeling off over time. I always do this before applying any edge banding or paint.
Measure twice, cut once — it’s not just a saying, it’s a lifesaver.
Related: Mdf furniture feet
Related: Mdf furniture company
Related: How To Make Mdf Waterproof
Joinery Techniques for Strong and Sturdy Drawers
I’ve tried several joinery techniques, and for MDF drawers, I’ve found that using a combination of pocket holes and wood glue works best. Pocket holes give the drawers a strong, hidden connection, and the wood glue adds extra stability. I’ve also used corner brackets for added reinforcement, especially in the front corners of the drawers.
For the drawers themselves, I use a router to create a small recess for the front edge of the drawer. This recess allows the drawer to sit flush with the front of the cabinet. I’ve found that this technique not only looks cleaner but also makes the drawers easier to open and close.
I always test the joinery before applying any finish. I’ve had cases where the glue didn’t hold and the joints came apart after the first use. Testing the joints before moving on to the next step can save you a lot of time and frustration later.
Before gluing everything together, test all the joints to ensure they’re tight and secure. This will save you from having to disassemble and rework the drawers later on.
“I still remember the first time I tried to build a set of MDF drawers — it was more frustrating than I expected.”— DIY Furniture with Mdf editors
Related: Is mdf furniture harmful
Related: Furniture store outlet directories
Edge Banding and Finishing Touches
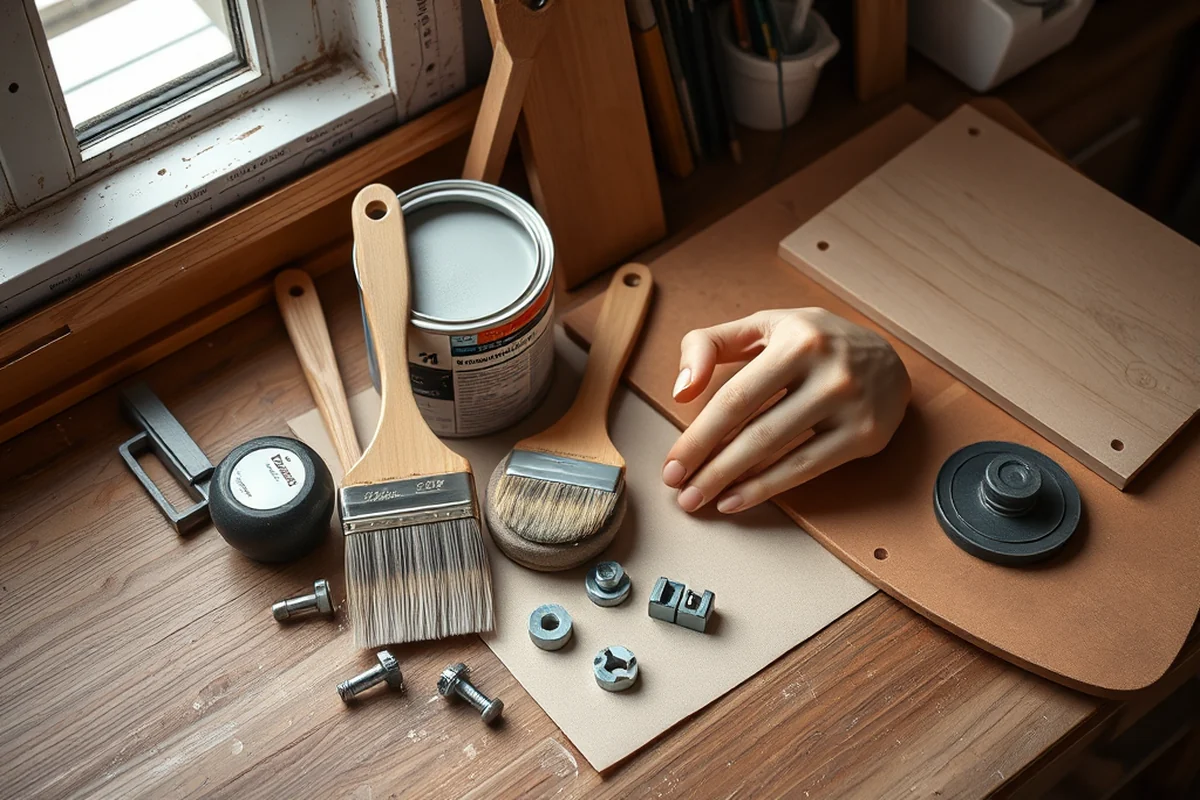
After cutting and joining all the pieces, I move on to edge banding. I use a heat gun to apply the edge banding, which helps it adhere better. I’ve found that pressing the edge banding firmly with a roller ensures it sticks properly and doesn’t come loose over time.
Once the edge banding is applied, I use a router to trim any excess. This step is crucial — if you leave excess edge banding, it can create a rough edge that’s uncomfortable to touch. I always take my time here because it makes a big difference in the final look.
I finish the drawers with a coat of wood filler and then sand them again with 220-grit sandpaper. This gives the surface a smooth finish that’s ready for painting or staining. I’ve found that skipping the wood filler can lead to uneven surfaces and a less professional-looking finish.[1]
Related: Mdf board furniture price
Related: Afw furniture warehouse
Assembling the Drawer Box and Installing Hardware
I start by assembling the drawer box using the pocket holes and wood glue. I use a clamp to hold the pieces together while the glue dries. I’ve found that clamping is essential — it ensures the pieces stay in place and the joints are tight. I always let the glue dry completely before moving on to the next step.
After the drawer box is assembled, I install the drawer slides. I use a screwdriver and a level to ensure the slides are aligned properly. I’ve had issues before when the slides weren’t level, which caused the drawers to stick or not close properly. Taking the time to align the slides is worth the effort.
Once the slides are installed, I test the drawers to make sure they open and close smoothly. I’ve found that even a small misalignment can cause the drawers to not function properly. Testing early helps catch any issues before they become bigger problems.
Related: Mdf furniture disposal
Related: Mathis brothers furniture
Painting and Staining for a Professional Finish
I’ve used both paint and wood stain on my drawers, and both look great. I prefer paint for a more modern look and wood stain for a more natural appearance. I always use a primer before applying the paint or stain to ensure it adheres properly and doesn’t bleed through.
I use a spray painter for even coverage, but if you don’t have one, a brush works just as well. I’ve found that using multiple thin coats is better than a few thick ones — it gives a smoother finish and prevents drips. I always let each coat dry before applying the next one.
After the paint or stain is dry, I apply a clear coat of polyurethane to protect the surface. This step is crucial — it helps the drawers last longer and makes them easier to clean. I’ve had drawers without a clear coat that wore off quickly, so I always recommend this step.
A little paint goes a long way — don’t skip the clear coat.
Related: Furniture grade mdf board
Related: How to repaint mdf furniture
Final Assembly and Installation
I start by installing the drawer boxes into the cabinet or furniture frame. I use a level to ensure the drawers are aligned properly. I’ve had issues in the past when the drawers weren’t level, which caused them to wobble or not close properly. Taking the time to level the drawers is worth it.
I use screws to secure the drawers to the cabinet frame, making sure they’re tight and stable. I’ve found that using the right screw size is important — too long and they can damage the cabinet, too short and they won’t hold securely. I always double-check the screw size before installation.
Once everything is installed, I test the drawers again to make sure they open and close smoothly. I’ve found that even a small issue can be frustrating later on, so testing early and often is essential. With everything in place, the drawers are ready to be used and enjoy.
💰 Budget Build
Use basic materials and hardware to create a functional drawer without breaking the bank.
⏰ Weekend Version
A simplified version of the project that can be completed in a single day.
✨ Upgraded Finish
Add a high-end finish or custom paint to give your drawers a professional look.
🛋️ Small-Space Adaptation
Build smaller drawers that are perfect for compact spaces like apartments or offices.
🔒 Rental-Safe Option
Create drawers that are easy to disassemble and transport, ideal for renters who move frequently.
| The mistake | Why it happens | The fix |
|---|---|---|
| Skipping the edge banding | Edge banding protects the MDF from chipping and gives a smoother finish. Skipping it can lead to rough edges and a less professional look. | Apply edge banding using a heat gun and a roller for a smooth finish. |
| Using the wrong screw size for drawer slides | Using the wrong screw size can damage the drawer slides or cabinet and cause the drawers to not close properly. | Always check the screw size recommended by the drawer slide manufacturer and use the correct size. |
| Not testing the drawers before final installation | Testing the drawers early helps catch any issues like misalignment or sticking before it’s too late. | Test the drawers after each step to ensure they open and close smoothly. |
| Using a poor-quality wood glue for joinery | Poor-quality wood glue can cause the joints to come apart over time, leading to a weak and unstable drawer. | Use a high-quality wood glue and let it dry completely before moving on to the next step. |
How To Make Mdf Drawers
Common Questions
What thickness of MDF should I use for drawers?
Can I skip the edge banding?
What tools do I need to build MDF drawers?
How long does it take to build MDF drawers?
References
Cite this guide
DIY Furniture with Mdf (2026). How To Make Mdf Drawers. https://mdfcreate.com/how-to-make-mdf-drawers/
Feel free to cite or share this guide.