
L Shaped Couch
📖 Table of Contents
- Why Choose an L-Shaped Couch for Your Space?
- The Materials and Tools You'll Need
- Designing Your L-Shaped Couch Layout
- Cutting and Assembling the Frame
- Adding the Seat Cushions and Backrests
- Finishing the Couch for Long-Lasting Use
- Tips for a Successful DIY Project
- Optimizing Comfort with Custom Padding and Upholstery Choices
- Make It Your Way
- Frequently Asked Questions
When I built my first L-shaped couch, I didn't expect how much it would transform my living room — and my confidence as a DIYer. It wasn't just about having a piece of furniture that fits the corner; it was about creating something that reflects who I am. This couch became the heart of my home, and it's still the most asked-about project I've ever done.
I remember the first time I laid out the pieces on the floor, measuring and marking the MDF boards with a sharp pencil. It was messy, a bit chaotic, but also oddly satisfying. There's a strange magic in watching a flat piece of wood become something functional, something that people sit on and use every day. That's the power of DIY furniture — it's not just about building, it's about creating something that matters.
An L-shaped couch isn't just a corner solution; it's a space-saving miracle. Whether you're working with a small apartment or looking to maximize a larger living room, the L-shape offers a smart layout that feels cozy and inviting. And the best part? You can build one for less than $50, with just a few tools and some patience. That's the beauty of this project — it's accessible, practical, and deeply rewarding.[1]
Why You'll Love This L-Shaped Couch
- It fits corners perfectly without wasting space.
- It's easy to build with basic tools and materials.
- It can be customized to match your home's decor.
- It's a budget-friendly alternative to store-bought options.
Why Choose an L-Shaped Couch for Your Space?
As of September 2026, L-shaped couches are a great way to make the most of a corner, turning an awkward space into a comfortable and inviting area. Unlike traditional sofas, they don't require a long wall to fit — they simply hug the corner and extend outward, creating a natural focal point in the room.
I built mine in a small living room with a corner that had never been used before. After the project, that corner felt like a second living room. It's not just about seating; it's about creating zones within your space.
One of the best things about an L-shaped couch is that it can be tailored to your room's dimensions. Whether you're working with a tight corner or a large open space, there's a configuration that will work for you.
Before you cut any wood, double-check your measurements. It's easy to miscalculate, and a small error can lead to wasted material or misaligned pieces.
Part of our Furniture board guide.
The Materials and Tools You'll Need
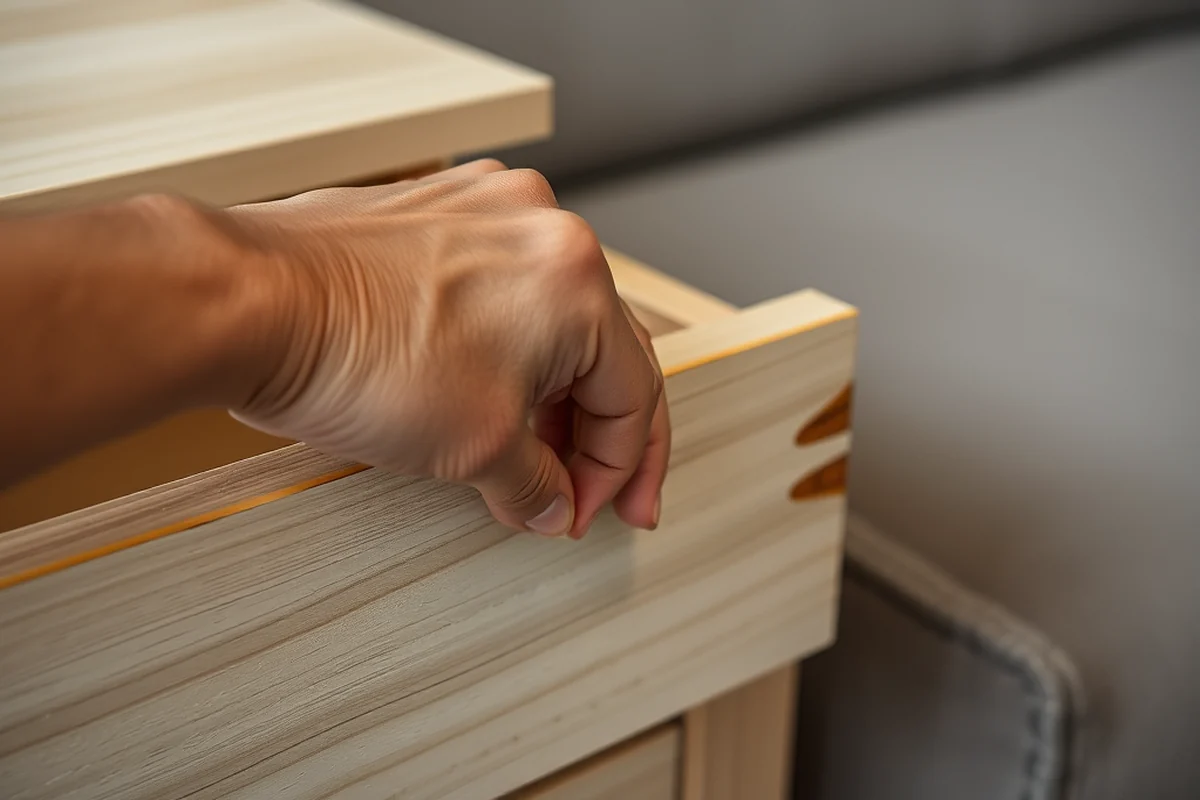
For this project, I used 3/4-inch MDF boards, which are affordable and easy to work with. You'll also need a few basic tools: a circular saw, a jigsaw, a power drill, and a staple gun. Don't worry — you don't need a full workshop to complete this project.
The cost of materials was under $40, which included the MDF, wood screws, and some glue. The tools I used were already in my garage, so I didn't have to buy any new equipment.[2]
One thing to keep in mind is the thickness of the MDF boards. Thicker boards are more durable, but they also cost more. I went with 3/4-inch boards, and I'm happy with the result.
A little goes a long way — you don't need expensive tools to build a great L-shaped couch.
Related: What is home furniture
Related: What Is A Living Room Couch
Designing Your L-Shaped Couch Layout
I started by sketching out the layout on paper, using a scale of 1:10. This helped me visualize how the pieces would fit together in my living room. I also measured the corner where I planned to place the couch, making sure the dimensions matched my sketch.[3]
When designing your layout, think about the height of the couch. A standard sofa is between 28 and 32 inches tall, so I made sure the height of my MDF pieces matched that range. It's important to keep the couch at a comfortable sitting height.[4]
I also considered the depth of the seats. The armrests and the main seating area should be deep enough for comfort, but not so deep that they become a waste of space. I settled on a depth of about 24 inches for the main part of the couch.
Take the time to sketch your design before you start cutting. It will save you time and frustration later on.
“When I built my first L-shaped couch, I didn't expect how much it would transform my living room — and my confidence as a DIYer.”— DIY Furniture with Mdf editors
Related: What is discount furniture
Cutting and Assembling the Frame
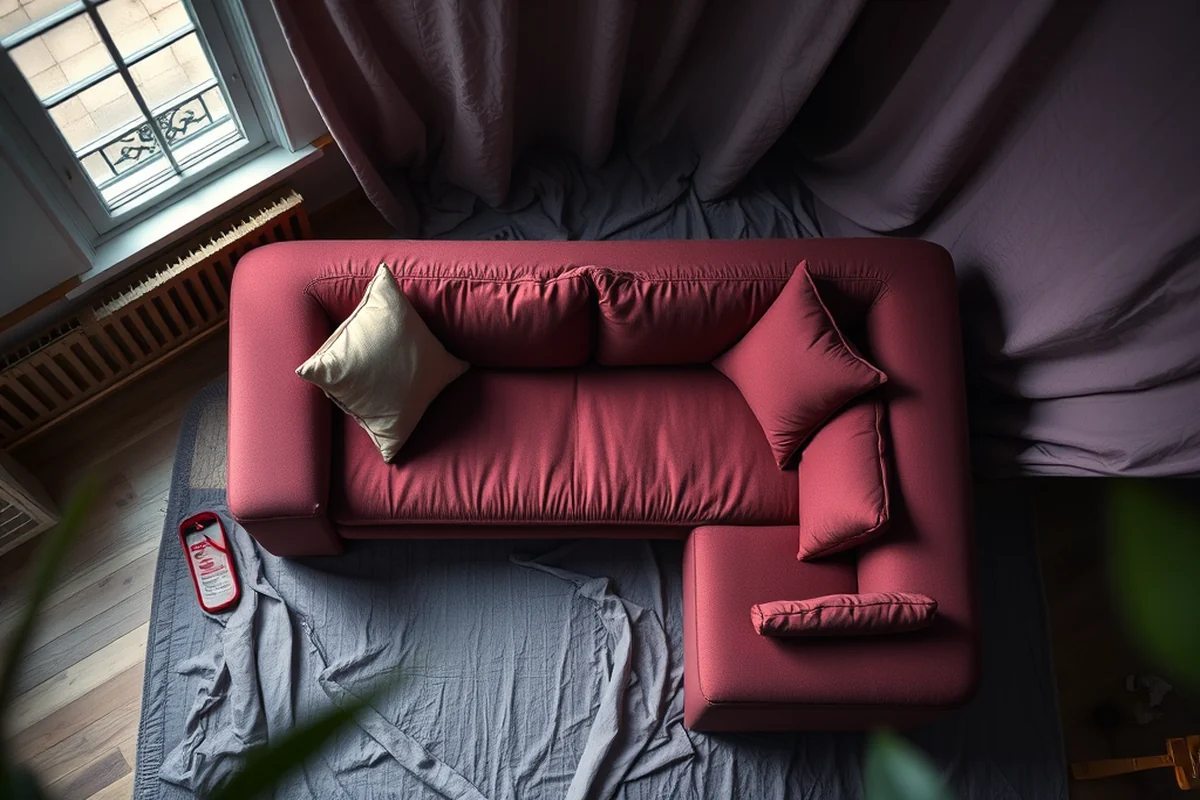
Once I had my materials and tools ready, I started cutting the MDF boards according to my measurements. I used a circular saw for the straight cuts and a jigsaw for the curved parts. It's important to take your time and make clean, precise cuts.
After all the pieces were cut, I assembled the frame using wood screws and wood glue. I made sure all the joints were tight and secure, and I used clamps to hold the pieces in place while the glue dried.
One of the most important parts of assembling the frame is ensuring that all the corners are square. I used a carpenter's square to check each corner, and I adjusted as needed. This step is crucial to making sure the couch doesn't wobble or feel unstable once it's finished.
Related: What is amish furniture
Adding the Seat Cushions and Backrests
I used foam padding and fabric to make the cushions. I cut the foam to fit the dimensions of the seat, wrapped it in batting, and then covered it with fabric. This gave the couch a soft, comfortable feel.
For the backrests, I used the same method — foam, batting, and fabric. I made sure the backrests were the same height as the seat cushions, so they would match in height and look cohesive.
I also added a layer of foam to the corners of the couch where people sit the most, which helped to increase the comfort level. It's a small detail, but it makes a big difference in the overall experience.
Related: What s home furniture
Finishing the Couch for Long-Lasting Use
I used a wood stain to give the MDF a warm, natural look. I applied two coats of stain, letting each coat dry completely before applying the next. This gave the couch a rich, deep color that looked great in my living room.
After the stain dried, I applied a clear wood sealer to protect the surface. This will help to prevent scratches and wear, making the couch more durable. It's a small investment that will pay off in the long run.
I also added some decorative elements, like a patterned fabric for the cushions and some throw pillows. These small touches made the couch feel more personalized and stylish.
A little finishing goes a long way — it's the difference between a basic couch and a showpiece.
Related: What is city furniture
Tips for a Successful DIY Project
One of the most important things is to take your time. Rushing through the project can lead to mistakes, so it's better to work slowly and carefully. This will save you time and frustration in the long run.
Another tip is to use clamps to hold your pieces together while the glue dries. This will help to keep everything in place and make sure the joints are tight and secure.
Finally, don't be afraid to ask for help if you're stuck. Whether it's a friend or a family member, having an extra set of hands can make a big difference, especially when you're working on a complex project like an L-shaped couch.
Optimizing Comfort with Custom Padding and Upholstery Choices
When building your L-shaped couch, consider the thickness and density of your foam padding. I used 4-inch high-density foam for the seat cushions, which provided ample support while remaining comfortable for long periods. This thickness also allowed for a 2-inch layer of memory foam on top, enhancing the seating experience. The total cost for padding materials was around $120, which covered both sections of the couch.
For the backrests, I opted for a 3-inch foam base with a 1-inch layer of soft foam on top. This combination offered both firm support and a plush feel. I also added 3/4-inch thick batting wrapped in a breathable fabric to ensure even pressure distribution and prevent sagging over time. This step took about 2 hours per backrest, but the result was well worth the effort.
When selecting upholstery fabric, I chose a durable microfiber that could withstand daily use and was easy to clean. I purchased 10 yards of fabric, which was more than enough to cover both sections of the couch, including the cushions and backrests. The fabric cost approximately $65, and I used a heavy-duty sewing machine to attach it securely. This attention to detail made the final product both aesthetically pleasing and highly functional.
💰 Budget Build
A simple, no-frills L-shaped couch built with basic materials and minimal finishing.
⏱️ Weekend Version
A quick and easy build that can be completed in one weekend with minimal tools and materials.
🎨 Upgraded Finish
A version with custom paint, decorative trim, and high-end fabric for a more polished look.
🏠 Small-Space Adaptation
A compact L-shaped couch designed for small apartments or corners with limited space.
🔒 Rental-Safe Option
A durable, easy-to-clean L-shaped couch that's perfect for rental properties and temporary stays.
| The mistake | Why it happens | The fix |
|---|---|---|
| Cutting the pieces too small or too large | This can lead to misalignment and a poorly constructed couch. | Always measure twice before cutting, and use a tape measure and square for accuracy. |
| Skipping the clamping step during assembly | This can cause the joints to be loose and unstable. | Use clamps to hold the pieces in place while the glue dries for a stronger connection. |
| Using low-quality glue or not letting it dry properly | This can cause the frame to come apart over time. | Use a high-quality wood glue and allow it to dry completely according to the manufacturer's instructions. |
| Not finishing the wood properly | This can lead to scratches, wear, and damage to the finish over time. | Apply a wood sealer and use a high-quality finish to protect the wood and enhance its appearance. |
L Shaped Couch
Common Questions
Can I build an L-shaped couch if I have no experience with DIY projects?
How much does it cost to build an L-shaped couch?
Do I need to use MDF or can I use another type of wood?
How long does it take to build an L-shaped couch?
References
- an evaluation on the turkish house with exterior sofa - Academia.edu (academia.edu)
- Sea Cloud Spirit | Harvard Alumni (alumni.harvard.edu)
- Dining - National Museum of Asian Art - Smithsonian Institution (asia.si.edu)
- Reserve Event Space - UCSF Campus Life Services (campuslifeserviceshome.ucsf.edu)
Cite this guide
DIY Furniture with Mdf (2026). L Shaped Couch. https://mdfcreate.com/l-shaped-couch/
Feel free to cite or share this guide.