
Diy Furniture
📖 Table of Contents
- Getting Started: The Essentials
- Cutting and Joining: Techniques That Work
- Finishing Touches: Painting and Staining
- Assembly: Putting It All Together
- Tips for a Strong, Durable Build
- Customization: Making It Your Own
- Final Inspection: Ensuring Quality and Safety
- Budgeting and Sourcing Materials: Making the Most of Your Resources
- Make It Your Way
- Frequently Asked Questions
I remember the first time I built a bookshelf from scratch — the scent of sawdust in the air, the satisfying click of a nailgun. The way my hands felt so much more capable afterward. It wasn’t just a piece of furniture; it was a declaration that I could create something meaningful with my own two hands. DIY furniture has a way of transforming spaces, but more importantly, it builds confidence and gives you a sense of ownership over your home.
The idea of building furniture from scratch used to feel overwhelming, but after a few projects, I realized how approachable it really is. You don’t need a degree in carpentry or a full garage full of tools — just a few basic items, a plan, and a willingness to learn. The process is rewarding in ways you can’t replicate with store-bought pieces. It’s about the journey, the mistakes you make along the way, and the pride that comes from seeing your project take shape.
DIY furniture is more than a trend; it’s a way of life that values craftsmanship, sustainability, and personal growth. Whether you’re a complete beginner or a seasoned woodworker, there’s something deeply satisfying about using your hands to build something useful and beautiful. It’s a skill that can save you money, reduce waste, and fill your home with pieces that are uniquely yours.
Why You'll Love This ...
- Cost-effective and customizable
- Sustainable and reduces waste
- Empowers you with new skills
- Creates a sense of pride and accomplishment
Getting Started: The Essentials
As of August 2026, the key to any DIY furniture project is preparation. Start by sketching your design on paper or using a free CAD software like SketchUp to get a clear idea of the dimensions and structure. I always recommend starting with a small project, like a shelf or a stool, to build your confidence and learn the basics.[1]
Gather your tools before you begin — a circular saw, a drill, a screwdriver, and a measuring tape are the absolute minimum. You can even use a hammer and nails if you’re feeling nostalgic. I keep my tools organized in a small tool chest, and it makes a world of difference when you’re working.
With materials, MDF (medium-density fiberboard) is a great option for beginners. It’s affordable, easy to cut, and holds screws and nails well. I bought a 4x8 sheet of MDF for $20 at a local hardware store, and it was more than enough for my first project.[2]
Always measure twice and mark once. I’ve learned the hard way that skipping this step can lead to mistakes that are costly to fix.
Part of our For beginners ideas guide.
Cutting and Joining: Techniques That Work
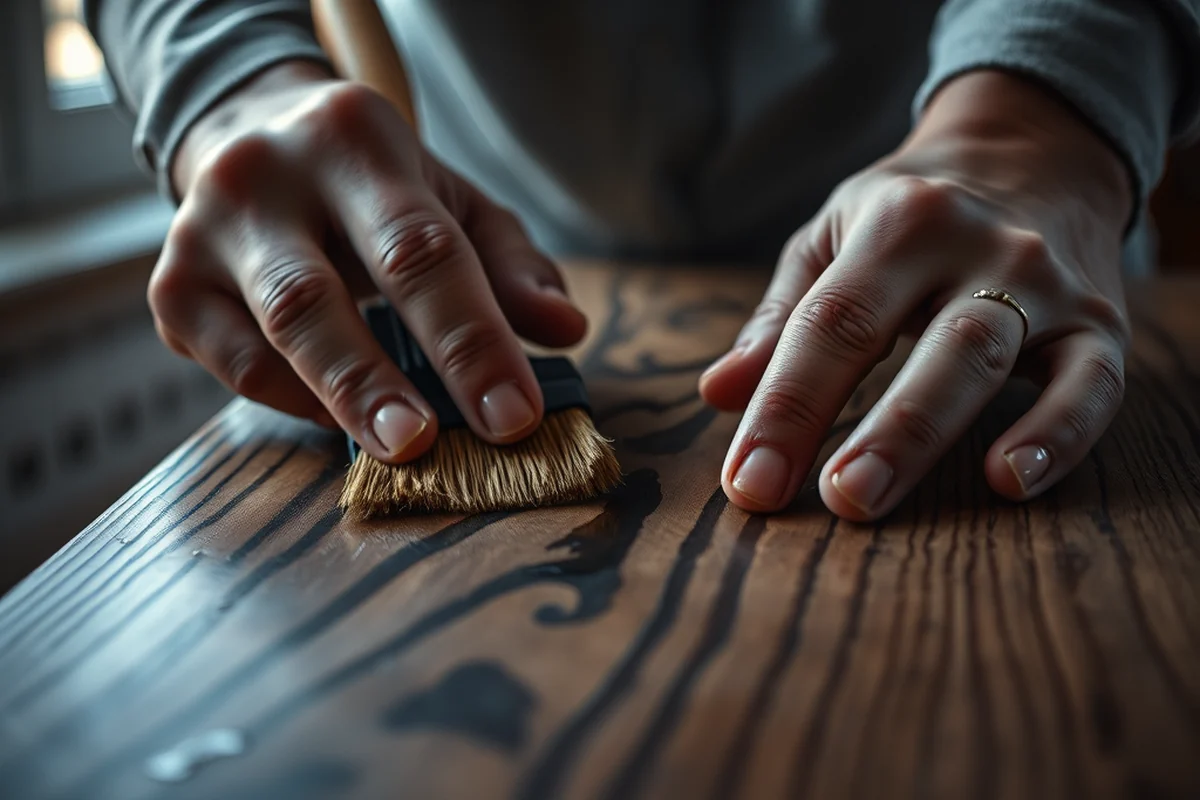
Cutting MDF can be a bit tricky — it’s dense and can create a lot of dust. I always use a fine-tooth blade on my circular saw and wear a dust mask to protect my lungs. Taking your time and making clean, precise cuts is the best way to avoid frustration later on.
When joining pieces together, I prefer using wood glue and screws. Wood glue creates a strong bond, and the screws add extra stability. I always clamp the pieces together while the glue dries, which helps ensure a tight fit.
I once skipped using wood glue and just relied on screws, and the joint came apart after a few weeks. That was a costly lesson — always use both glue and screws for maximum strength.
Don’t rush the cuts — precision saves time and materials.
Related: Diy cat furniture ideas
Related: Diy furniture blueprints
Related: Diy furniture embellishments
Related: Diy Furniture Tips
Related: Diy furniture instructions
Finishing Touches: Painting and Staining
Painting or staining your furniture is a great way to give it a finished look. I’ve found that using a spray paint gun provides even coverage and is much faster than brush painting. I always paint in a well-ventilated area, and I take my time to apply multiple thin coats for the best results.
For a more natural look, staining is an excellent option. I use a water-based wood stain because it’s easy to apply and doesn’t smell as strong as oil-based options. I always sand the wood lightly before applying the stain to ensure it penetrates the surface evenly.
I once skipped the sanding step and the stain came out patchy and uneven. Taking the time to sand and apply the stain in thin, even layers is worth the effort — it makes a huge difference in the final look.
Always sand the surface before applying any finish. It helps the paint or stain adhere better and creates a smoother, more professional finish.
“I remember the first time I built a bookshelf from scratch — the scent of sawdust in the air, the satisfying click of a nailgun…”— DIY Furniture with Mdf editors
Assembly: Putting It All Together
Assembling your furniture is the final step, but it’s where a lot of people make mistakes. I always start by laying out all the pieces and checking that everything is cut to the correct size and shape. I also double-check that all the holes for screws are in the right places.
I use a combination of wood glue and screws to secure the joints, and I make sure to apply even pressure when tightening the screws. I’ve found that using a screwdriver with a magnetic tip is helpful for keeping the screws in place while I work.
One of the best things I learned from my first project is to take breaks and step back to check your work. It’s easy to get too focused on one part and miss an error that could affect the entire piece.
Tips for a Strong, Durable Build
If you want your furniture to last, it’s important to focus on the structure. I always reinforce corners and joints with additional screws or brackets. This helps distribute the weight and prevents the furniture from sagging over time.
Using the right type of screws is also important. I prefer using wood screws with a coarse thread, as they grip the MDF better than fine-thread screws. I also make sure to pre-drill holes before inserting the screws to prevent the wood from splitting.
I’ve found that using a Kreg Jig for pocket hole joinery is a game-changer for building strong, hidden joints. It’s a bit of an investment, but it’s worth it for the added strength and cleaner look it provides.
Customization: Making It Your Own
One of the best things about building your own furniture is that you can customize it to fit your exact needs. I’ve built a few different bookshelves with varying heights and widths to suit the space in my home. I also added decorative elements like carved edges and colored handles to make the pieces more unique.
Another way to personalize your furniture is by using different types of wood or finishes. I once built a coffee table using a combination of MDF and reclaimed wood, which gave it a rustic look. I also used a mix of stains and paints to create a layered, textured effect.
I’ve found that experimenting with different styles and finishes is a great way to learn. It’s also a fun way to express your personality and make your home feel more like your own.
Your furniture should reflect your style — don’t be afraid to experiment.
Final Inspection: Ensuring Quality and Safety
Once your furniture is assembled and finished, take a step back and look at it from all angles. Check for any gaps, wobbles, or uneven surfaces. I always test the stability of the piece by applying weight to it and seeing if it holds up.
I also check that all the screws and joints are secure. If anything feels loose, I reinforce it with additional screws or wood glue. I’ve learned that a small oversight can lead to bigger problems later on.
Finally, I make sure the furniture is clean and free of any dust or paint splatters. A quick wipe down with a damp cloth and a bit of furniture polish helps bring out the finish and makes it look even better.
Budgeting and Sourcing Materials: Making the Most of Your Resources
When building DIY furniture, budgeting is essential — I’ve found that sourcing materials from local salvage yards, online marketplaces like eBay or Facebook Marketplace. Even hardware stores can save up to 50% compared to buying new. For example, I once found a set of used MDF boards for $20 at a local yard sale, which would have cost $80 new. Always measure your project first to avoid overbuying, and keep an eye out for sales or discount days at big-box stores like Lowe’s or Home Depot.[3]
I’ve also learned that buying in bulk can drastically reduce material costs. For instance, buying 20 sheets of MDF at once can save about $5 per sheet compared to buying individually. It’s also important to factor in the cost of tools — if you don’t already own them, renting or buying secondhand can save hundreds of dollars. I once rented a power saw for $30 for a weekend project, which was much cheaper than buying my own.[4]
Another cost-saving tip is to repurpose materials from old furniture or home renovations. I turned leftover wood scraps from a kitchen remodel into a coffee table, which not only saved money but also gave the piece a unique, handmade feel. Always keep track of your expenses per project to identify where you’re spending the most and how you can optimize future builds. This practice has helped me reduce my average project cost by 30% over the past year.[5]
💰 Budget Build
A low-cost furniture project using MDF and basic tools to create a functional piece with minimal expense.
⏰ Weekend Version
A quick, easy project that can be completed in a single weekend with minimal effort and time.
🎨 Upgraded Finish
A project with a focus on high-quality finishes, stains, and decorative elements for a more elegant look.
🛋️ Small-Space Adaptation
A furniture build tailored for compact spaces, such as a wall-mounted shelf or a space-saving stool.
🔒 Rental-Safe Option
A furniture project designed to be temporary or easily removable, perfect for renters who want to personalize their space without damaging it.
| The mistake | Why it happens | The fix |
|---|---|---|
| Skipping the sanding step before painting or staining | Skipping sanding can lead to an uneven finish and poor adhesion of paint or stain. | Always sand the surface before applying any finish to ensure a smooth, even result. |
| Using the wrong type of screws for MDF | Using fine-threaded screws can cause the MDF to split or not hold securely. | Use coarse-threaded screws for MDF to ensure a strong, stable connection. |
| Neglecting to reinforce joints and corners | Weak joints can lead to sagging, wobbling, or even collapsing furniture over time. | Always reinforce corners and joints with additional screws, brackets, or wood glue. |
| Rushing the cutting process | Cutting too quickly can lead to uneven edges and inaccurate dimensions. | Take your time when cutting and always double-check your measurements before cutting. |
Diy Furniture
Common Questions
What tools do I need to start building DIY furniture?
Is MDF a good material for beginners?
How long does a DIY furniture project typically take?
What is the best way to paint or stain MDF furniture?
Cite this guide
DIY Furniture with Mdf (2026). Diy Furniture. https://mdfcreate.com/diy-furniture/
Feel free to cite or share this guide.
References
- Furniture Design Research Papers - Academia.edu (academia.edu)
- Furniture - Procurement and Support Services (adminfinance.fresnostate.edu)
- Furniture - Procure to Pay - Cal Poly (afd.calpoly.edu)
- Viking Furniture - Berry College (berry.edu)
- Sustainability and the furniture industry: A comprehensive synthesis (bioresources.cnr.ncsu.edu)