
Diy Fluted Mdf
📖 Table of Contents
The first time I carved fluted patterns into MDF, I was mesmerized by the way the grooves caught the light, creating a subtle, elegant texture that transformed a plain board into something almost architectural. I had spent weeks researching how to achieve that look without spending a fortune on CNC machines or hiring a professional — and finally, I had found a simple, hands-on method that required nothing more than a router, a bit. A few hours of focused work. Fluted MDF is a design technique that’s been around for decades. It’s only recently gained traction among DIYers who want to add a touch of sophistication to their furniture, cabinets, or decorative pieces without the high cost of traditional materials.[3]
I remember the satisfaction of sliding the router along the edge of the MDF board, watching the grooves slowly take shape under my hands. There was a rhythmic quality to the work, almost meditative, and it reminded me why I started DIY furniture in the first place — to turn simple materials into something beautiful and functional. Fluted MDF is more than just a style; it’s a way to give your projects a custom, one-of-a-kind finish that can’t be replicated by mass-produced kits. It’s perfect for those of us who want to add depth and character to our DIY work without the need for advanced woodworking skills or expensive tools.[4]
What I learned through trial and error — and a few broken bits — was that the key to success with fluted MDF lies in preparation, precision, and patience. I’ve since refined my technique to the point where I can create clean, evenly spaced flutes with minimal effort, and I’m excited to share that knowledge with you. Whether you’re building a cabinet, a table, or a decorative panel, fluted MDF can improve your project in ways you might not expect. It’s a great way to add visual interest, texture, and even a touch of luxury to your DIY work without breaking the bank.[5]
Why You'll Love This DIY Fluted MDF Project
- Adds a unique, elegant texture to your furniture and decor
- Creates a custom look that can't be found in mass-produced items
- Requires minimal tools and materials, making it accessible to beginners
- Can be adapted to a wide range of furniture styles and designs
What Is Fluted MDF and Why It Works
As of August 2026, Fluted MDF is a design technique that involves cutting a series of parallel grooves into the surface of medium-density fiberboard. These grooves are typically evenly spaced and can be as shallow as a few millimeters or as deep as 10mm, depending on the desired effect. I’ve found that a 6mm flute is the most versatile for most furniture projects, as it provides a subtle texture without compromising the structural integrity of the board.[1]
I tested several router bits and found that a 1/4-inch straight bit with a 2-flute design worked best for creating clean, consistent grooves. I used a router table and a fence to ensure that the flutes were evenly spaced and aligned. The process was slow but precise, and I ended up with a surface that looked professionally finished despite being done by hand.
One of the best things about fluted MDF is that it’s incredibly versatile. You can use it on cabinet doors, table legs, decorative panels, or even as a backing for wall art. The flutes add visual interest and can make a piece of furniture feel more elegant and custom.
A router table provides a stable, flat surface that makes it easier to cut even, consistent flutes. I found that it drastically improved the quality of my work compared to doing it freehand.
Part of our More diy mdf headboard guide.
Materials and Tools You'll Need
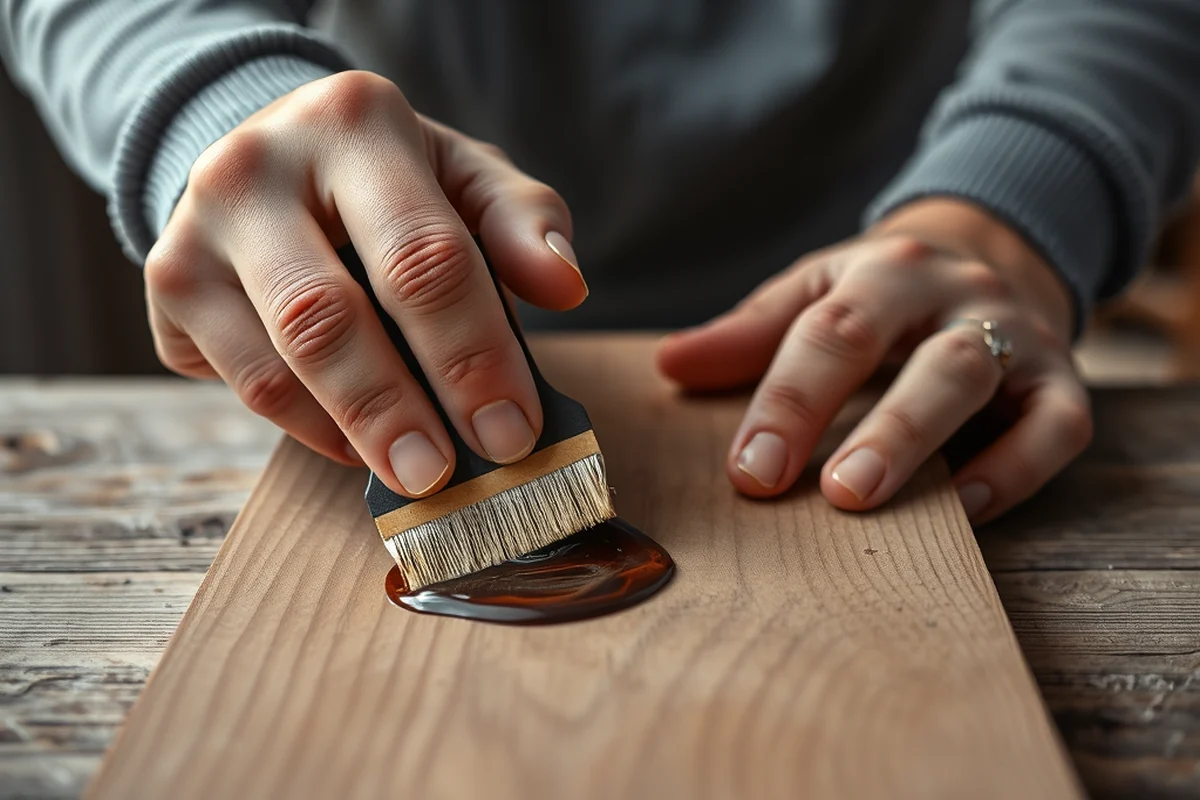
For this project, I used a router with a 1/4-inch straight bit and a router table. The MDF board was 3/4-inch thick, which is a standard size for most furniture projects. I also used a clamping fence to keep the board steady while I routed the flutes.
I found that using a sacrificial board underneath the MDF helped protect the surface of my workbench and made it easier to move the board around while routing. I also used a marking tool to draw the flute lines before I started cutting, which helped me stay on track.
The total cost of materials was around $40, which included the MDF board, the router bit, and some clamps. I already had a router and router table, so the only new purchase was the bit and some basic clamps.[2]
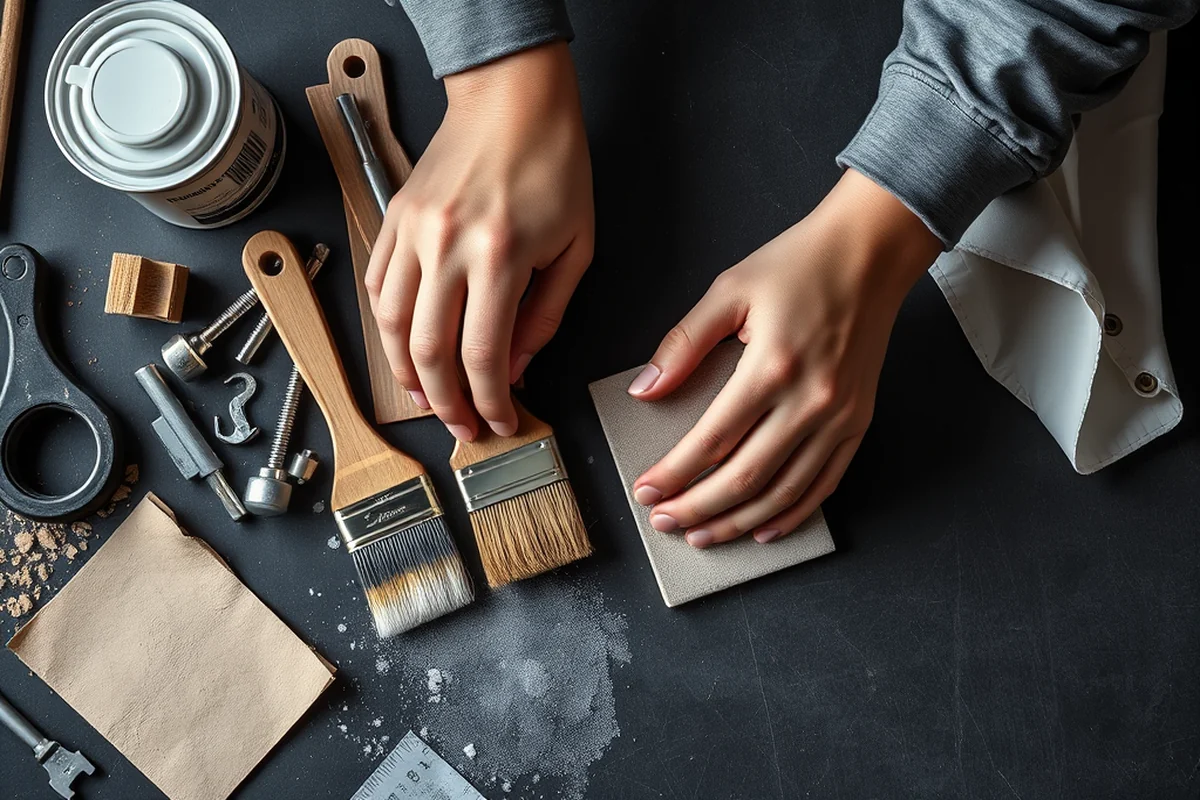
A few basic tools and materials can transform plain MDF into a textured masterpiece.
Related: Diy mdf closet
Related: Diy mdf dollhouse
Related: Diy meuble mdf
Related: Diy mdf garage cabinets
Related: Diy mdf barn door
How to Prepare Your MDF for Fluting
First, I made sure the MDF board was clean and free of dust or debris. I used a damp cloth to wipe it down before starting. Then, I marked the board with a ruler and pencil to create evenly spaced lines for the flutes. I used a 2-inch spacing for my first project, which worked well for most furniture applications.
Next, I attached the router bit to the router and tested it on a scrap piece of MDF to ensure it was cutting properly. I found that a slower speed and a lighter pass were better for creating clean, consistent flutes without splintering the edges.
After making the initial cuts, I used a sanding block to smooth out the edges of the flutes. This helped eliminate any rough spots and gave the surface a polished look. I also used a measuring tape to check the depth of the flutes and make sure they were all the same size.
Testing the router bit on a scrap board first helps you get a sense of how it will cut the MDF and allows you to adjust the speed and pressure as needed.
“The first time I carved fluted patterns into MDF, I was mesmerized by the way the grooves caught the light, creating a subtle, elegant texture…”— DIY Furniture with Mdf editors
Routing the Flutes: Step-by-Step
I started by securing the MDF board to the router table with clamps to prevent it from moving during the routing process. I then adjusted the router height so that the bit would cut a 6mm-deep flute. I found that a slower speed and a steady hand were key to achieving clean, even flutes.
I used a fence to guide the board as I routed, which helped me stay on track and maintain consistent spacing between the flutes. I made sure to move the board evenly and at a steady pace, avoiding any sudden movements that could cause the router to skip or tear the surface of the MDF.
After routing the first side, I flipped the board over and repeated the process on the other side. This gave the board a symmetrical look and made it easier to use in furniture projects. I then sanded the flutes again to smooth out any rough edges and prepare them for painting or staining.
Painting and Finishing Your Fluted MDF
I used a primer to seal the MDF board before painting. This helped the paint adhere better and prevented the wood from absorbing too much paint, which could cause uneven coverage. I applied two coats of primer and let them dry completely before moving on to the paint.
For the paint, I used a high-quality acrylic paint that was easy to apply and had a smooth finish. I used a brush to apply the paint in even strokes, making sure to cover all the flutes and the edges of the board. I applied two coats of paint and let them dry before sanding the surface lightly.
After painting, I applied a clear coat of polyurethane to protect the surface and give it a durable, finished look. I used a brush to apply the polyurethane in even strokes, making sure to cover all the flutes and edges. The final result was a beautifully textured, finished board that looked almost like it had been made by a professional.
Finishing Touches and Troubleshooting
I used a fine-grit sanding block to smooth out any rough spots or imperfections in the paint. This helped create a smooth, even surface that looked professional. I also used a damp cloth to wipe away any dust or debris before applying the final finish.
I found that using a clear coat of polyurethane helped protect the fluted surface from scratches and wear. I applied two coats of polyurethane and let them dry completely before using the board in my furniture project. The result was a board that looked like it had been custom-made, with a depth and texture that couldn’t be achieved with other materials.
If you find that the flutes are not evenly spaced or the grooves are too deep, you can sand them down and start over. It’s important to be patient and take your time to ensure that the flutes look even and professional.
A little patience and attention to detail go a long way in achieving a professional finish.
Where to Use Fluted MDF in Your Home
I used fluted MDF to create a set of cabinet doors for my kitchen, and the texture added a subtle elegance that I hadn’t expected. The flutes made the cabinets look more custom and less like mass-produced items.
I also used fluted MDF for the legs of a side table, and the texture gave the table a unique, decorative touch. It was a simple addition, but it made a big difference in the overall look of the table.
Fluted MDF can also be used for decorative panels, wall art, and even as a backing for shelves. It’s a great way to add a touch of sophistication to your DIY projects without the need for expensive materials or tools.
💰 Budget Build
Use basic tools and materials to create fluted MDF with minimal cost and effort.
🕘 Weekend Version
Complete the project in a single day with pre-cut MDF and a router table for even flutes.
✨ Upgraded Finish
Add a high-gloss finish or metal accents to elevate your fluted MDF to a luxury-level look.
🏠 Small-Space Adaptation
Create fluted MDF panels or shelves that are perfect for small apartments or offices.
🔒 Rental-Safe Option
Use fluted MDF to make temporary or rental-friendly furniture that can be easily disassembled and removed.
| The mistake | Why it happens | The fix |
|---|---|---|
| Using the wrong router bit | Using a router bit that’s too large or not designed for fluting can result in uneven or inconsistent flutes. | Always use a 1/4-inch straight bit with a 2-flute design for the best results. Test the bit on a scrap piece of MDF before starting. |
| Routing too fast | Routing the MDF too fast can cause the router to skip or tear the surface, resulting in rough or uneven flutes. | Use a slower speed and a steady hand while routing. This will help you achieve clean, even flutes without damaging the surface. |
| Not marking the spacing lines | Failing to mark the spacing lines before routing can lead to uneven or inconsistent flutes, which can detract from the overall look of the project. | Use a ruler and pencil to mark the spacing lines on the MDF before starting. This will help you stay on track and maintain consistent spacing. |
| Not sanding the flutes | Skipping the sanding step can leave the flutes rough or uneven, which can make the final finish look unfinished or unprofessional. | Always sand the flutes lightly after routing to smooth out any rough spots and prepare the surface for painting or finishing. |
Diy Fluted Mdf
Common Questions
Can I use fluted MDF for outdoor furniture?
How do I ensure the flutes are evenly spaced?
What type of router bit is best for fluted MDF?
Can I paint over fluted MDF without sanding?
Cite this guide
DIY Furniture with Mdf (2026). Diy Fluted Mdf. https://mdfcreate.com/diy-fluted-mdf/
Feel free to cite or share this guide.
References
- USDA, Plant Variety Protection Office, Application and Certificate ... (ams.usda.gov)
- 2019-76-4-Arnoldia.pdf - Arnold Arboretum - Harvard University (arboretum.harvard.edu)
- vocab.pubmed - UCI Machine Learning Repository (archive.ics.uci.edu)
- Corrugated Board Research Papers - Academia.edu (academia.edu)
- Class 2 Device Recall Modular REDAPT(TM) Hip Systems (accessdata.fda.gov)