
Diy Mdf Dollhouse
📖 Table of Contents
I remember the first time I saw a finished MDF dollhouse sitting on a shelf, its tiny windows catching the light and its doors perfectly aligned. It was like a miniature world, and I knew I had to build one myself. What started as a weekend project quickly turned into a passion for DIY furniture, especially when working with medium-density fiberboard (MDF). MDF is affordable, easy to shape, and perfect for intricate details, making it ideal for building a dollhouse that feels like it belongs in a museum.[3]
Building a DIY MDF dollhouse isn't just about following a plan — it's about creating something that sparks imagination. I've crafted several dollhouses over the years, each with unique designs and purposes. Some were for my daughter, others for gift-giving, and a few even ended up in local exhibitions. The beauty of MDF is that it allows for both structural integrity and creative freedom, whether you're making a simple two-room playhouse or a complex Victorian mansion.[4]
The process of building a DIY MDF dollhouse is rewarding in its own right. You’ll start with a blank canvas of flat panels, then cut, shape, and assemble them into something that feels like a real home. It’s a challenge that tests your patience and precision, but the end result — a dollhouse that looks like it was made by a professional — is worth every hour of effort. I’ve learned that with the right tools and a bit of care, even a complete beginner can build a dollhouse that will last for years.[5]
Why You'll Love This DIY MDF Dollhouse Project
- Affordable materials that deliver high-quality results
- A customizable design that fits your space and style
- A hands-on project that boosts creativity and problem-solving
- A lasting piece that can be passed down through generations
Choosing the Right MDF for Your Dollhouse
As of August 2026, MDF is a versatile material, but not all MDF is created equal. I recommend using 3/4-inch thick MDF for the main structure, as it provides stability without being too heavy. Thinner panels, like 1/4-inch, are better for doors, windows, and decorative elements that require intricate cuts or curves. I've found that some store-brand MDF boards can have inconsistencies in thickness or warping, so I always check the edges for uniformity before purchasing.[1]
Avoid MDF that has a glossy or high-gloss finish, as it can make sanding and painting more difficult. I prefer MDF with a smooth, matte surface, which allows for better adhesion of paint and other finishes. When I first started, I used a cheaper brand that had a rough texture, and it took me twice as long to sand it down — a lesson I learned the hard way.
For a dollhouse with multiple rooms and complex structures, I usually buy extra MDF to account for mistakes or unforeseen design changes. The extra cost is worth it if it means avoiding the frustration of having to buy more later. I've also found that buying MDF in bulk can save you money, especially if you're planning to build multiple dollhouses or other DIY furniture.
Lay a sheet of MDF on a flat surface and look for any warping or bowing. If it's not flat, it's likely to cause problems later. I always use a level to double-check before purchasing.
Part of our More diy mdf headboard guide.
Designing Your Dollhouse Layout
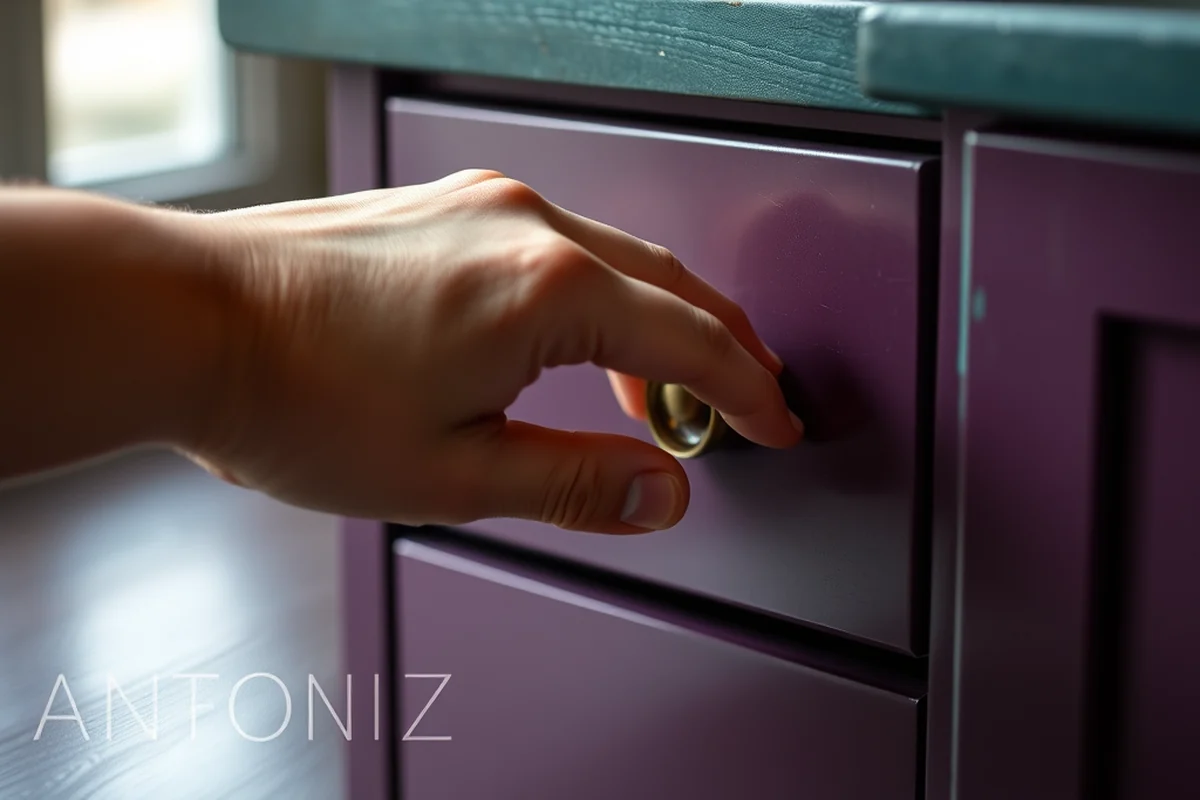
Before you start cutting, it's important to sketch out your dollhouse design. I usually use graph paper and scale down the dimensions based on the size of the dollhouse I want. For example, if I'm building a 1:12 scale dollhouse, I'll use a scale of 1 inch to 1 foot, which makes the math much easier. I've found that designing on paper first helps avoid costly mistakes with cutting the MDF.[2]
When planning the layout, I always leave extra space for doorways, windows, and staircases. I once designed a dollhouse with narrow corridors and found that the doors didn't fit properly — it took me hours to figure out what went wrong. Now, I plan each room with a buffer zone to account for the thickness of the MDF and any gaps I might need to create for hinges or other fixtures.
I also consider the number of rooms and their functions. A dollhouse for young children might only need a couple of rooms, while a more elaborate one might include a kitchen, living room, and even a bedroom. I've built dollhouses with as many as six rooms, and each one required careful planning to ensure everything fit together seamlessly.
Sketch first, cut later — it saves time and money in the long run.
Related: Diy mdf countertop
Related: Diy armoire mdf
Related: Diy dressing mdf
Related: Diy meuble mdf
Related: Diy Mdf Garage Cabinets
Related: What Mdf Sheet
Cutting and Shaping the MDF
Cutting MDF requires the right tools and technique. I use a jigsaw for most of my cuts, but I also have a table saw for straight cuts. When I first started, I used a regular hand saw, and it left a lot of splinters — not great for a dollhouse that needs to look smooth. I now use a fine-tooth blade on my jigsaw, which cuts cleanly without leaving a mess.
Before making any cuts, I always measure twice and mark once. I use a pencil and a ruler to mark the MDF precisely, and I always double-check my measurements. I once measured a window incorrectly and ended up with a door that didn't fit. It's a small mistake, but it cost me time and money to fix.
For curved edges or decorative details, I use a router with a round bit. It's a bit of an investment, but it allows me to create smooth, clean curves that look professional. I've used this technique to make arched doorways and decorative moldings, and it's made a big difference in the final appearance.
A router with a round bit can create smooth, curved edges that look professional. I've used this technique to make arched doorways and decorative moldings, and it's made a big difference in the final appearance.
“I remember the first time I saw a finished MDF dollhouse sitting on a shelf, its tiny windows catching the light and its doors perfectly…”— DIY Furniture with Mdf editors
Joining the Pieces Together
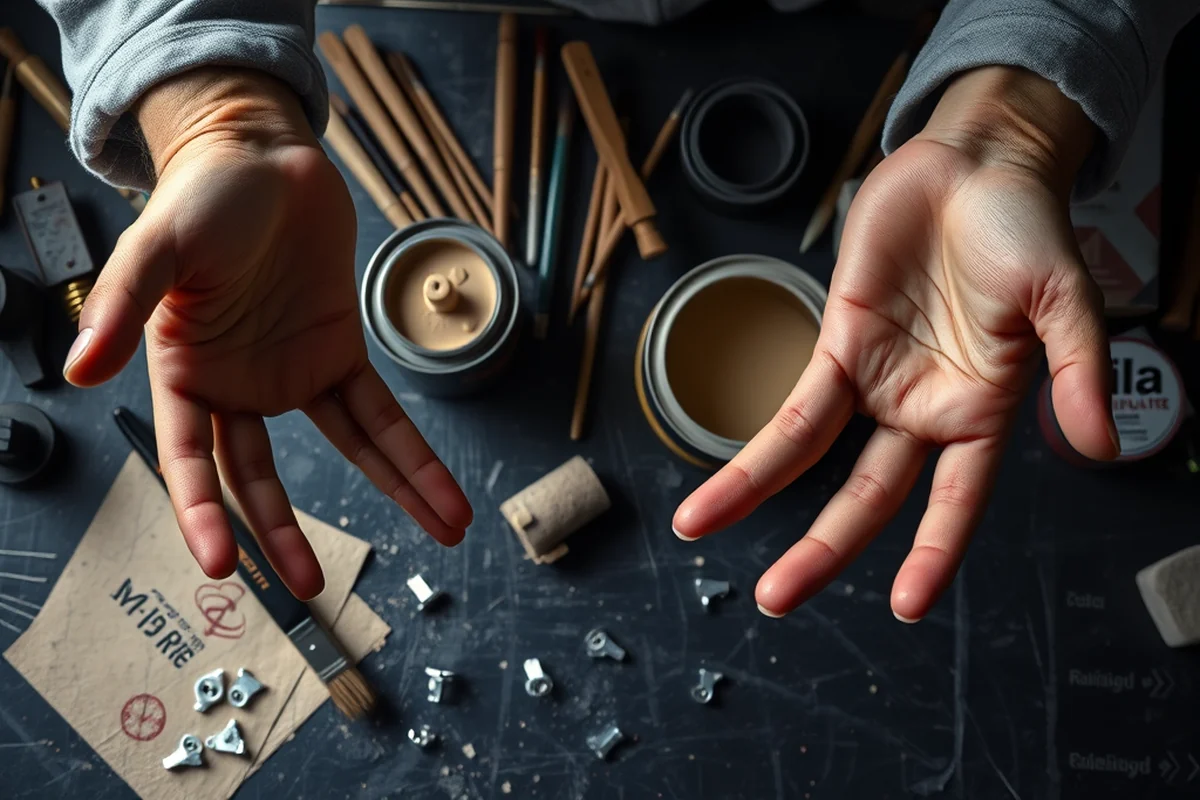
Once you've cut all the pieces, it's time to assemble the dollhouse. I use wood glue and brad nails for most of my joints. The glue provides a strong bond, and the brad nails keep the pieces in place while the glue dries. I've found that using too many nails can make the dollhouse look cluttered, so I use them sparingly and hide them behind molding or trim.
For corners and edges, I use a corner clamp to hold the pieces together while the glue sets. It's a simple tool, but it makes a big difference in ensuring that the joints are tight and secure. I've used this technique on several dollhouses, and it's helped me avoid the frustration of having to reassemble parts that didn't fit correctly.
I also use a small amount of wood filler to fill in any gaps between the pieces before they dry. It's a quick fix that helps keep the dollhouse looking clean and professional. I've used this technique on multiple projects, and it's always worked well.
Adding Details and Decorations
Detailing the dollhouse is where the personality really comes through. I use a variety of techniques to add texture and visual interest. For example, I've used a small brush to paint intricate patterns on the walls, and I've even used stencils to create designs on the windows. These small details can make a big difference in the overall look of the dollhouse.
I also enjoy adding realistic elements like miniature furniture, plants, and even tiny bookshelves. I’ve found that using miniatures from craft stores or online retailers can make the dollhouse feel more complete. I’ve even painted tiny furniture pieces to match the color of the dollhouse, which adds a level of realism that I think is important.
I always make sure to leave some areas of the dollhouse unpainted or with a simple texture, which gives it a more natural look. I’ve found that this approach helps avoid the dollhouse looking too artificial, and it gives it a more handcrafted feel. I’ve built several dollhouses with this technique, and each one has felt more like a real home.
Painting and Finishing the Dollhouse
After assembling the dollhouse, it's time to paint. I always paint the pieces before assembling them, which makes the process much easier. I use a primer first, then I apply a couple of coats of paint. I've found that using a spray paint works best for getting even coverage, especially on the smaller details.
For a more polished look, I use a fine brush to paint intricate details, like window frames and door outlines. I've also used a small brush to add texture, like wood grain or wallpaper patterns. This technique has helped me create a more realistic and detailed look for each of my dollhouses.
After the paint dries, I apply a clear coat to protect the finish. This step is important, especially if the dollhouse is going to be used by children or placed in a high-traffic area. I've used several different brands of clear coats, but I've found that a water-based polyurethane finish works best for MDF.
Paint with care — every brushstroke adds to the story of your dollhouse.
Final Assembly and Testing
After the paint has dried completely, I carefully assemble the dollhouse. I make sure that all the joints are tight and that the doors and windows open and close smoothly. I’ve found that using a small amount of wood glue on the hinges helps keep them in place, especially if the dollhouse is going to be moved around a lot.
I also test the stability of the dollhouse by placing it on a flat surface and gently pushing on the sides. If it feels wobbly, I reinforce the base with additional MDF or use a small amount of wood glue to secure the legs. This step is important, especially if the dollhouse is going to be used by children or displayed in a public space.
Once everything is assembled and tested, I give the dollhouse a final inspection. I check for any loose pieces or areas that need touch-ups. If everything looks good, it's time to step back and admire the work. It's a rewarding feeling when you see your DIY MDF dollhouse come to life.
💰 Budget Build
Use basic materials and simple designs to create a dollhouse that’s affordable and functional.
⏰ Weekend Version
A quick, no-frills dollhouse that can be built in a single day with minimal tools.
✨ Upgraded Finish
Add a professional-level finish with custom paint, trim, and decorative details.
🏠 Small-Space Adaptation
Create a compact dollhouse that’s perfect for small rooms or shelf spaces.
🔒 Rental-Safe Option
Build a dollhouse that’s easy to disassemble and transport for rental or temporary use.
| The mistake | Why it happens | The fix |
|---|---|---|
| Not checking for warping in the MDF before cutting | Warped MDF can cause misalignment in the final structure, leading to a lopsided or uneven dollhouse. | Always check the MDF for warping by laying it flat and using a level. If it’s warped, replace it with a flat sheet. |
| Using the wrong type of paint or finish | Using the wrong paint can cause peeling or cracking, especially if the MDF isn’t properly prepared. | Always use a primer before painting and choose a paint that’s suitable for MDF. A spray paint or water-based paint works best. |
| Overlooking the need for a clear coat | Without a clear coat, the paint may chip or fade over time, especially if the dollhouse is used frequently. | Always apply a clear coat after painting to protect the finish and extend the life of the dollhouse. |
| Not accounting for the thickness of the MDF in the design | If you don’t consider the thickness of the MDF, the final dollhouse may not look or function as intended. | Measure the MDF carefully and adjust your design plans to accommodate the thickness of the material. |
Diy Mdf Dollhouse
Common Questions
What tools do I need to build a DIY MDF dollhouse?
How long does it take to build a DIY MDF dollhouse?
What is the best way to paint an MDF dollhouse?
Can I build a dollhouse without any prior experience?
Cite this guide
DIY Furniture with Mdf (2026). Diy Mdf Dollhouse. https://mdfcreate.com/diy-mdf-dollhouse/
Feel free to cite or share this guide.
References
- hw3_stats_google_1gram.txt - CMU School of Computer Science (cs.cmu.edu)
- dict.txt (cs.miami.edu)
- words-333333 - cs.Princeton (cs.princeton.edu)
- The Idealized Temple Morphology: Surveying the Public Perception ... (academia.edu)
- 1000 classes - Michtom School of Computer Science (cs.brandeis.edu)