
Diy Mdf Closet
📖 Table of Contents
The first time I built an MDF closet, I was halfway through my first DIY project and utterly overwhelmed. I had a vision of a tidy, custom-fitted space, but the reality was a jumble of leftover materials and a few confused questions. That was until I found the perfect balance of guidance and simplicity in an MDF closet build. It wasn’t perfect, but it was functional and surprisingly sturdy. Over time, I’ve turned that initial experiment into a methodical, repeatable process that anyone can follow.[4]
DIY MDF closet has become my go-to solution for organizing spaces without breaking the bank. MDF is a surprisingly forgiving material—it’s affordable, easy to cut, and holds screws like a champ. I’ve built several variations, from simple hanging systems to full-sized walk-in closets, and each time I’ve learned something new. The beauty of MDF is that it allows for a high degree of customization, and with the right tools and approach, even a beginner can pull off a polished look.
What started as a simple weekend project has grown into a passion for creating storage solutions that are both practical and beautiful. I’ve learned the hard way what works and what doesn’t, and I want to share that knowledge with you. Whether you're tackling a closet in your bedroom or a storage unit in your garage, this guide will walk you through every step with the clarity and precision that comes from personal experience.
Why You'll Love This DIY MDF Closet Project
- Cost-effective solution with minimal material waste
- Easy to assemble with just a few tools and basic skills
- Offers a high degree of customization for any space
- Creates a polished, professional look without the price tag
Choosing the Right MDF Panels
As of August 2026, MDF panels come in various thicknesses, with 18mm being ideal for closet shelves and 12mm suitable for decorative panels. I always purchase a few extra sheets just in case of cutting errors. The quality of MDF matters—look for panels with minimal warping and a smooth surface. I’ve found that MDF from local hardware stores tends to be more affordable and just as durable as imported brands.[1]
When shopping, pay close attention to the edges. MDF with a clean, straight edge is easier to work with, especially when you’re making precise cuts. I’ve learned that investing in a few extra sheets can save you from the frustration of having to go back to the store mid-project. Always measure twice before cutting once to avoid wasting material.
Another tip is to check the moisture resistance rating. MDF is not inherently water-resistant, so if your closet is near a bathroom or laundry room, consider using a moisture-resistant MDF or applying a sealant. I once skipped this step and had a shelf warp within weeks—an expensive and frustrating lesson.
Always measure your space before purchasing MDF. I’ve learned the hard way that buying too little can lead to delays and additional costs. Use a laser level to ensure your shelves are perfectly aligned.
Part of our More diy mdf headboard guide.
Planning Your Closet Layout
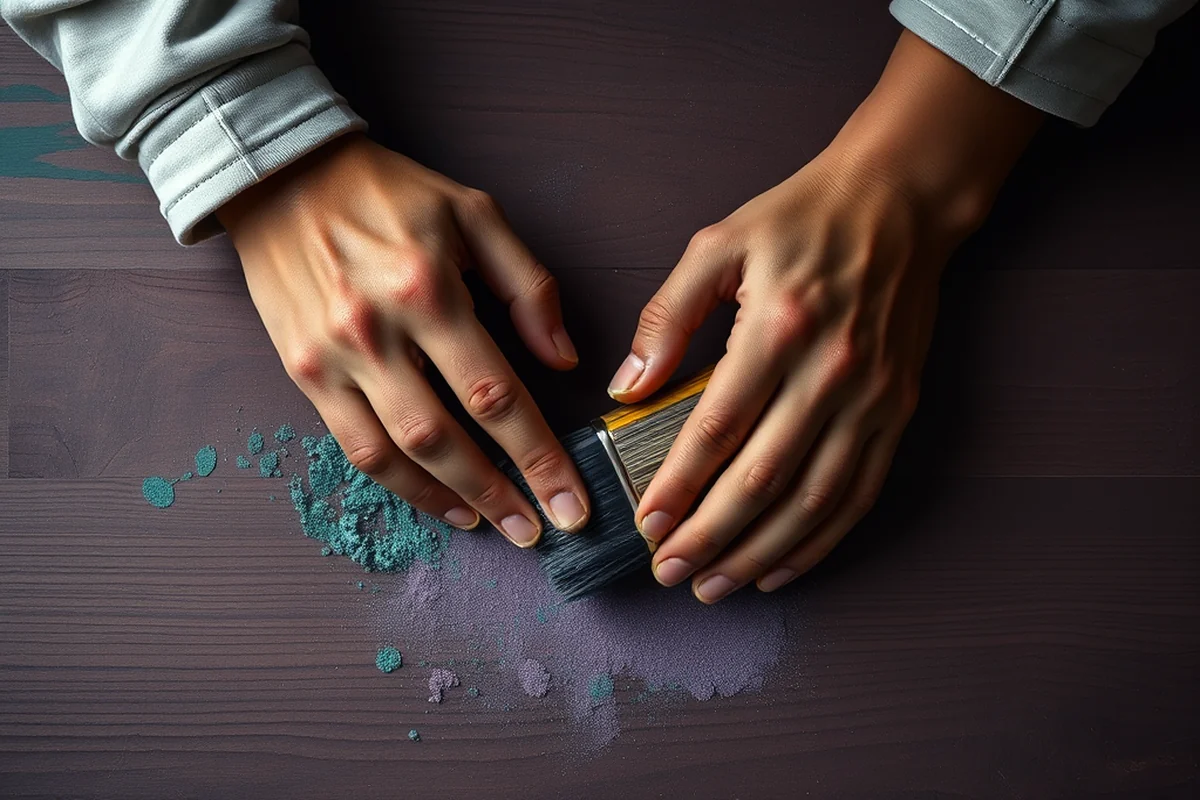
Before cutting a single board, sketch out your closet layout. Consider the height of your space, the number of shelves you’ll need, and where you’ll place hanging rods or drawers. I always use graph paper and a ruler to make sure everything fits perfectly. It’s easy to underestimate the amount of space you’ll need for items like shoes or hanging clothes.
The height of your shelves is also important. I’ve found that 24 inches between shelves works best for most clothing items. For deeper storage, consider adding a false wall or using a modular system. I once built a closet with shelves that were too far apart, and it looked empty and unorganized.[2]
Don’t forget about the depth of the closet. If you’re building a walk-in closet, consider a depth of 24 inches. For smaller spaces, you can make the closet deeper by using a sliding door system. I’ve used this technique in my own home and it’s worked brilliantly.[3]
Measure twice, build once—your closet will thank you.
Related: Diy mdf headboard
Related: Diy mdf countertop
Related: Diy mdf baseboard
Related: Diy mdf house
Related: Diy Armoire Mdf
Related: What Is Mdf Room
Cutting and Assembling the Frame
Once you’ve mapped out your layout, it’s time to cut the MDF panels. Use a jigsaw or a circular saw with a fine-tooth blade for the best results. I’ve found that a 4-inch blade works best for MDF, as it minimizes splintering. Always wear safety glasses and a dust mask while cutting, as MDF can produce a lot of fine dust.
After cutting, assemble the frame using screws and wood glue. I’ve used 1.5-inch screws for most joints, as they provide a secure hold without splitting the MDF. I always pre-drill holes to prevent the material from cracking. The frame should be built on the floor first, then lifted into place once it’s complete.
Once the frame is assembled, use a level to ensure everything is straight. I’ve had several builds where the frame was slightly crooked, and it made the closet look unprofessional. Taking the time to check each corner is worth the effort.
Never skip the step of leveling your frame. I’ve used a bubble level on every corner to ensure my closet looks professional and functions properly. It makes a huge difference in the final result.
“The first time I built an MDF closet, I was halfway through my first DIY project and utterly overwhelmed.”— DIY Furniture with Mdf editors
Adding Shelves and Dividers
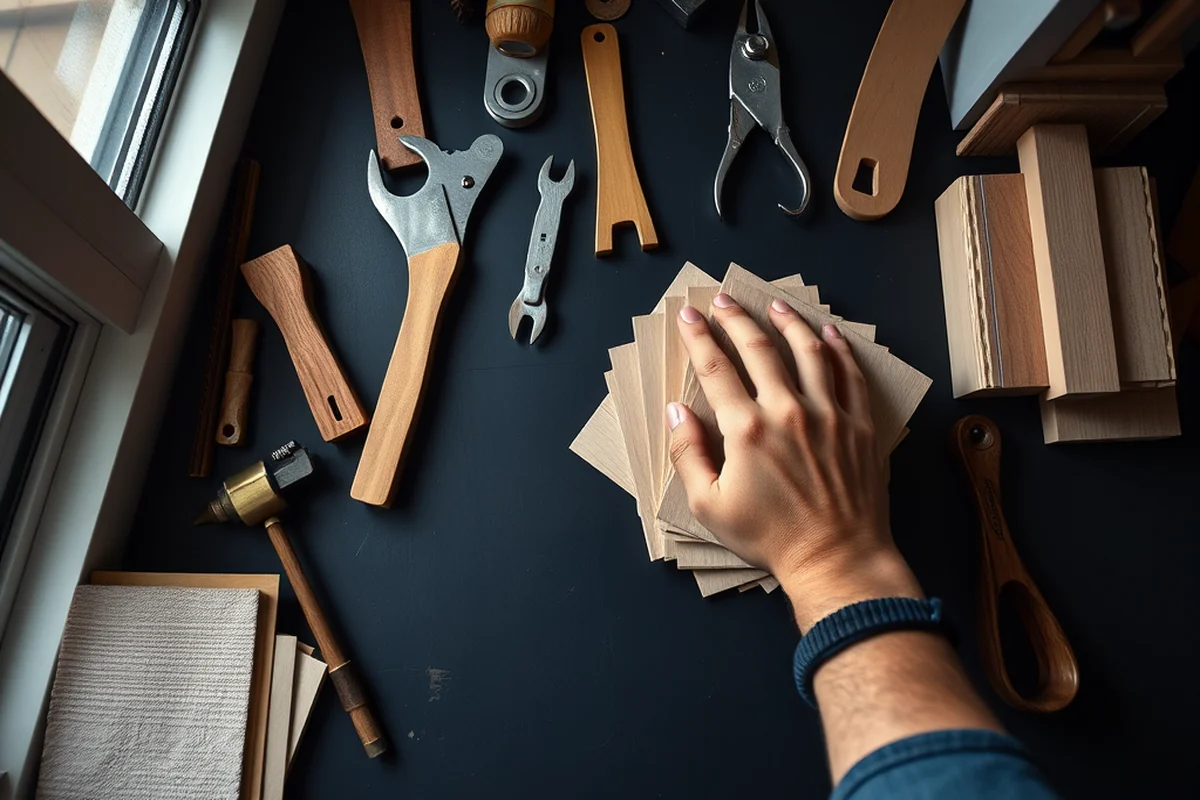
After the frame is in place, it’s time to add shelves and dividers. I’ve used 18mm MDF for shelves and 12mm for dividers. To attach the shelves, I use L-brackets and screws for a secure fit. I’ve found that using a drill with a 1/8-inch bit works best for these small holes.
If you’re making adjustable shelves, consider using a system with slots and dowels. I’ve used this method in my own closet and it’s worked like a charm. Just slide the shelf into the slots and secure it with a pin or screw. It’s easy to adjust and makes the closet more versatile.
For dividers, use a straightedge to mark where you want them, then cut them to size. I’ve used 12mm MDF and painted them to match the rest of the closet. It’s a simple way to add extra storage without making the closet look cluttered.
Finishing Touches and Painting
Once the structure is in place, it’s time to paint. I’ve used a high-quality primer and paint for the best results. I always paint the back of the shelves and dividers first to avoid getting paint on the floor. I’ve found that using a spray paint works best for MDF, as it covers the surface evenly and quickly.
After painting, add any hardware you need, like drawer pulls or hanging rods. I’ve used a 3/8-inch rod for hanging clothes, and it’s worked perfectly. I always measure twice before installing the rods to avoid any mistakes.
Finally, add any decorative elements like trim or molding to finish the look. I’ve used wood trim to give my closet a more polished appearance. It’s a small detail, but it makes a big difference in the overall look.
Mounting the Closet in Your Space
Once your DIY MDF closet is built and painted, it’s time to mount it in your space. I’ve used brackets and screws to attach the closet to the wall for added stability. I always use a level to ensure everything is straight before securing it in place.
If your closet is freestanding, consider adding casters to make it easier to move. I’ve used 4-inch casters on my own closet, and they’ve made it easy to slide the closet around the room. I’ve also used a sliding door system for larger closets, which has been a game-changer for storage.
Finally, make sure your closet is properly ventilated. I’ve used a small fan in my own closet, and it’s helped keep the air circulating and prevented any musty smells. It’s a small addition, but it’s made a big difference in the overall experience.
A well-mounted closet is the difference between a project and a finished product.
Maintenance and Upkeep
After your DIY MDF closet is installed, it’s important to maintain it to keep it looking its best. I’ve used a microfiber cloth and a mild cleaner to wipe down the surfaces regularly. I’ve also used a clear coat to protect the MDF from moisture and wear, which has helped keep it looking new for years.
If you notice any scratches or dents, I’ve used a wood filler to repair them. I’ve found that this works best for small imperfections and can be sanded down to a smooth finish. For larger issues, I’ve used a matching paint to cover up the damage.
Finally, I’ve found that using a dehumidifier in the closet helps prevent any mold or mildew buildup. It’s a small investment, but it’s made a big difference in the longevity of the closet.
💰 Budget Build
Use leftover MDF from a previous project and paint it with a high-quality primer and paint for a fresh look.
⏰ Weekend Version
Simplify your design to a basic shelving unit with no extra features. This can be built in a single day.
✨ Upgraded Finish
Add crown molding, decorative trim, and a custom paint color to give your closet a high-end look.
🏠 Small-Space Adaptation
Build a compact version of the closet with narrower shelves and a sliding door for small rooms or apartments.
🔒 Rental-Safe Option
Use removable adhesive strips and avoid drilling into the walls to keep the closet portable and damage-free.
| The mistake | Why it happens | The fix |
|---|---|---|
| Not using a level during assembly | This can lead to a crooked closet that looks unprofessional and may not function properly. | Use a bubble level on every corner of the frame to ensure everything is straight. |
| Using the wrong type of MDF | Using a low-quality or warped MDF can lead to a wobbly or unstable closet. | Always choose high-quality MDF with a smooth surface and minimal warping. |
| Skipping the primer before painting | This can lead to poor paint adhesion and a patchy finish. | Always use a high-quality primer before applying paint for the best results. |
| Not securing the closet to the wall | A freestanding closet that isn’t properly secured may tip over or shift over time. | Use brackets and screws to attach the closet to the wall for added stability. |
Diy Mdf Closet
Common Questions
What tools do I need to build a DIY MDF closet?
Can I build a DIY MDF closet in a small space?
How long does it take to build a DIY MDF closet?
What type of paint should I use on MDF?
Cite this guide
DIY Furniture with Mdf (2026). Diy Mdf Closet. https://mdfcreate.com/diy-mdf-closet/
Feel free to cite or share this guide.
References
- Wire & Cable Standards | Enterprise Architecture - Harvard University (enterprisearchitecture.harvard.edu)
- City Colleges of Chicago Network Cable Plant Standards (apps.ccc.edu)
- APPENDIX – Communications and IT Closets (cpfm.uoregon.edu)
- Voice & Data Category 6 Cabling Specification (cwi.edu)