
Diy Mdf Countertop
📖 Table of Contents
I remember the first time I built my own MDF countertop — it was in my tiny apartment kitchen, and I had no idea how difficult it would be. I had read a few online guides, but none of them covered the specifics of cutting MDF cleanly without splintering, or how to properly seal it so it wouldn’t warp in the humidity. It took me a weekend, but after that, I had a beautiful, sturdy countertop that didn’t cost me a fortune. That’s when I realized how much potential a DIY MDF countertop has — if you do it right.
MDF, or medium-density fiberboard, is a great material for DIY projects because it's stable, easy to cut, and affordable. Unlike particle board, MDF doesn’t sag under weight, and it's smooth enough to paint or laminate without needing extensive sanding. I’ve used it for cabinets, shelves, and countertops, and each time, I’ve learned something new about how to work with it better. This article is the culmination of those lessons — I’ll walk you through every step from choosing the right MDF to sealing it like a pro.
If you're thinking about building a DIY MDF countertop, I understand the hesitation — it can feel overwhelming if you're new to working with MDF. But with the right tools, a solid plan, and a few key techniques, it’s entirely doable. I’ve done it myself, and I’ve helped friends do it too. This guide is for anyone who wants to create a functional, beautiful countertop without the cost of hiring a contractor or buying brand-new furniture. Let’s get started.
Why You'll Love This DIY MDF Countertop
- Affordable compared to solid wood or granite countertops
- Customizable to fit any space or design preference
- Easy to assemble with basic tools and minimal skill
- Durable with proper sealing and maintenance
Choosing the Right MDF for Your Countertop
As of August 2026, I learned the hard way that standard MDF can absorb moisture and swell, especially in humid environments. For my kitchen countertop, I chose a moisture-resistant MDF that's rated for light to moderate use. It’s slightly more expensive than standard MDF, but the difference in durability is worth it.[1]
The thickness of the MDF also matters. For a countertop, I recommend at least 18mm (about 3/4 inch) thickness. This gives enough support for heavy items and prevents sagging over time. Thinner MDF might be suitable for shelves or decorative pieces, but not for countertops.[2]
When purchasing MDF, I always check the edges for any signs of warping or unevenness. A good-quality MDF should be smooth and consistent across the board. I’ve found that buying from a local hardware store with a return policy is a smart move — just in case the board isn’t perfect.
If you're working in a kitchen or bathroom, always choose a moisture-resistant MDF. It can make the difference between a countertop that lasts years and one that swells within weeks.
Part of our More diy mdf headboard guide.
Measuring and Cutting Your MDF
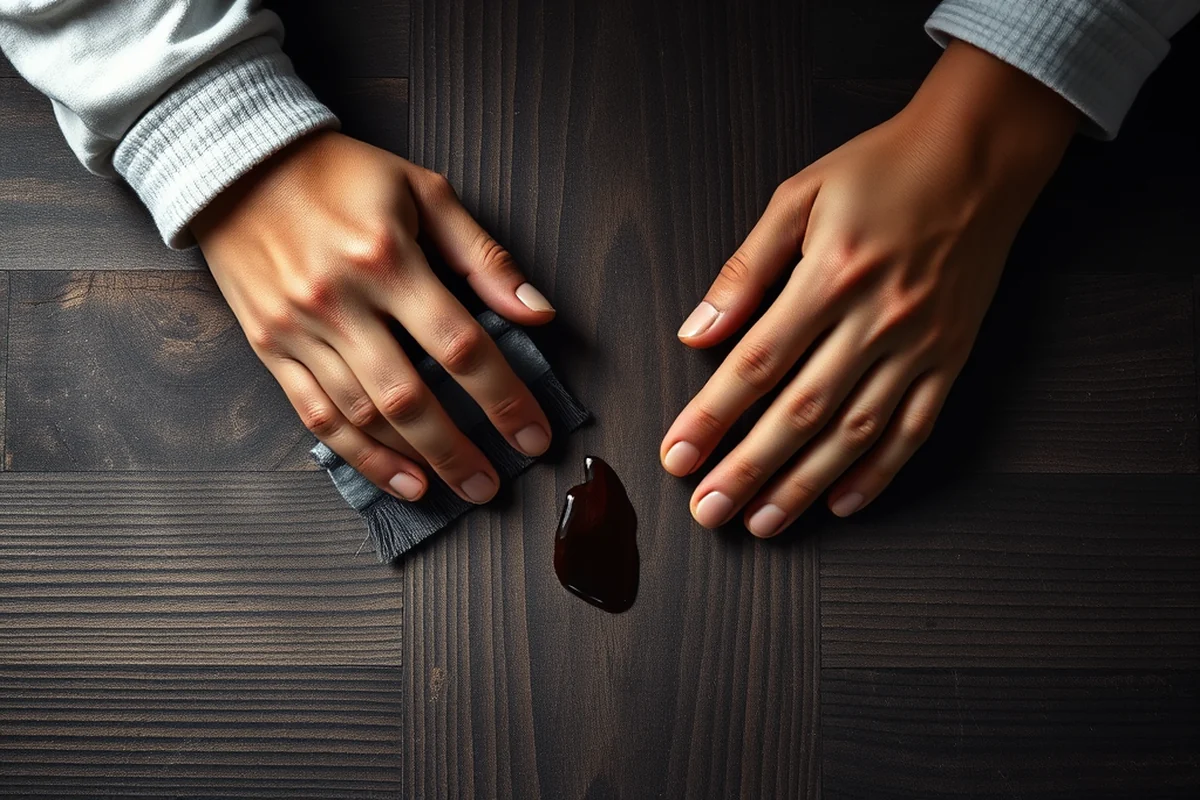
I start by measuring the area where the countertop will go. I use a tape measure and mark the dimensions on the MDF with a pencil. It’s important to double-check the measurements before cutting, because once you cut, you can’t easily fix mistakes.
To make clean cuts, I use a circular saw with a fine-toothed blade. I clamp the MDF securely to a workbench to prevent it from shifting during the cut. I've found that using a straight edge as a guide helps keep the cut straight and precise.
If the edges of the MDF are rough after cutting, I sand them with a fine-grit sandpaper. This smooths out any splinters and makes the surface ready for the next step. It took me about 15 minutes to sand the edges on my first countertop — but it made the final result look much more professional.[3]
Measure twice, cut once — it’s the best advice I ever heard.
Related: Diy mdf headboard
Related: Diy mdf closet
Related: Diy mdf baseboard
Related: Diy mdf house
Related: Diy armoire mdf
Adding Support with a Subframe
I built a simple subframe using 2x4s and 1x4s, which I attached to the cabinets or wall with screws. This gave the countertop a solid base and kept it from sagging in the middle. The subframe also helped keep the MDF from warping due to the weight of heavy items.
The subframe should be spaced no more than 16 inches apart to provide adequate support. I used L-brackets to attach the MDF to the subframe, which made the countertop even more stable. I found that using screws instead of nails provided a stronger hold.[4]
Building a subframe added about an hour to my project, but it was well worth the effort. My countertop has stayed flat and stable for over a year now, and I haven’t noticed any signs of sagging.
L-brackets are a simple but effective way to attach the MDF to the subframe. They provide a strong, secure connection and help distribute the weight evenly across the countertop.
“I remember the first time I built my own MDF countertop — it was in my tiny apartment kitchen, and I had no idea how…”— DIY Furniture with Mdf editors
Sealing the MDF for Longevity
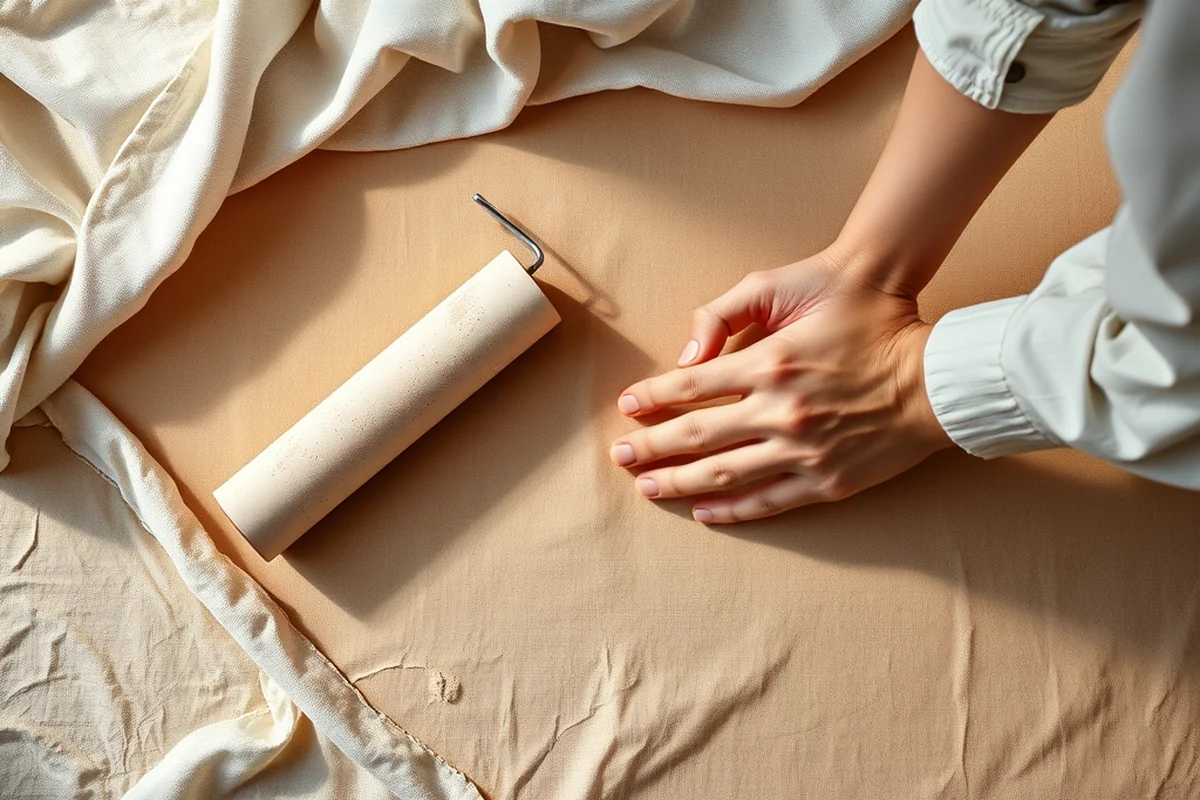
After the MDF is attached and sanded, I apply a primer to help the paint adhere better. I used a water-based primer, which is easier to clean up than oil-based options. It took about 15 minutes to apply the primer and let it dry.
Next, I paint the surface with a high-quality paint — I used a water-based acrylic paint that’s easy to apply and dries quickly. I applied two coats, waiting for each one to dry completely before moving on to the next. It took about an hour to paint the entire countertop.
Finally, I applied a clear sealer to protect the paint and make the surface more resistant to spills and scratches. I used a water-based polyurethane sealer, which is durable and easy to apply. It took about 20 minutes to apply the sealer and let it cure.
Finishing Touches and Installation
I installed the MDF on top of the subframe using screws, making sure it was level and aligned properly. I used a level to check that the countertop was even before tightening the screws. It took about 20 minutes to install the MDF onto the subframe.
After installation, I added a few decorative touches, like a small backsplash and a set of custom-made handles. These little details made the countertop look more finished and gave it a personalized touch. I also added a small overhang on the front for extra space.
I spent about an hour on the final touches, but it was time well spent. The countertop now looks just like it was made by a professional — and it only cost me about $40 in materials.
Maintaining Your DIY MDF Countertop
I clean the countertop with a mild soap and water solution, avoiding harsh chemicals that could damage the sealer. I wipe it down with a microfiber cloth to avoid scratching the surface. It only takes about 10 minutes to clean the countertop after a meal or a spill.
I reseal the countertop every six months to keep it protected from moisture and wear. I use the same clear sealer I used initially, applying it evenly across the surface. It takes about 20 minutes to apply and let it dry.
I’ve found that maintaining the countertop is easier than I expected. With regular cleaning and resealing, it looks just as good as it did when I first installed it. It’s been over a year now, and I haven’t had any issues with it.
A little maintenance goes a long way — it’s the key to a countertop that lasts.
Customizing Your MDF Countertop
I added a decorative border around the edge of the countertop using a different color of paint. It took about 30 minutes to paint the border and let it dry. The border gave the countertop a more finished look and made it stand out in the kitchen.
For a more advanced customization, I used a stencil to create a pattern on the surface. I applied the stencil with painter’s tape and used a small brush to paint the pattern. It took about an hour to complete, but the result was worth it.
I also considered adding some lighting under the countertop for extra illumination. I used LED strips that I mounted on the subframe, which gave the countertop a nice ambient glow. It took about an hour to install the lighting, but it made the countertop look even more professional.
💰 Budget Build
Use standard MDF and skip the subframe for a quick and inexpensive countertop. It's perfect for renters or those on a tight budget.
⏱️ Weekend Version
Follow a step-by-step guide that you can complete in a single weekend. Ideal for beginners who want a fast project.
✨ Upgraded Finish
Add a custom paint job or a laminate finish to give your countertop a more professional look. Great for those who want to elevate their DIY skills.
🏠 Small-Space Adaptation
Create a compact countertop for a small kitchen or bathroom. Perfect for maximizing space in tight areas.
🛞 Rental-Safe Option
Use materials that are easy to remove and won't damage the rental unit. Great for temporary installations.
| The mistake | Why it happens | The fix |
|---|---|---|
| Using the wrong type of MDF | Standard MDF can swell and warp in humid environments, making it unsuitable for countertops. | Always choose moisture-resistant MDF for countertops or areas with high humidity. |
| Skipping the subframe | Without a subframe, the MDF may sag or warp over time, especially under heavy use. | Build a subframe to provide additional support and prevent sagging. |
| Not sealing the MDF properly | Failure to seal the MDF can lead to water damage, warping, and a shorter lifespan for the countertop. | Apply a primer, paint, and clear sealer to protect the MDF from moisture and wear. |
| Using a coarse blade for cutting | A coarse blade can cause splintering and uneven edges on the MDF, making it harder to finish. | Use a fine-toothed blade with a circular saw for clean, precise cuts. |
Diy Mdf Countertop
Common Questions
Can I use MDF in a kitchen countertop?
What tools do I need to build an MDF countertop?
How long does it take to build an MDF countertop?
Can I paint over MDF?
Cite this guide
DIY Furniture with Mdf (2026). Diy Mdf Countertop. https://mdfcreate.com/diy-mdf-countertop/
Feel free to cite or share this guide.
References
- Custom Plastic Laminate Casework Standards (aps.edu)
- Manufacturers by Product - Idaho Wood Products Directory (bber.umt.edu)
- Performance properties of particleboard panels modified with ... (bioresources.cnr.ncsu.edu)
- Warren Towers Renovation Construction Update – 3/20/26 (bu.edu)