
Diy Mdf Baseboard
📖 Table of Contents
- Understanding MDF and Why It’s Perfect for Baseboard
- Measuring and Cutting Your MDF Baseboard
- Designing Your Baseboard: Custom Shapes and Styles
- Painting and Finishing Your DIY MDF Baseboard
- Installing Your DIY MDF Baseboard
- Maintenance and Longevity of Your DIY MDF Baseboard
- Troubleshooting Common Issues with DIY MDF Baseboard
- Make It Your Way
- Frequently Asked Questions
I remember the first time I tackled a DIY MDF baseboard project, standing in my garage with a jigsaw and a pile of materials that looked more like a puzzle than a plan. The result? A clean, straight baseboard that fit perfectly against my walls, and the satisfaction of knowing I didn’t have to spend a small fortune on store-bought options. MDF is a game-changer with DIY projects like this — it’s affordable, easy to shape, and gives you the flexibility to customize your space.[4]
What I didn’t expect was how much of a difference a well-fitted baseboard could make in a room. It’s not just about covering up imperfections in the floor or wall; it’s about adding that final touch that makes a space feel complete. With MDF, you can achieve a professional finish without the professional price tag, and that’s a win for anyone who’s ever felt the sting of overpriced home decor.[5]
DIY MDF baseboard is more than just a budget-friendly alternative — it’s a chance to get creative and make your home uniquely yours. Whether you’re looking for a simple, modern look or a more ornate design, MDF gives you the tools to craft something that fits your style and budget. And the best part? It’s not just about the final look; it’s about the process of building something with your own hands.
Why You'll Love This DIY MDF Baseboard Project
- Affordable alternative to store-bought baseboards
- Easy to cut, shape, and customize
- Provides a clean, professional finish for any room
- Adds a personalized touch to your home
Understanding MDF and Why It’s Perfect for Baseboard
As of August 2026, MDF is made by combining wood fibers, wax, and resin under high pressure, resulting in a material that’s smooth, dense, and less prone to warping than traditional wood. This makes it ideal for DIY projects where precision is key. Unlike solid wood, MDF doesn’t have knots or grain that can complicate the cutting and shaping process. It also holds paint and stain well, which is a huge plus when you’re looking to finish your baseboard with a polished look.[1]
One of the biggest advantages of MDF is its affordability. For less than $40, you can get a sheet of MDF that’s large enough to cover multiple rooms. This is a huge saving compared to buying pre-made baseboard, which can cost several times more. Plus, MDF is easier to handle than solid wood, making it a great choice for beginners and DIYers on a budget.[2]
Another benefit of using MDF for baseboard is that it’s lightweight. This makes it easier to cut and install, especially if you’re working alone. I found that I could cut and shape the MDF with minimal effort, which was a big relief after a long day of DIY work.
For baseboard, I recommend using 3/4-inch thick MDF. This thickness is strong enough to stand up to foot traffic and other wear, but still easy to work with.[3]
Part of our More diy mdf headboard guide.
Measuring and Cutting Your MDF Baseboard
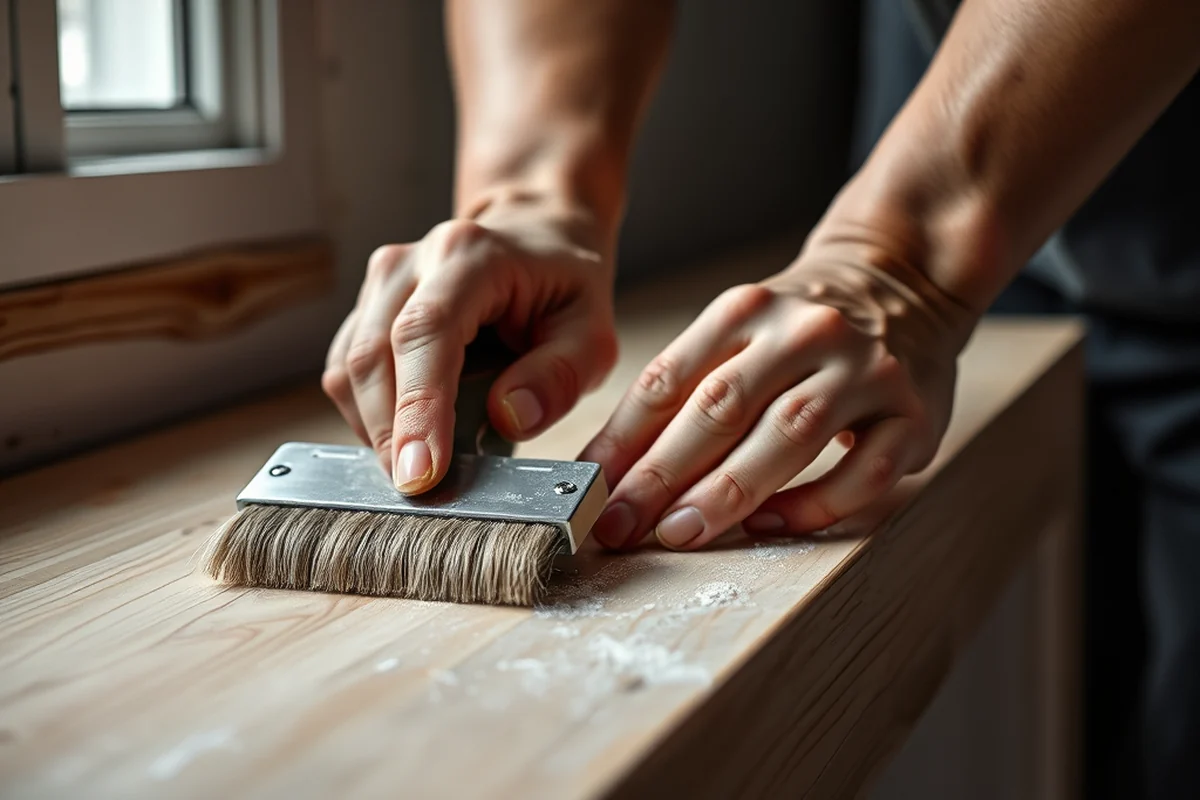
Before you start cutting, take the time to measure each wall carefully. I used a tape measure and marked the wall where the baseboard would go, making sure to account for any corners or obstacles. Once I had all my measurements, I transferred them onto the MDF sheets and used a pencil to mark the cut lines. This helped me avoid mistakes and ensured that each piece would fit perfectly.
For cutting, a jigsaw worked well for me. I made sure to use a fine-tooth blade to get a clean, smooth cut. I also took extra care to keep the blade aligned with the cut line, which helped me avoid any jagged edges. Once I had all the pieces cut, I used a router to round the edges slightly, giving the baseboard a more finished look.
After cutting, I used a sanding block to smooth out any rough spots. This step was crucial because it made the baseboard easier to paint and gave it a more professional finish. I also took the time to clean up the edges with a utility knife to remove any splinters or burrs.
Measure twice, cut once — it’s a mantra I live by when working with MDF.
Related: Diy mdf closet
Related: Diy mdf countertop
Related: Diy mdf house
Related: Diy armoire mdf
Related: Diy dressing mdf
Related: What Is Mdf Room
Designing Your Baseboard: Custom Shapes and Styles
One of the best things about using MDF for baseboard is that you can design it to fit your space exactly. I chose a simple, modern design with straight edges, but you could easily create more ornate shapes like scalloped edges or decorative molding. This flexibility allows you to match the style of your home and even add personal touches like carved patterns or inlays.
To create custom shapes, I used a template I found online and traced it onto the MDF before cutting. This helped me achieve consistent shapes across all the pieces. I also experimented with different profiles, like a slight bevel on the top edge, to give the baseboard a more finished look.
Another option is to use a router with a decorative bit to create a custom profile. This can add an extra level of detail and sophistication to your baseboard. I found that using a template with the router made it much easier to achieve consistent results, especially on longer pieces.
I used a downloadable template for my baseboard design, which made it easier to create consistent shapes and profiles. This helped me avoid mistakes and ensure that all the pieces matched perfectly.
“I remember the first time I tackled a DIY MDF baseboard project, standing in my garage with a jigsaw and a pile of materials that…”— DIY Furniture with Mdf editors
Painting and Finishing Your DIY MDF Baseboard
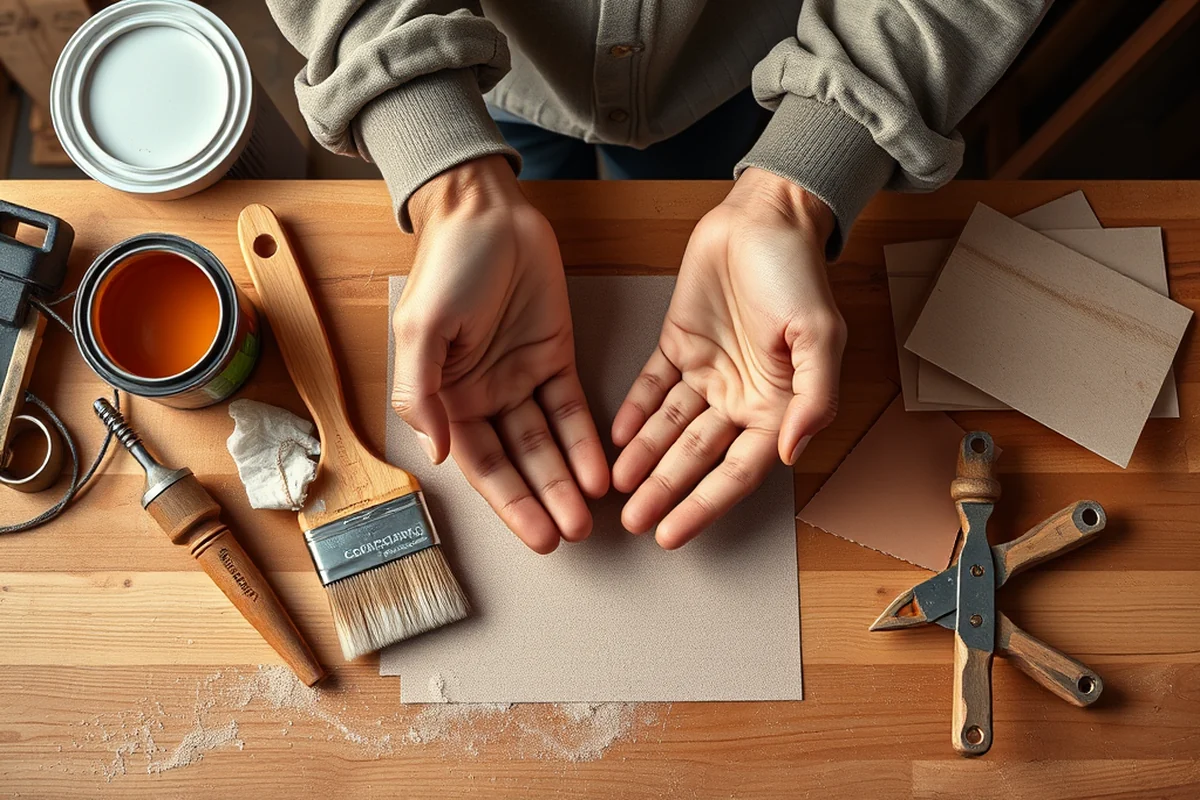
Once your baseboard is cut and shaped, the next step is painting. I used a primer first to help the paint stick better and cover the MDF evenly. I found that primer made the final paint job look much cleaner and more professional. After the primer dried, I applied two coats of paint, making sure to keep the brush strokes even and not too thick.
To get a smooth finish, I used a sanding block after each coat of paint. This helped me achieve a more polished look and made it easier to apply the next coat. I also used a brush with a fine tip to get into the corners and edges, ensuring that the paint didn’t miss any spots.
After painting, I sealed the baseboard with a clear finish to protect it from moisture and wear. This was a crucial step because MDF is more prone to swelling than solid wood. I used a water-based polyurethane sealer, which was easy to apply and gave the baseboard a smooth, finished look.
Installing Your DIY MDF Baseboard
Once your baseboard is painted and sealed, it’s time to install it. I used a level to make sure each piece was straight and even before attaching it to the wall. This helped me avoid any noticeable gaps or inconsistencies in the final look. I also used a pencil to mark the position of each piece on the wall, which made it easier to align them correctly.
To attach the baseboard to the wall, I used a combination of nails and wood glue. I found that using both gave me a more secure hold, especially in areas where the baseboard would be exposed to more wear. I also used a nail gun for the larger pieces, which made the process faster and more efficient.
After attaching the baseboard, I used a putty knife to fill in any gaps between the pieces and the wall. This helped me achieve a more seamless look and made sure the baseboard stayed in place over time. I also took the time to clean up any excess glue or paint that might have gotten on the wall.
Maintenance and Longevity of Your DIY MDF Baseboard
One of the key factors in maintaining your DIY MDF baseboard is regular cleaning. I found that wiping it down with a damp cloth and mild soap was enough to keep it looking clean and new. I also avoided using harsh chemicals or abrasive cleaners, which could damage the finish or cause the MDF to swell.
Another important step is to avoid exposing the baseboard to excessive moisture. I made sure to keep it away from any sources of water, like sinks or bathrooms, to prevent swelling or warping. If I ever noticed any signs of moisture, I would immediately dry the baseboard and apply a fresh coat of sealer to protect it.
Over time, I noticed that the paint on my baseboard began to wear a little, especially in high-traffic areas. To fix this, I simply repainted the affected areas and reapplied the sealer. This was much easier and more cost-effective than replacing the baseboard entirely.
A little care goes a long way — and it keeps your DIY baseboard looking great for years.
Troubleshooting Common Issues with DIY MDF Baseboard
One of the most common issues I encountered while working on my DIY MDF baseboard was warping. This happened when the MDF wasn’t stored properly or exposed to too much moisture. To fix this, I made sure to keep the pieces in a dry, well-ventilated area and used a moisture barrier when installing the baseboard.
Another issue I faced was uneven cuts, which made the baseboard look inconsistent. I found that using a guide when cutting helped me achieve more accurate results. I also took the time to sand down any rough edges after cutting to make sure everything looked even.
Finally, I noticed that some of the paint on the baseboard didn’t adhere as well as I’d hoped. To fix this, I applied a primer before painting, which helped the paint stick better and created a smoother finish. I also made sure to use a high-quality paint that was suitable for MDF surfaces.
💰 Budget Build
Use basic MDF, minimal tools, and a simple paint finish to create a cost-effective baseboard.
⏰ Weekend Version
Finish the project in one day by using pre-cut MDF pieces and a quick paint job.
🌟 Upgraded Finish
Add decorative molding, multiple paint colors, and a high-gloss sealer for a premium look.
🏠 Small-Space Adaptation
Use smaller MDF pieces and a minimalist design to fit the baseboard into compact areas.
🛡️ Rental-Safe Option
Opt for a removable adhesive or temporary installation method to avoid damaging the walls.
| The mistake | Why it happens | The fix |
|---|---|---|
| Not priming the MDF before painting. | MDF can absorb paint unevenly, leading to a patchy or inconsistent finish if not primed properly. | Always apply a primer before painting to ensure even coverage and a smoother final look. |
| Using the wrong type of paint or sealer. | Using paint or sealer that isn’t suitable for MDF can cause the finish to chip or peel over time. | Use a high-quality paint and sealer that’s specifically recommended for MDF surfaces. |
| Not sanding the edges after cutting. | Rough or jagged edges can be unsightly and may cause splinters or discomfort when touching the baseboard. | Always sand the edges after cutting to smooth them out and create a more finished look. |
| Neglecting to seal the baseboard after painting. | Without a sealer, the MDF can be prone to moisture damage, leading to warping or swelling over time. | Always apply a clear sealer after painting to protect the baseboard and extend its lifespan. |
Diy Mdf Baseboard
Common Questions
Can I use MDF for baseboard in a bathroom or high-moisture area?
How do I make sure the baseboard is level after installation?
What tools do I need for a DIY MDF baseboard project?
Can I paint MDF with the same paint I use on wood?
Cite this guide
DIY Furniture with Mdf (2026). Diy Mdf Baseboard. https://mdfcreate.com/diy-mdf-baseboard/
Feel free to cite or share this guide.
References
- DEVELOPMENT SERVICES DEPARTMENT ENVIRONMENTAL ... (bellevuewa.gov)
- Carroll Community College Facilities Master Plan 2026-2036 (carrollcc.edu)
- (PDF) 6,500 WOODWORKING PROJECTS - Academia.edu (academia.edu)
- October 2019 | Andover, MA (andoverma.gov)
- Wood and Wood Product Trade in Peru Remains Strong (apps.fas.usda.gov)