
Diy Mdf Arch
📖 Table of Contents
- What Is an MDF Arch and Why Build One?
- Materials and Tools You'll Need
- Step-by-Step Guide to Building Your MDF Arch
- Design Options for Your MDF Arch
- Finishing Touches: Painting and Staining Your Arch
- Mounting and Installing Your MDF Arch
- Maintenance and Longevity of Your MDF Arch
- Make It Your Way
- Frequently Asked Questions
The first time I built an MDF arch for my living room, I was surprised at how quickly the project came together — and how much it transformed the space. It wasn’t just about the visual appeal; it was about the way the arch seemed to open up the room, drawing the eye toward the fireplace and creating a subtle but powerful focal point. I had read about MDF as a budget-friendly alternative to wood, but I had never considered using it for something as architectural as an arch. That changed the moment I measured the dimensions and started cutting the panels.
MDF, or medium-density fiberboard, is a material I've come to rely on for many DIY projects because of its affordability and ease of use. Unlike solid wood, MDF doesn’t warp or split easily, which makes it a reliable choice for beginners and experienced DIYers alike. When I decided to build an arch, I was drawn to the idea of creating something that was both functional and decorative — a way to frame a doorway or a window without the expense of traditional materials. The process was straightforward, but I learned a few important lessons along the way.
What really stood out about the MDF arch was how much it could do with so little. The materials cost me less than $50, and I completed the project in a single weekend — a feat I never thought possible when I first picked up the saw. It wasn’t perfect, but it was enough to inspire me to explore more with MDF. I’ve since built several more arches, each one tailored to a specific space, and I’ve grown to appreciate how versatile this material can be. If you’re looking for a way to add character to your home without breaking the bank, a DIY MDF arch might just be the project for you.[1]
Why You'll Love This DIY MDF Arch
- It adds architectural character without the cost of custom work.
- It’s easy to build with minimal tools and expertise.
- It can be painted or finished to match any interior decor.
- It’s a quick and rewarding weekend project.
What Is an MDF Arch and Why Build One?
As of August 2026, an MDF arch is a structural or decorative element made from medium-density fiberboard, often used to frame doorways, windows, or as a standalone feature in a room. Unlike traditional wooden arches, MDF arches are lightweight, affordable, and easy to shape, making them a popular choice for DIYers. My first arch was a simple half-arch that I mounted above a hallway entry, and it immediately softened the transition between two rooms. It wasn’t just a visual upgrade — it also helped to define the space more clearly.[2]
One of the biggest advantages of using MDF is that it holds paint and stain exceptionally well, which means you can achieve a professional-looking finish with minimal effort. I used a white paint to keep the arch neutral, but I’ve also experimented with darker shades and wood finishes to create contrast in other rooms. The material is also forgiving if you make a mistake; it’s easy to sand down or repair, which is a huge plus for those who are still honing their DIY skills.
Building an MDF arch is a great way to introduce an architectural element to your home without the expense of hiring a contractor or purchasing custom-made pieces. It’s also a versatile project — you can build it to fit any doorway or window, and you can customize the design to suit your style. Whether you're creating a grand arch for a living room or a smaller one for a hallway, MDF gives you the flexibility to make it your own.
If you're aiming for a smooth, finished look, a router is the best tool for shaping the edges of your MDF arch. I used a flush-trim bit to create a clean curve, and it made the final piece look much more professional.
Part of our More diy mdf headboard guide.
Materials and Tools You'll Need
To build an MDF arch, you’ll need MDF panels, a saw, sandpaper, a router, and finishing materials like paint or stain. The MDF panels can be purchased at most home improvement stores, and I recommend buying them in a size that allows for easy cutting and shaping. For my first arch, I used 3/4-inch thick panels, which gave the structure enough rigidity without being too heavy. The cost of the MDF and the other materials was under $50, which was a huge relief.[3]
The tools you'll need are minimal but essential. A circular saw or jigsaw is necessary for cutting the MDF to the required shape. I found that using a router with a flush-trim bit was the best way to create smooth curves. Sandpaper is also important for smoothing the edges after cutting, and I used 120-grit sandpaper for the initial smoothing and 220-grit for the final touch-up. Finishing materials are optional, but they make the arch look more polished and professional.[4]
While the list of materials and tools is short, it’s important to take the time to gather everything before you begin. Having all the pieces on hand prevents the frustration of stopping mid-project to run to the store for a missing item. I learned this lesson the hard way — on my first attempt, I forgot to bring the router, and I had to wait a day before I could continue. It's better to be prepared and efficient.
A well-prepared DIYer is half-way to a finished project.
Related: Diy mdf headboard
Related: Diy mdf baseboard
Related: Diy mdf barn door
Related: Diy mdf door
Related: How To Make Mdf Edges Smooth
Step-by-Step Guide to Building Your MDF Arch
Building an MDF arch involves measuring, cutting, shaping, assembling, and finishing the structure. The first step is to measure the space where the arch will be placed. I used a tape measure to get the exact dimensions of the doorway or window I wanted to frame, and I marked the measurements on the MDF panels. Once I had the measurements, I used a circular saw to cut the panels to size, making sure to leave a little extra for trimming.
Next, I used a router with a flush-trim bit to shape the edges of the arch. I traced the desired curve onto the MDF with a pencil and then used the router to follow the line. This step is crucial for achieving a smooth, professional look. After shaping the edges, I used sandpaper to smooth out any rough spots and make the surface even.
Once the pieces were cut and shaped, I assembled the arch by attaching the curved section to the two straight sides using wood glue and screws. Finally, I painted the arch with a white paint and let it dry. The entire process took less than a day, and I was amazed at how quickly it came together.
When assembling your arch, always use a level to ensure it's perfectly straight and even. I also used clamps to hold the pieces in place while the glue dried, which helped prevent any shifting or misalignment.
“The first time I built an MDF arch for my living room, I was surprised at how quickly the project came together — and how…”— DIY Furniture with Mdf editors
Design Options for Your MDF Arch

You can customize your MDF arch by adjusting the size, shape, and finish to match your home's style. The beauty of MDF is that it's incredibly versatile — you can build a grand, sweeping arch for a living room or a smaller, more modest one for a hallway. I’ve built several different styles over the years, from simple half-arches to more elaborate full arches with decorative detailing.
The finish is another area where you can express your creativity. I’ve used white paint, wood stain, and even metallic finishes to give my arches a unique look. The right finish can make a big difference in how the arch integrates with your space. If you're unsure about which finish to choose, consider the existing decor in the room and go with a complementary color or texture.
Don’t be afraid to experiment with different shapes and designs. I once built an arch with a pointed top and another with a rounded curve, and both looked great in their respective rooms. Whether you're going for a modern, minimalist look or something more ornate, MDF gives you the flexibility to make it your own.
Finishing Touches: Painting and Staining Your Arch
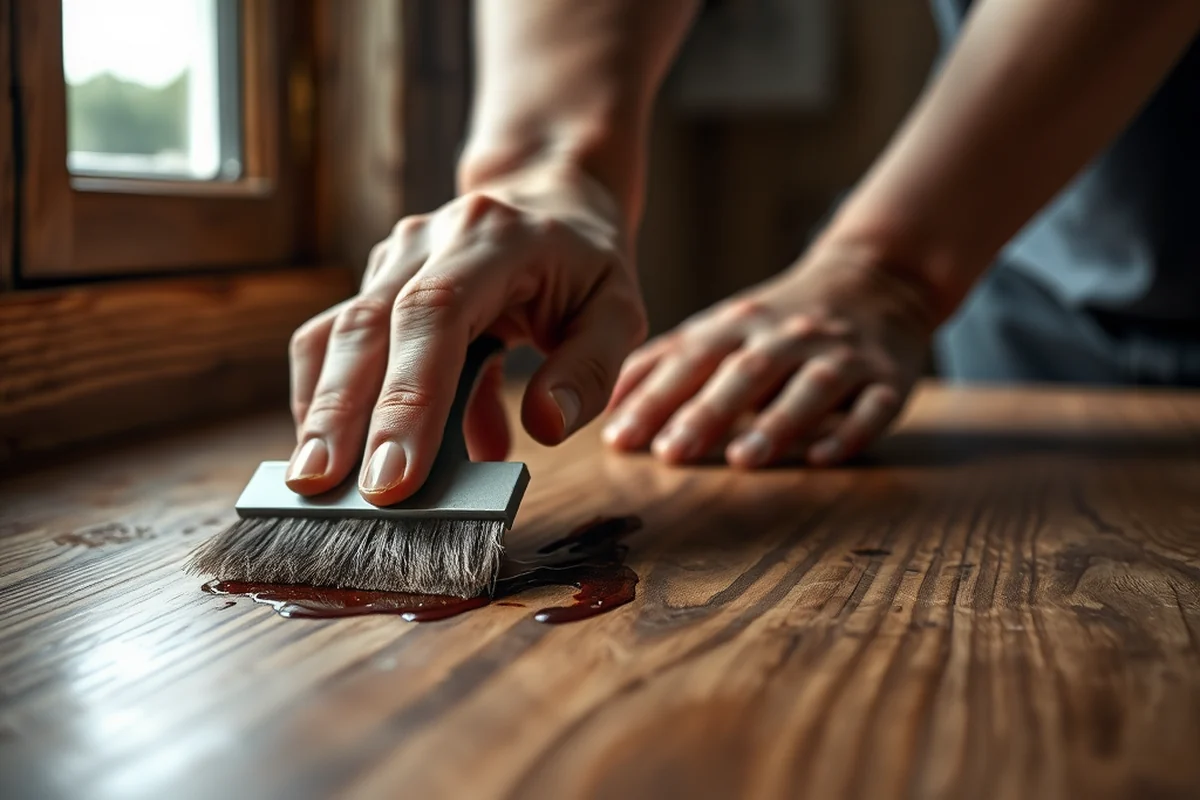
Painting or staining your MDF arch adds the final layer of customization and protection. After assembling the arch, I used a brush to apply a coat of white paint, making sure to cover all surfaces evenly. I let the paint dry completely before applying a second coat. The result was a smooth, even finish that gave the arch a clean, modern look.
If you prefer a more natural look, you can stain your arch instead of painting it. I’ve used wood stain on a few of my arches, and it gave them a warm, rustic feel that complemented the surrounding decor. I applied the stain with a brush and wiped off the excess with a clean cloth to avoid streaks and uneven coverage.
No matter which finish you choose, it's important to let it dry completely before hanging the arch. I always allowed at least 24 hours for the paint or stain to cure, which ensured that it was fully set and ready for installation. This step is crucial for both the appearance and durability of the arch.[5]
Mounting and Installing Your MDF Arch
Proper mounting ensures your MDF arch is secure and lasts for years. Once the arch is painted or stained and fully dry, it's time to install it. I used a level to make sure the arch was perfectly straight before attaching it to the wall. I then used wood screws and wall anchors to secure it in place, making sure the screws were evenly spaced for stability.
If you're installing the arch above a doorway, you'll need to ensure that it's positioned correctly and that it doesn't interfere with the door's movement. I used a laser level to get the height just right, and I made sure the arch was centered over the doorway. This took a bit of time, but it was worth it to ensure the arch looked balanced and professional.
After installation, I stepped back and admired the result. The arch wasn't just a decorative element — it had become a defining feature of the space. I was proud of the way it had transformed the room, and it was a reminder of how much you can achieve with a little creativity and effort.
A well-installed arch can make all the difference in how a room feels.
Maintenance and Longevity of Your MDF Arch
With proper care, your MDF arch can last for years and remain in excellent condition. I’ve had my arches for several years now, and they still look great — no warping, cracking, or peeling. The key to longevity is regular maintenance and protection from moisture and direct sunlight. I’ve made it a habit to wipe down my arches with a soft cloth and mild cleaner every few months to keep them looking their best.
Avoiding exposure to excessive moisture is also important. MDF can swell if it's exposed to water or high humidity, so I make sure to keep the arch away from areas where water might accumulate. I also use a UV-protective coating on some of my arches to prevent fading from sunlight, which has helped preserve their color over time.
If you notice any damage or wear, it's easy to repair. I’ve used wood filler to fix small dents and repainted sections that have gotten scratched. These simple fixes have helped keep my arches looking new, and I’ve found that regular maintenance goes a long way in extending their life.
💰 Budget Build
A simple MDF arch with minimal painting and basic hardware to keep costs low.
⏰ Weekend Version
A quick and easy arch that can be built in a single day with minimal tools.
✨ Upgraded Finish
A high-end version of the arch with a polished wood finish and decorative details.
🏠 Small-Space Adaptation
A compact arch designed for smaller rooms or entryways with a minimalist look.
🪑 Rental-Safe Option
A lightweight, removable arch that can be easily taken down for rental properties.
| The mistake | Why it happens | The fix |
|---|---|---|
| Not measuring the space correctly before cutting the MDF. | If you don’t measure the space accurately, the arch may not fit and could look out of place. | Take the time to measure the space carefully before cutting the MDF. Use a level and tape measure to ensure precision. |
| Cutting the MDF without using a router or sandpaper. | Rough edges can make the arch look unprofessional and may cause damage to the surface where it’s mounted. | Use a router or sandpaper to smooth out the edges after cutting. This will give the arch a clean, finished look. |
| Skipping the leveling step during installation. | An uneven arch can look crooked and may not be stable when mounted. | Use a level during installation to ensure the arch is perfectly straight and even. |
| Using the wrong type of screws or anchors for mounting. | Using the wrong hardware can cause the arch to become loose or fall over time. | Always use wood screws and wall anchors that are appropriate for the weight and size of the arch. |
Diy Mdf Arch
Common Questions
Can I use MDF for outdoor arches?
How do I attach the arch to the wall?
Can I paint my MDF arch after installation?
What tools do I need to build an MDF arch?
Cite this guide
DIY Furniture with Mdf (2026). Diy Mdf Arch. https://mdfcreate.com/diy-mdf-arch/
Feel free to cite or share this guide.
References
- ISSAQUAH HIGHLANDS BLOCK 19 - Active Projects List WebPost (activeprojects.issaquahwa.gov)
- Laser Cutting - Columbia GSAPP (arch.columbia.edu)
- DigiFab Shop - School of Architecture - University of Illinois (arch.illinois.edu)
- Innovation Hub & Makerspace (arch.tamu.edu)
- Laser Cutter Materials - Huckabee College of Architecture (arch.ttu.edu)