
Diy Mdf Door
📖 Table of Contents
I still remember the first time I held a sheet of MDF in my hands, unsure of what to do with it. It was a rainy Sunday afternoon, and I had just moved into a new apartment with a door that looked like it had been through a war. The idea of replacing it with a DIY MDF door was both daunting and exciting. I had never built anything bigger than a bookshelf, but I was determined to make something that felt like it belonged in my home.
After a few hours of sanding, measuring, and cutting, I had my first real piece of furniture. It wasn’t perfect—there were a few rough edges and a slight wobble in the hinges—but it was mine. That first DIY MDF door was a revelation. It wasn’t just about saving money; it was about control. I got to choose the color, the finish, and even the handle. There was a strange satisfaction in building something that had once been just a flat sheet of wood.
Now, years later, I’ve built dozens of DIY MDF doors, each one a little different, each one with its own story. The process has become second nature, but the thrill of watching a door come together from nothing is still there. Whether you’re looking to upgrade an old door or create a custom entrance, a DIY MDF door is a project that’s both rewarding and surprisingly straightforward. Let me walk you through exactly how I do it.
Why You'll Love This DIY MDF Door Project
- Cost-effective alternative to custom-made doors
- Customizable to match any interior design
- Quick and easy with minimal tools
- Durable and long-lasting when properly finished
Choosing the Right MDF for Your Door
As of August 2026, I’ve learned the hard way that using thin MDF can lead to warping, especially if the door is exposed to humidity or moisture. For my latest project, I purchased 18mm MDF from a local lumber store. It was slightly more expensive than the 12mm boards, but the difference in quality was worth it. I measured the existing door frame twice before cutting, just to be sure.[1]
I also checked the MDF for warping by placing it on a flat surface and pressing down gently. If it bows slightly, it’s a sign of poor quality. For my current door, I bought two sheets—one for the main panel and one for the back support. This extra layer helped prevent any warping over time.
Don’t forget to ask about the MDF’s moisture resistance. While most MDF is not waterproof, some varieties have a slight resistance to moisture, which can be helpful in areas like bathrooms or kitchens. I opted for this version for my entryway door, even though it cost an extra $10 per sheet.[2]
Place the MDF on a flat surface and apply gentle pressure. If it bows, it’s not suitable for a door. This simple test can save you time and money later.
Part of our More diy mdf headboard guide.
Cutting and Shaping the MDF
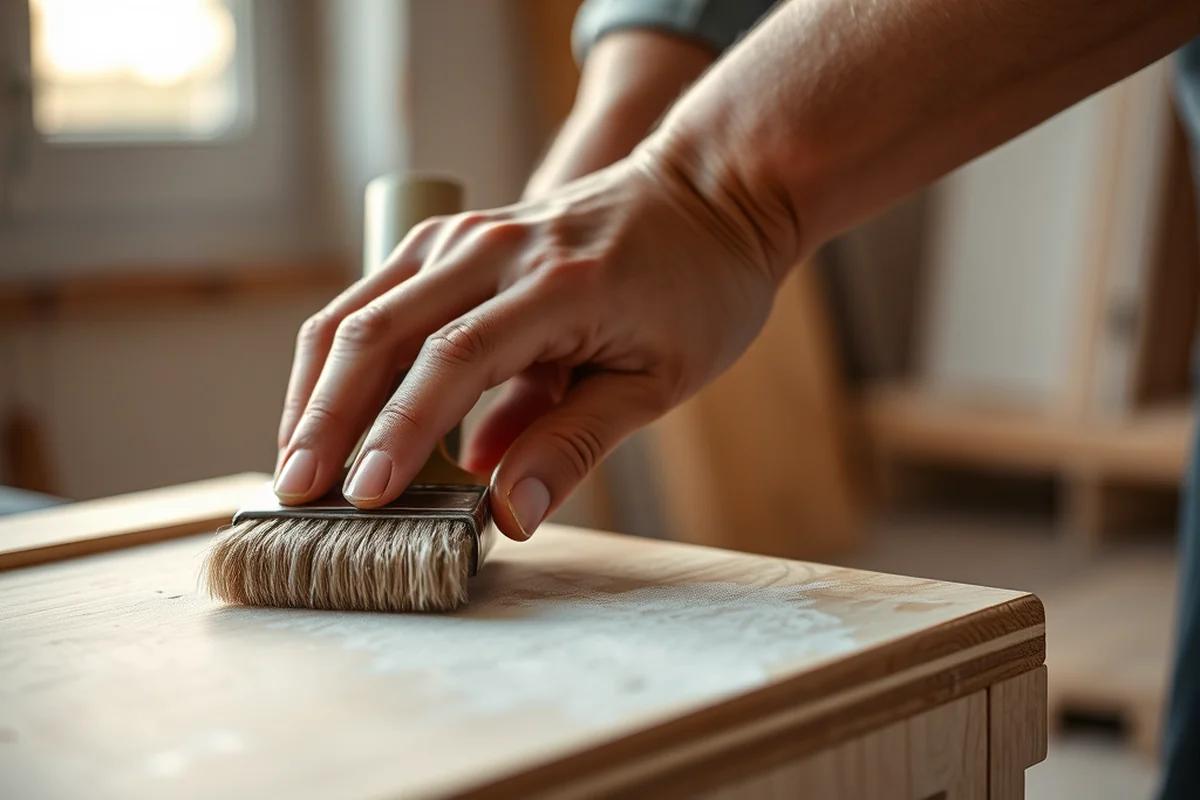
I always start by drawing the outline of the door on the MDF with a pencil. It’s easy to make a mistake here, so double-check the measurements. For my most recent project, I had to make a door that was 82 inches tall and 30 inches wide. I used a carpenter’s square to ensure the corners were perfectly square.[3]
I used a jigsaw to cut the outline, working slowly and carefully to avoid splintering the edges. I found that using a fine-tooth blade helped keep the cut clean. After cutting, I ran the edges through a table saw with a dado blade to create a clean, flat edge that would later be covered by the door frame.
Once the panel was cut, I used a router to create a bevel around the edges. This step is optional, but it made the door look more finished and professional. I spent about 15 minutes on this part, and it was worth the time.[4]
Measure twice, cut once. It’s not just a saying—it’s a rule of thumb I live by.
Related: Diy mdf arch
Related: Diy mdf closet
Related: Diy mdf dresser
Related: Diy Mdf Wall Panelling
Sanding and Preparing the Surface
After cutting, I always sand the MDF before painting or staining. I start with 120-grit sandpaper and move up to 220-grit for a smooth, even surface. I’ve learned that skipping this step can lead to a bumpy, uneven finish, especially with MDF which tends to have a rough texture out of the box.
I use a sanding block to keep the sanding even and avoid creating any uneven spots. I work in circular motions, applying even pressure across the surface. After sanding, I wipe the surface clean with a damp cloth to remove any dust or debris before moving on to the next step.
One time, I skipped the sanding and painted directly onto the MDF. The result was a texture that looked like it had been painted with a sponge. I learned my lesson and now always take the extra time to sand properly.
Always sand MDF in a well-ventilated space, as the dust can be harmful if inhaled. I use a dust mask and work near an open window whenever possible.
“I still remember the first time I held a sheet of MDF in my hands, unsure of what to do with it.”— DIY Furniture with Mdf editors
Related: Diy fluted mdf
Adding the Door Frame and Hinges
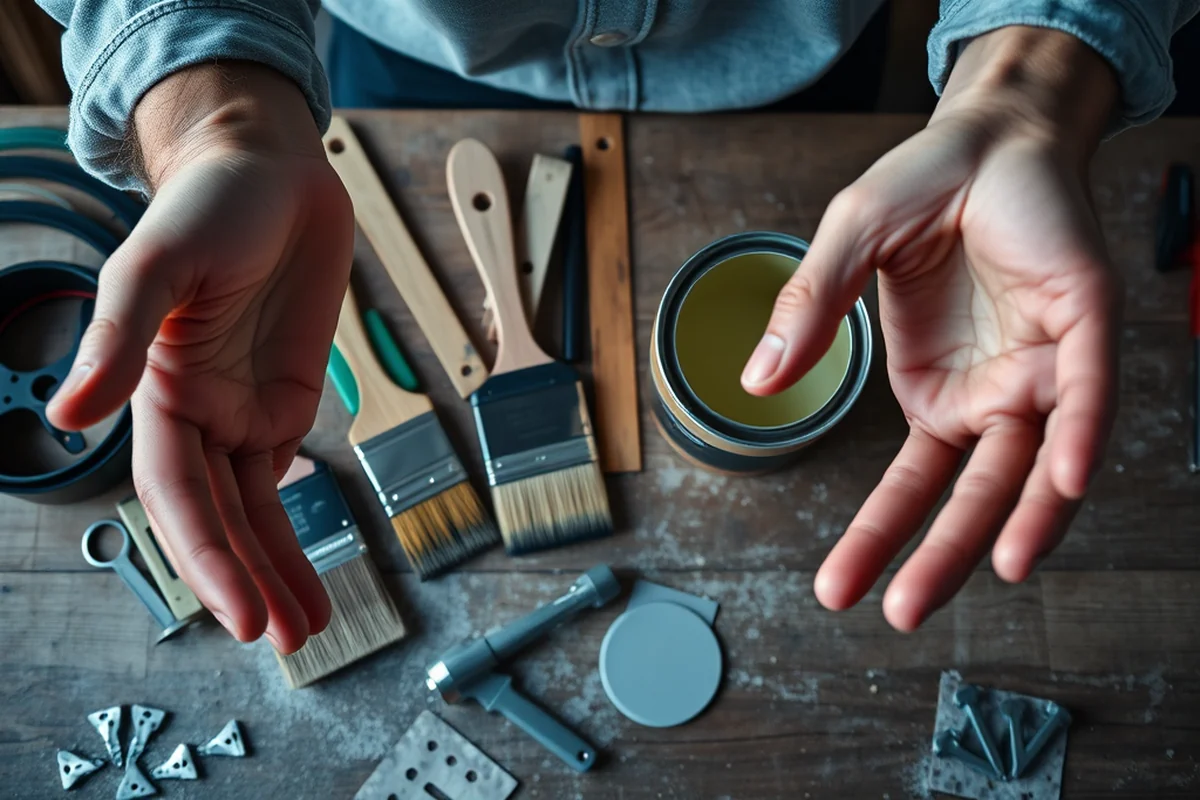
Once the MDF panel was cut and sanded, I moved on to building the door frame. I used 1x2 pine lumber for the frame, which I cut to size and assembled using wood glue and nails. I made sure the frame was square and level before attaching it to the MDF panel.
Next, I routed a groove into the MDF panel to fit the hinges. I used a router with a straight bit and a depth guide to ensure the groove was the right size. I tested the hinges in the groove before securing them with screws. I found that using wood screws with a slightly larger diameter made the hinges more secure.
I also added a support rail at the bottom of the door to prevent sagging, especially for doors that are over 7 feet tall. I mounted the rail using small screws and ensured it was evenly spaced across the width of the door.
Painting and Staining the Door
After assembling the frame and attaching the hinges, I moved on to painting. I used a water-based primer first, applying it with a brush and letting it dry completely. I found that using a primer helped the paint adhere better and made the finish more even.
I painted the door in two coats of semi-gloss paint, allowing each coat to dry completely before applying the next. I found that using a foam brush helped avoid brush marks, and the result was a smooth, even finish. I spent about 45 minutes on this part of the project.
For a more natural look, I’ve also used wood stain on some of my doors. I applied the stain with a brush, then wiped it off with a clean cloth to leave a subtle, even color. I found that this method allowed for more control over the final color and finish.
Finishing Touches and Installation
After the paint or stain had dried, I applied a clear coat to protect the surface. I used a water-based polyurethane, applying it with a brush and letting it dry completely. This step helped preserve the finish and made the door more resistant to scratches and water damage.
I also added a handle and a deadbolt for security. I measured and marked the positions for the handle and deadbolt, then drilled the holes and mounted the hardware. I made sure everything was level and aligned properly before securing the hardware with screws.
Finally, I installed the door in the frame, checking that it hung properly and that the hinges were aligned. I used a level to ensure the door was perfectly straight and made any adjustments as needed. After about 20 minutes of installation, the door was complete and looking great.
A little time and attention to detail can make all the difference in the final result.
Troubleshooting Common Issues
One of the most common issues I’ve faced is warping in the MDF. I’ve learned that using a slightly thicker MDF and adding a support rail can help prevent this. If the door does warp, I’ve found that clamping it flat and letting it dry for a few hours can help it return to its original shape.
Another issue is uneven paint or stain. I’ve found that using a primer and applying the paint or stain in thin, even coats helps avoid this. If the finish does look uneven, I’ve used sandpaper to smooth it out before applying another coat.
Hinges that don’t align properly can be a real pain. I’ve learned that using a level and ensuring the door is perfectly straight before installing the hinges helps avoid this. If the hinges are misaligned, I’ve used small shims to adjust them and make sure the door opens and closes smoothly.
💰 Budget Build
Use basic materials and simplify the process for a cost-effective, functional door.
⏰ Weekend Version
Complete the project in one day with minimal tools and pre-cut materials.
✨ Upgraded Finish
Add a premium paint finish or wood stain for a more elegant, custom look.
🏠 Small-Space Adaptation
Build a smaller door that fits perfectly in a compact entryway or hallway.
🛡️ Rental-Safe Option
Create a door that can be easily removed and taken with you when moving out.
| The mistake | Why it happens | The fix |
|---|---|---|
| Using the wrong thickness of MDF. | Using MDF that’s too thin can lead to warping, sagging, or even breaking over time. | Always use MDF that’s at least 18mm thick for doors. If you’re unsure, consult with a professional or choose a higher-quality MDF. |
| Skipping the sanding step. | MDF has a rough texture that can lead to an uneven paint or stain finish if not properly sanded. | Always sand the MDF with progressively finer grits of sandpaper before painting or staining. |
| Not securing the hinges properly. | Poorly secured hinges can cause the door to sag or not open and close properly. | Use wood screws with a slightly larger diameter and ensure the hinges are aligned and level before securing them. |
| Using a primer that’s not compatible with MDF. | MDF can be porous, and using the wrong primer can lead to peeling or uneven finishes. | Always use a water-based primer designed for MDF or wood surfaces before painting or staining. |
Diy Mdf Door
Common Questions
Can I use MDF for a bathroom door?
How long does the paint on the MDF door last?
Is it possible to make a sliding door with MDF?
What’s the best way to handle the edges of the MDF?
Cite this guide
DIY Furniture with Mdf (2026). Diy Mdf Door. https://mdfcreate.com/diy-mdf-door/
Feel free to cite or share this guide.
References
- (DOC) Fabrication Of Double Metal Door With Lever Key Using ... (academia.edu)
- 08 10 00 DOORS AND FRAMES 1. GENERAL 2. PRODUCTS A. All ... (architects.uga.edu)
- Manufacturers by Product - Idaho Wood Products Directory (bber.umt.edu)
- Surface roughness and processing time of a medium density ... (bioresources.cnr.ncsu.edu)